Deprecated in 7.0.0.
The TransportClient is deprecated in favour of the Java High Level REST Client and will be removed in Elasticsearch 8.0. The migration guide describes all the steps needed to migrate.
If you want to use a Java transport client with a cluster where X-Pack is installed, then you must download and configure the X-Pack transport client.
- Add the X-Pack transport JAR file to your CLASSPATH. You can download the X-Pack distribution and extract the JAR file manually or you can get it from the Elasticsearch Maven repository. As with any dependency, you will also need its transitive dependencies. Refer to the X-Pack POM file for your version when downloading for offline usage.
If you are using Maven, you need to add the X-Pack JAR file as a dependency in your project’s
pom.xmlfile:<project ...> <repositories> <!-- add the elasticsearch repo --> <repository> <id>elasticsearch-releases</id> <url>https://artifacts.elastic.co/maven</url> <releases> <enabled>true</enabled> </releases> <snapshots> <enabled>false</enabled> </snapshots> </repository> ... </repositories> ... <dependencies> <!-- add the x-pack jar as a dependency --> <dependency> <groupId>org.elasticsearch.client</groupId> <artifactId>x-pack-transport</artifactId> <version>{version}</version> </dependency> ... </dependencies> ... </project>If you are using Gradle, you need to add the X-Pack JAR file as a dependency in your
build.gradlefile:repositories { /* ... Any other repositories ... */ // Add the Elasticsearch Maven Repository maven { url "https://artifacts.elastic.co/maven" } } dependencies { compile "org.elasticsearch.client:x-pack-transport:{version}" /* ... */ }If you are using a repository manager such as Nexus OSS within your company, you need to add the repository as per the following screenshot:
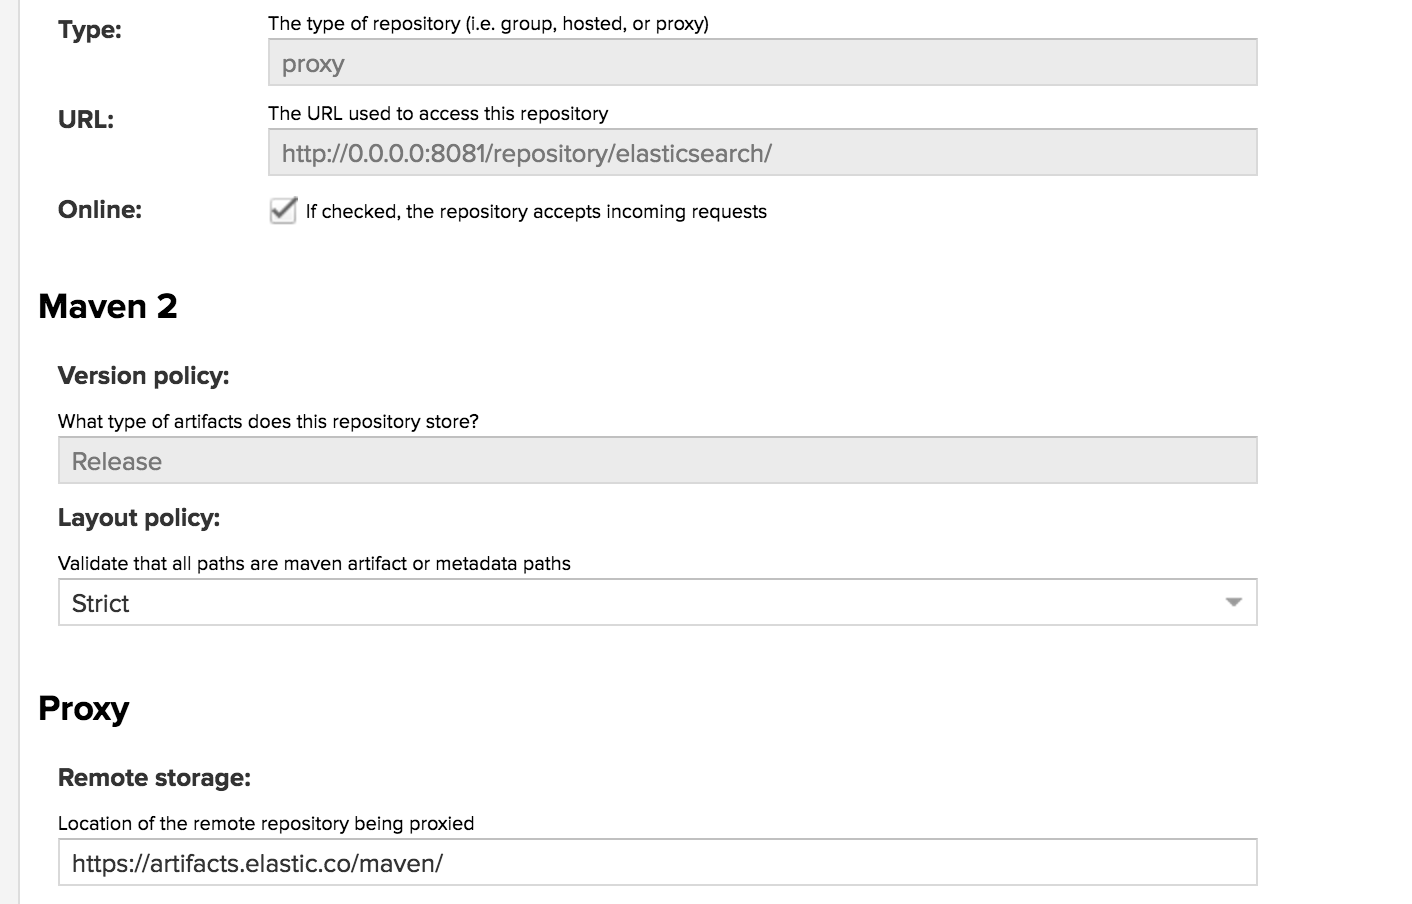
Then in your project’s
pom.xmlif using maven, add the following repositories and dependencies definitions:<dependencies> <dependency> <groupId>org.elasticsearch.client</groupId> <artifactId>x-pack-transport</artifactId> <version>{version}</version> </dependency> </dependencies> <repositories> <repository> <id>local-nexus</id> <name>Elastic Local Nexus</name> <url>http://0.0.0.0:8081/repository/elasticsearch/</url> <releases> <enabled>true</enabled> </releases> <snapshots> <enabled>false</enabled> </snapshots> </repository> </repositories>- If you are using Elastic Stack security features, there are more configuration steps. See Java Client and Security.