MicroStrategy Desktop is a free data discovery tool that helps people bring data to life using powerful self-service analytics. | ||
| -- https://www.microstrategy.com/us/resources/library/videos/new-microstrategy-desktop | ||
Elastic does not endorse, promote or provide support for this application; for native Elasticsearch integration in this product, please reach out to its vendor.
- MicroStrategy Desktop 11 or higher
- Elasticsearch SQL ODBC driver
- A preconfigured User or System DSN (see Configuration section on how to configure a DSN).
To use the Elasticsearch SQL ODBC Driver to load data into MicroStrategy Desktop perform the following steps in sequence.
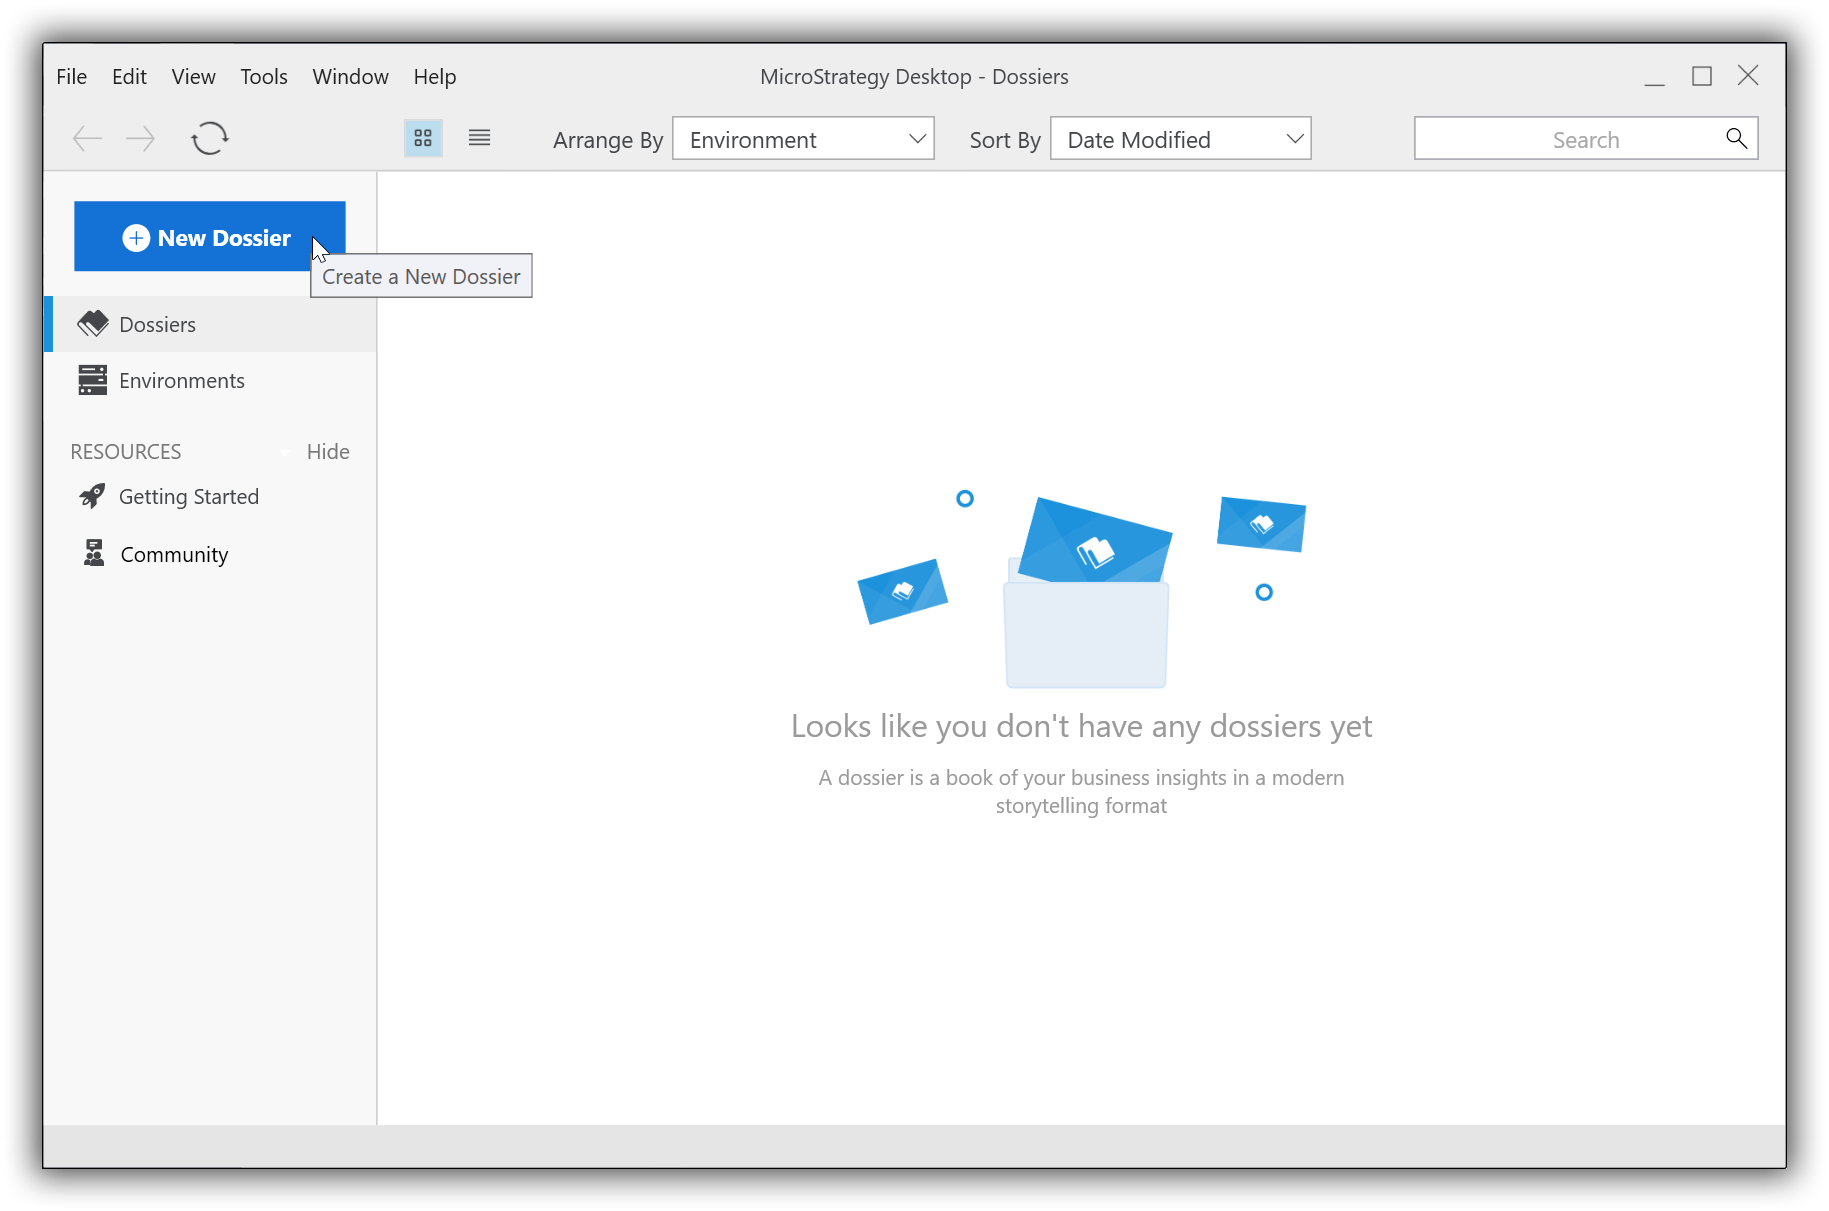
Create a New Dossier
Once the application is launched, you’ll first need to create a New Dossier:
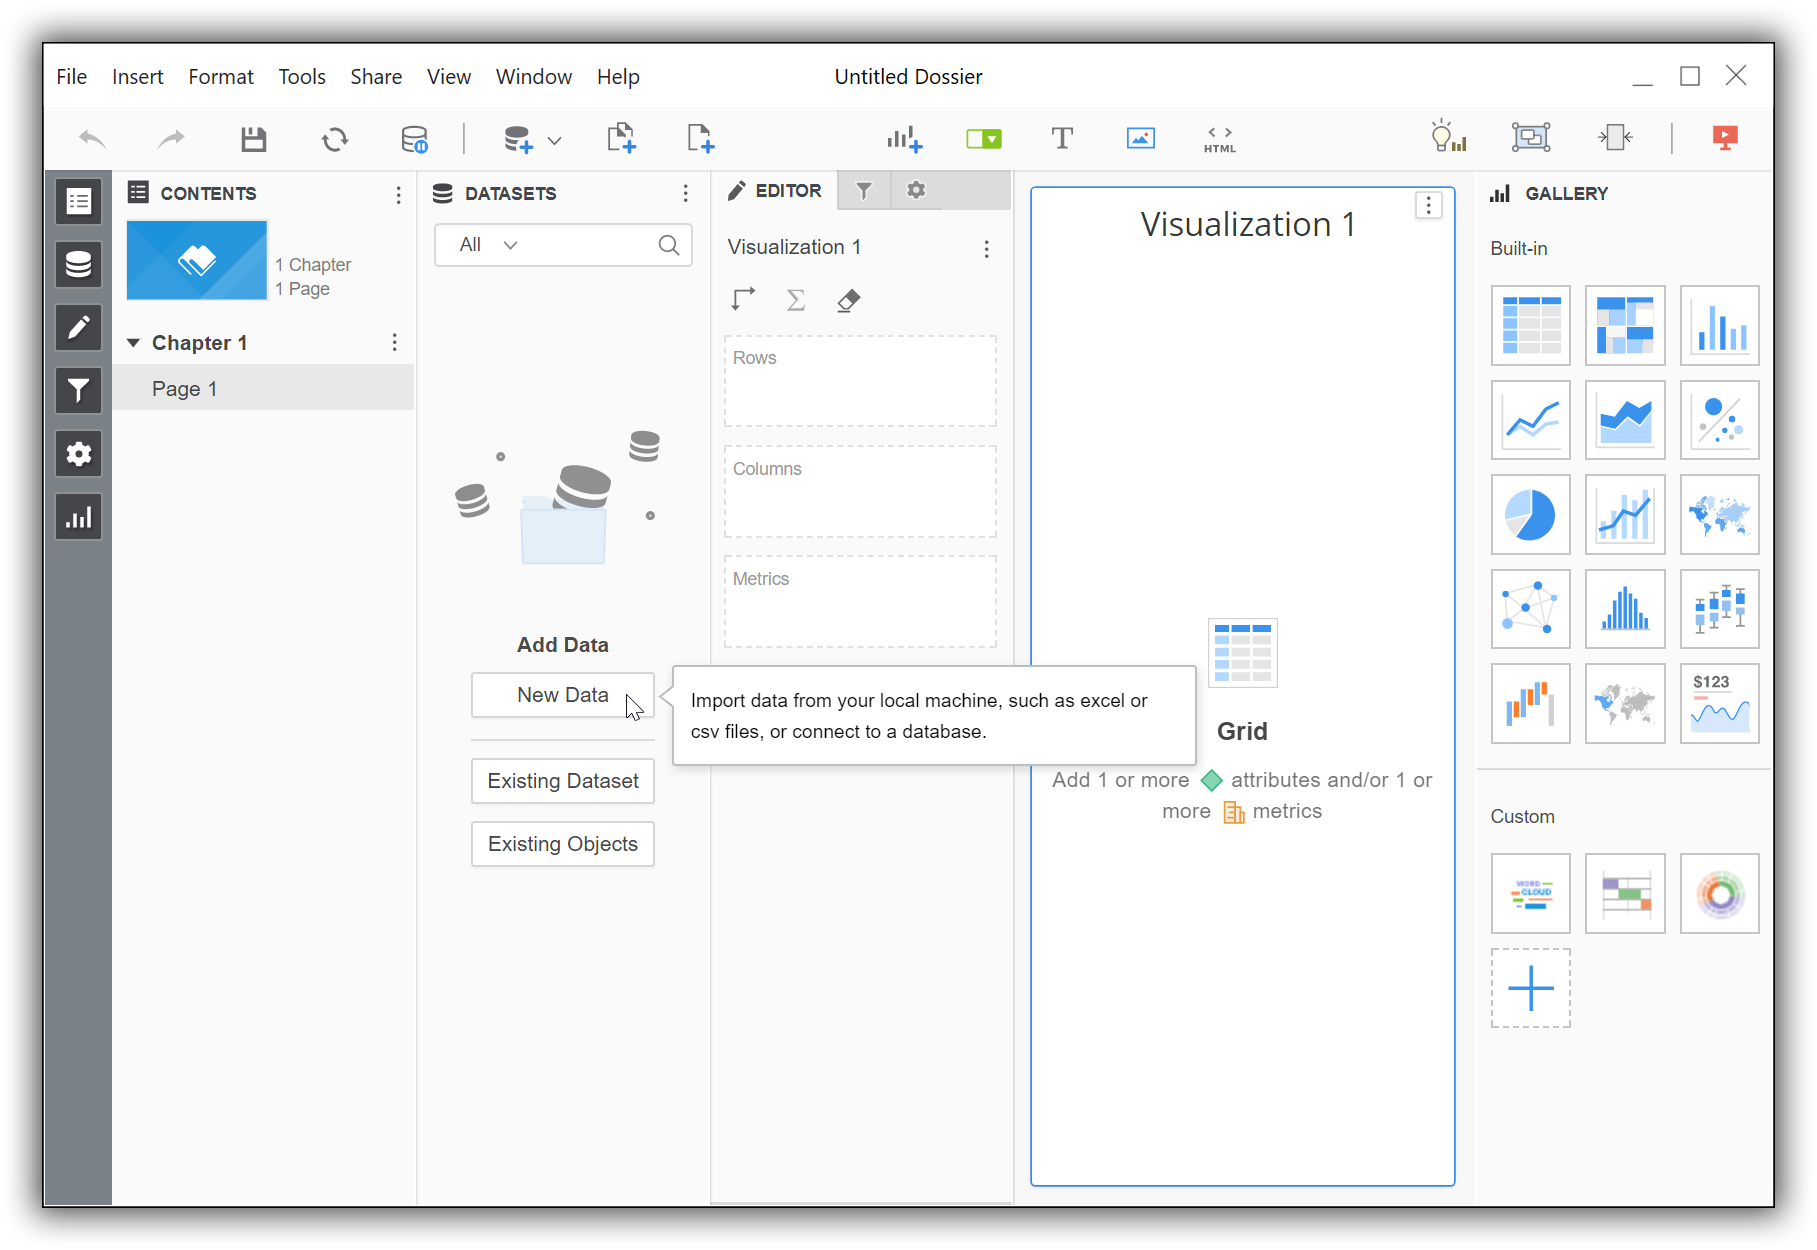
New Data
To import into the New Dossier just opened, press on the New Data button in the DATASETS column:
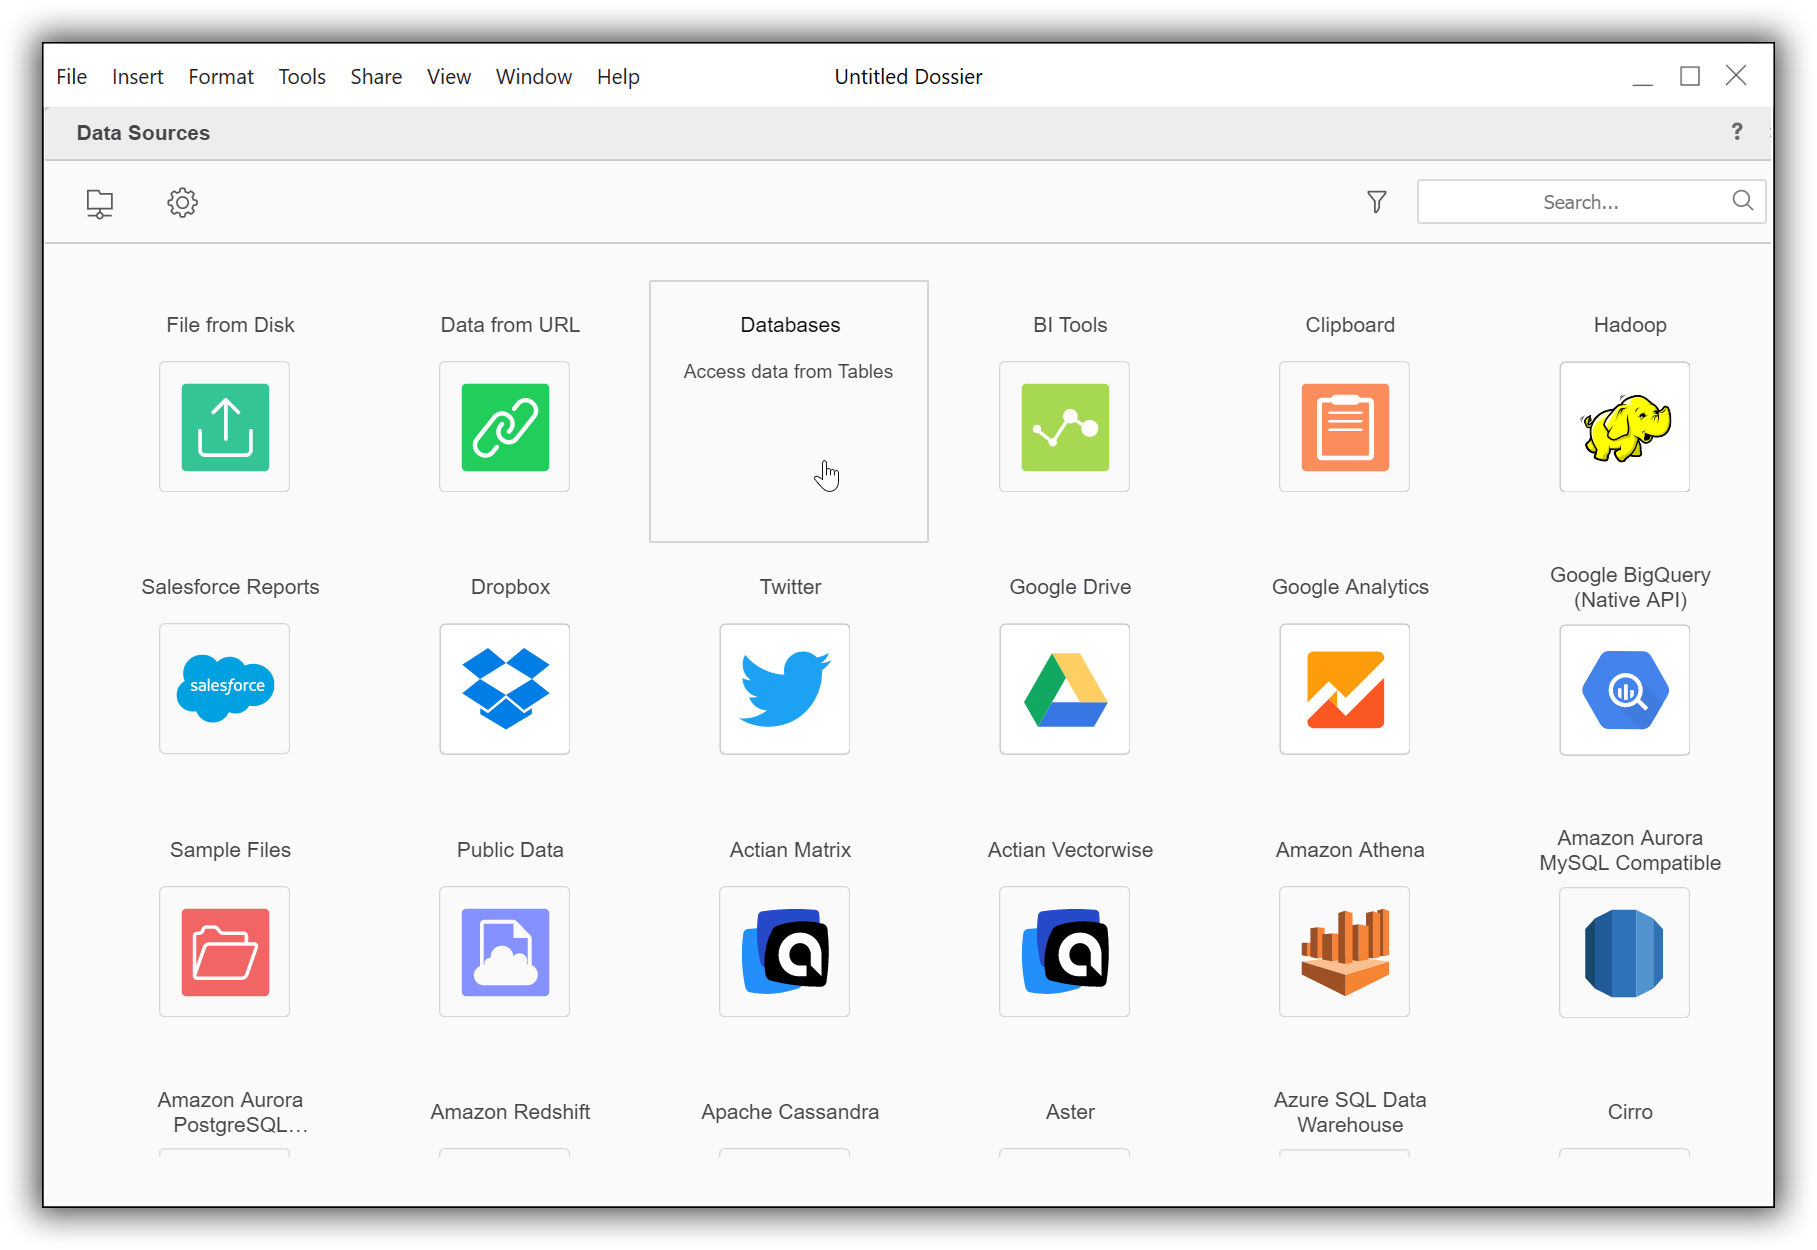
Access data from Tables
This opens a new window that allows to choose the source to load data from. Click on the Databases icon:
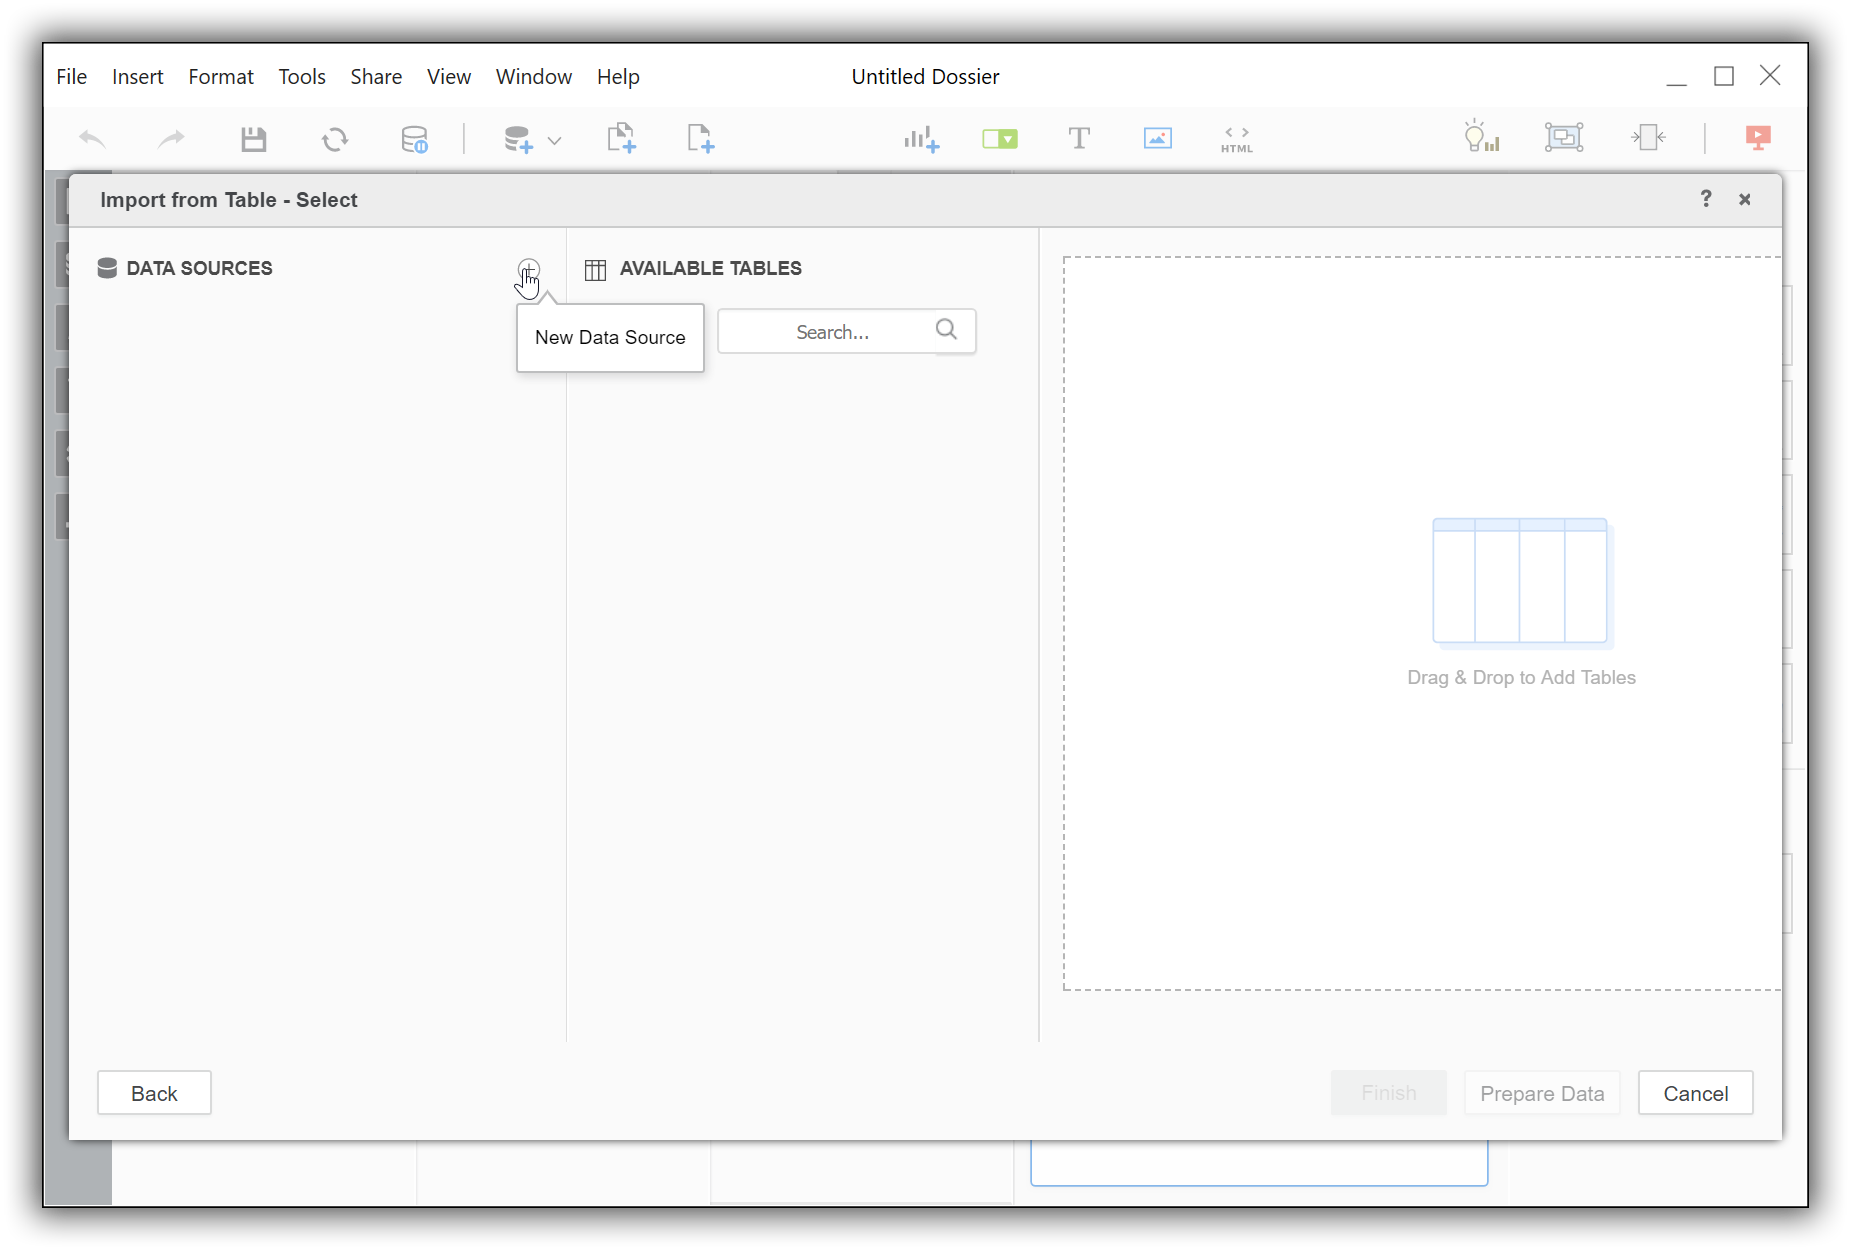
New Data Source
In the newly opened Import from Table - Select window, click on the + button to the right of DATA SOURCES item:
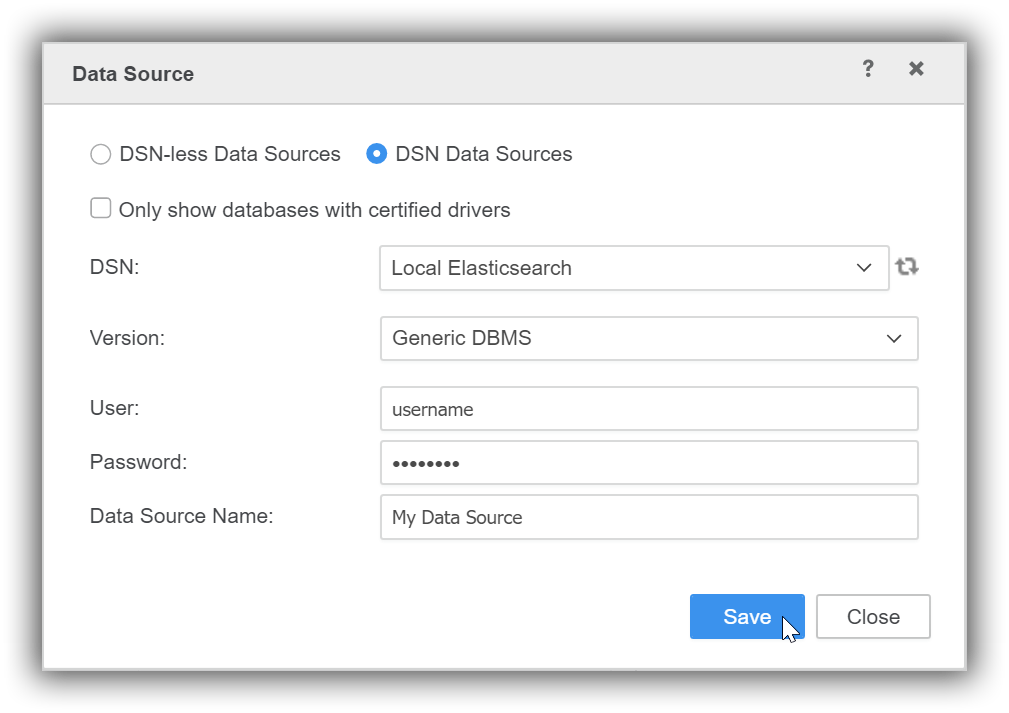
Data Source
In the Data Source window, tick the radio button for DSN Data Sources. In the DSN drop-down box, choose the name of the DSN that you have previously configured. For the Version, chose Generic DBMS.
Input a user name and password in the provided fields. Note that the application requires them irrespective of the fact that they might already be part of the previously configured DSN and the new input will take precedence over those.
Finally, give a name to the application-specific data source you’re just configuring:
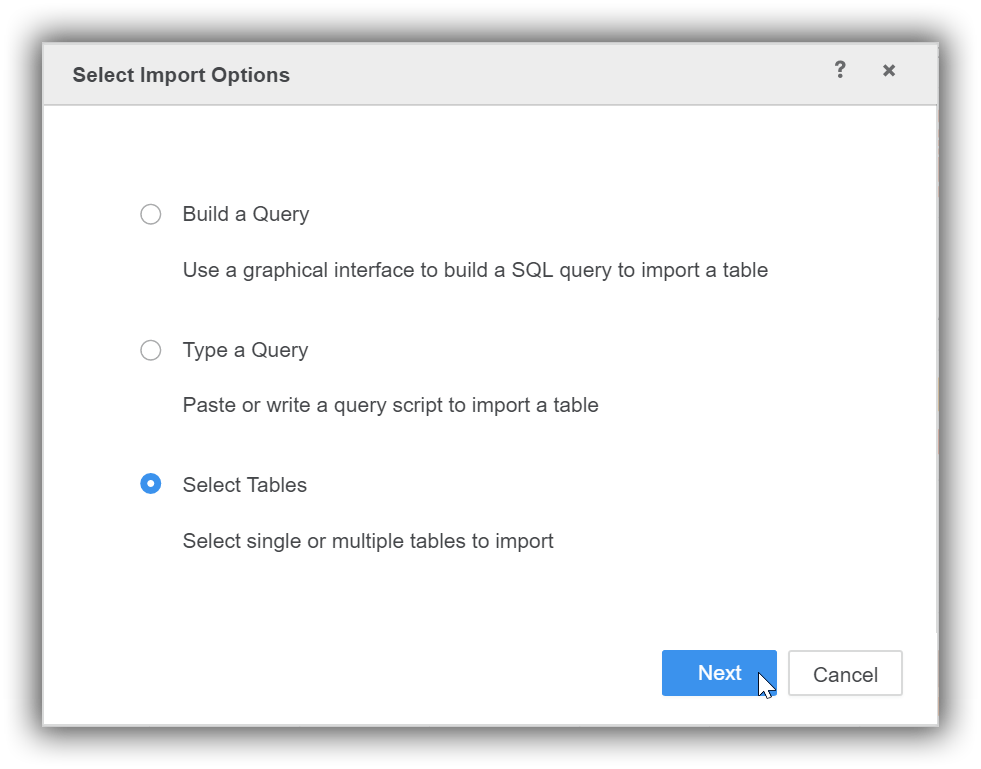
Select Import Options
Choosing an import methodology follows. You can pick any of the options; we’ll exemplify the Select Tables option:
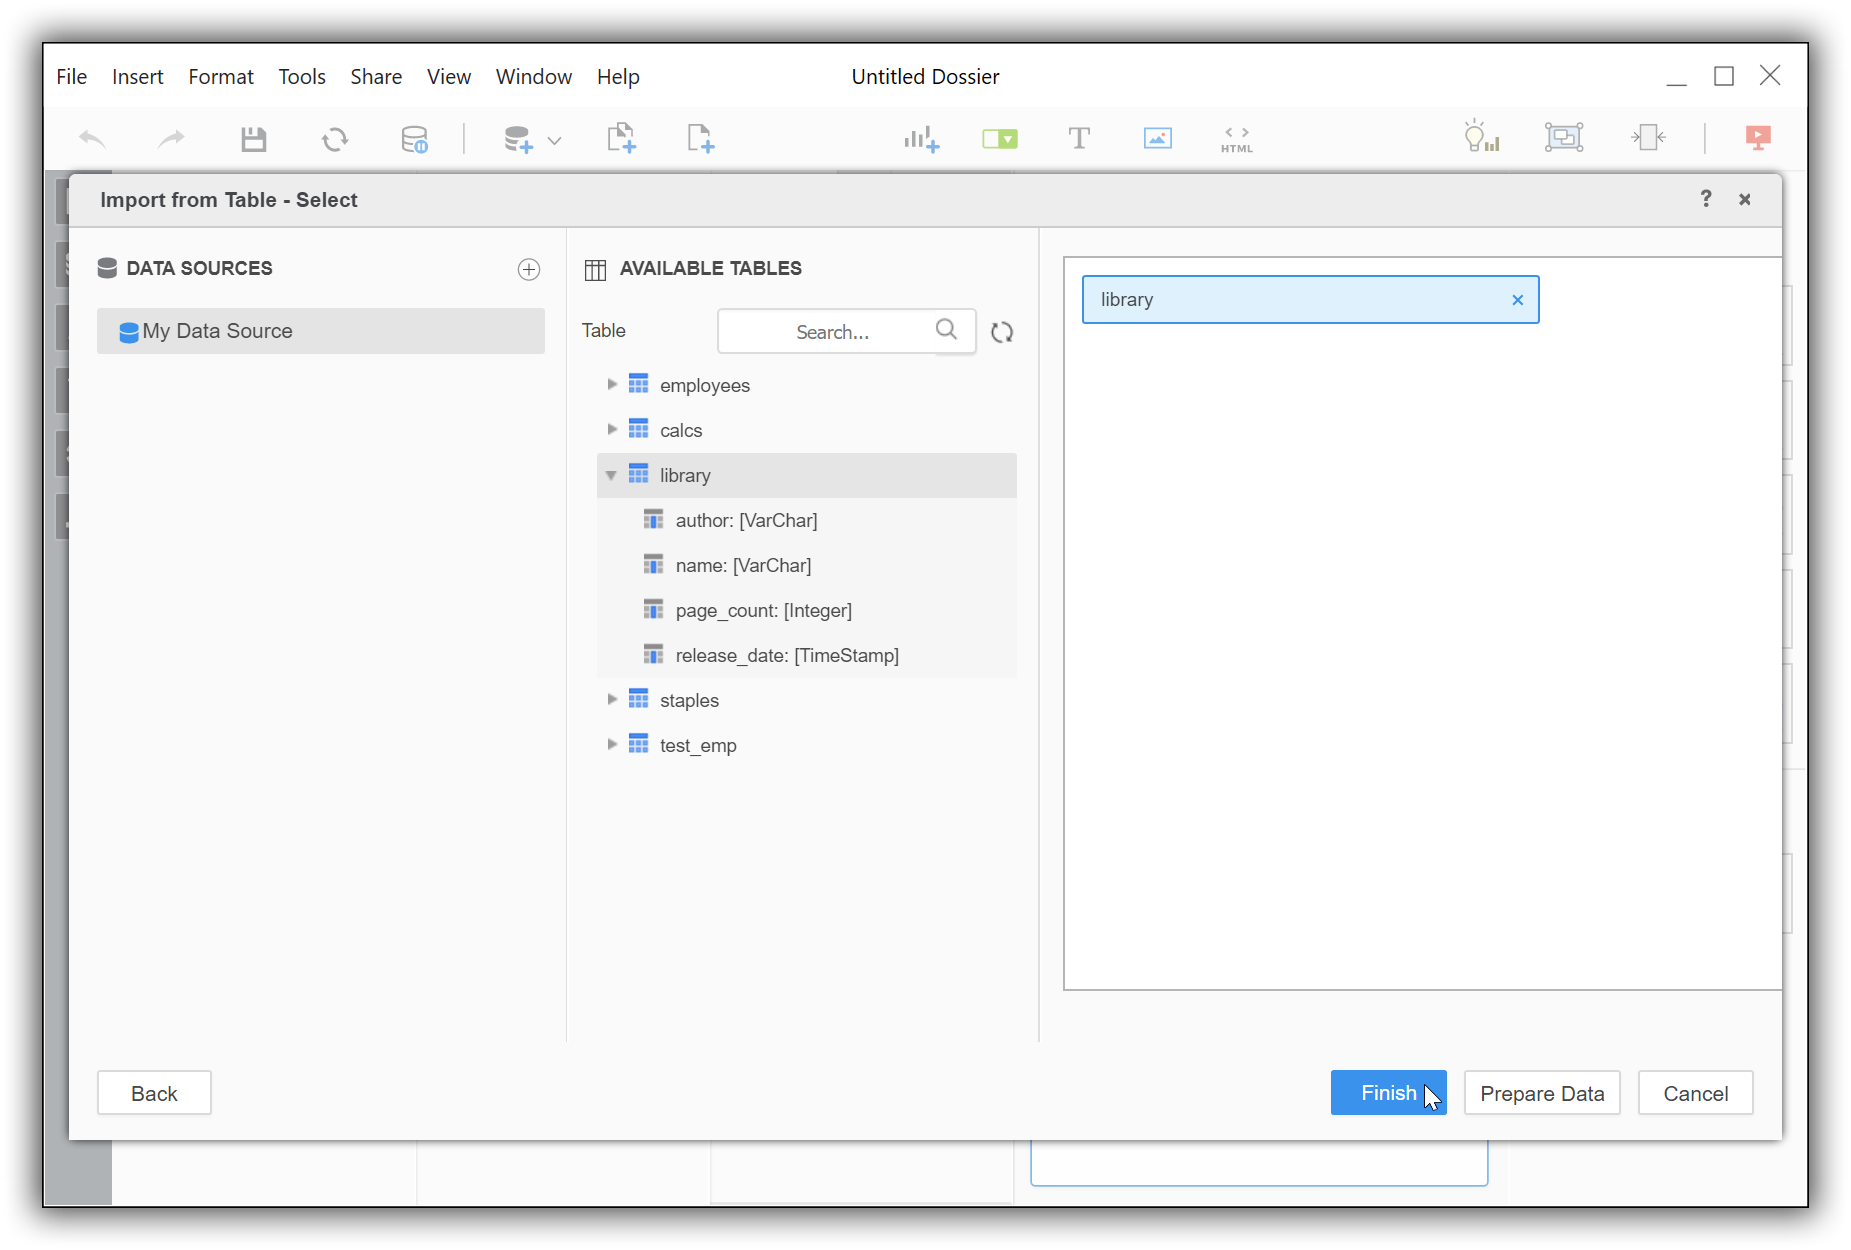
Import from Table - Select
The data source you’ve named two steps before is now listed in the DATA SOURCES column. Clicking on its name triggers the application to query the Elasticsearch instance configured in the DSN and list the tables available within:
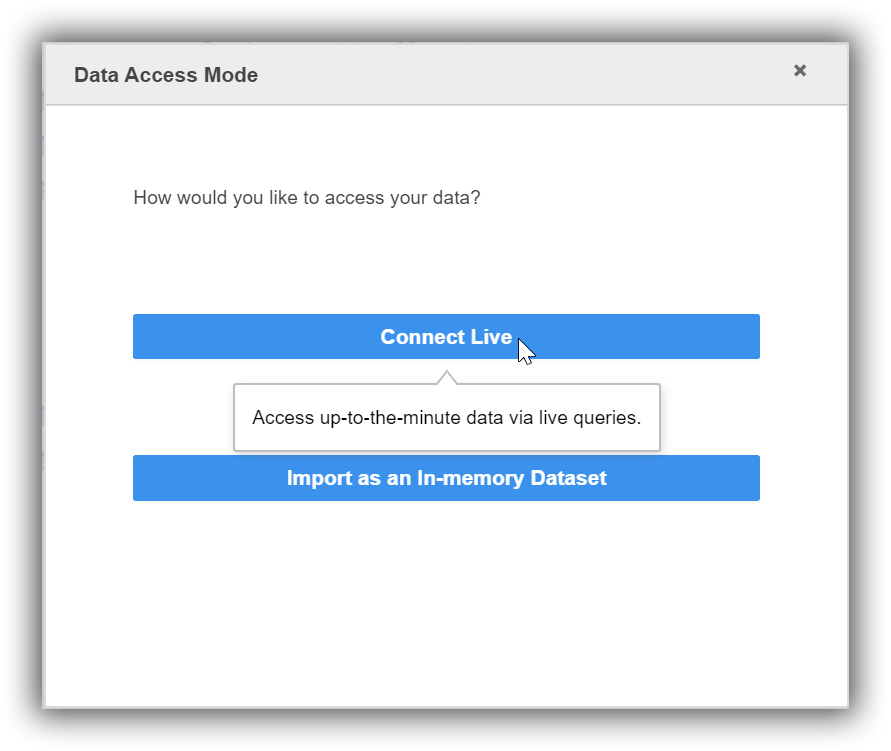
Data Access Mode
Choose a table to load data from and press the Finish button. When doing so, the application offers to choose a loading methodology. You can choose whichever, we’ll exemplify the Connect Live way:
Visualize the data
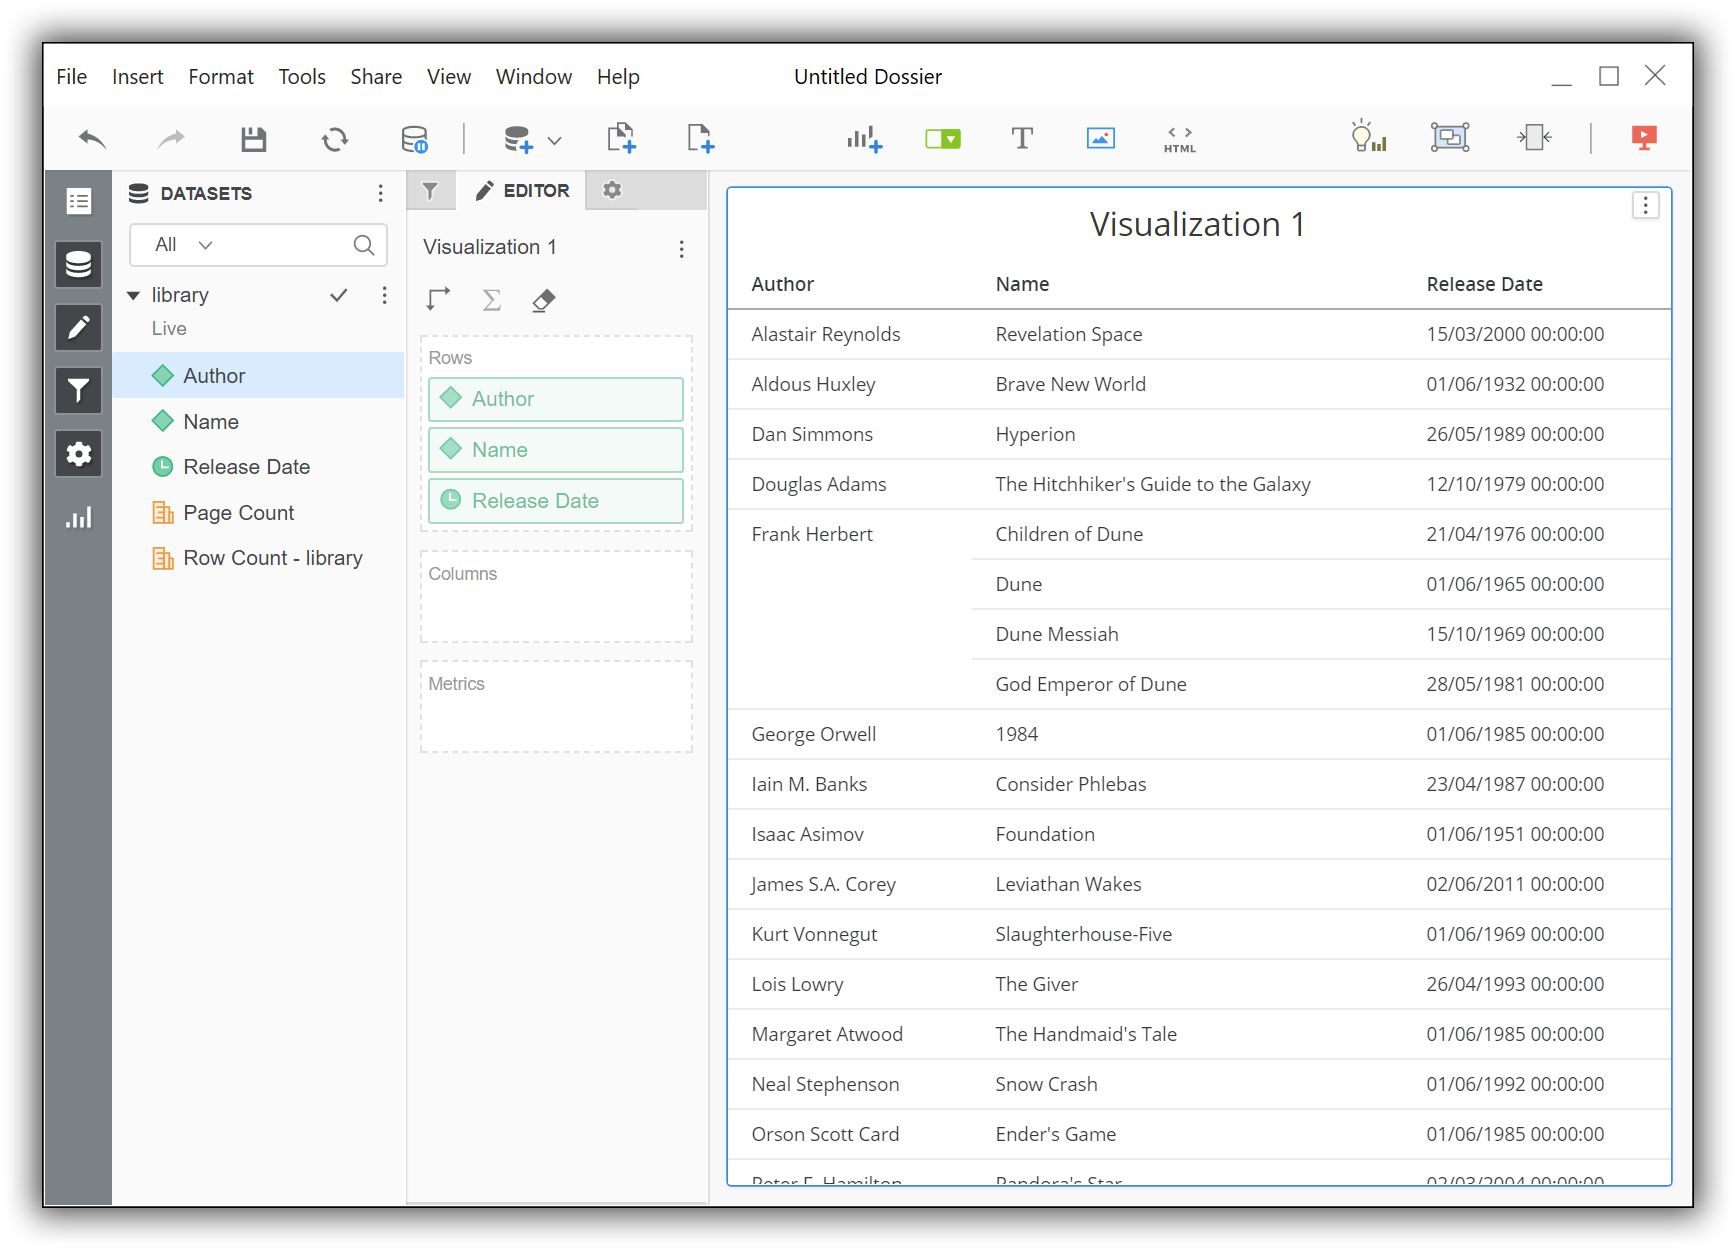
From the DATASETS column you can choose what table columns (or index fields) to visualize:
