Previous: Building out your app
Chapter 6: Publishing your app
Now that we have a working app, we are ready to push it live to the world! Since the Ionic team already submitted the Todo app from this guide to the app store, chances are you’ll want to follow this chapter with a new app that you make on your own.
So first, we need to generate a release build of our app, targeted at each platform we wish to deploy on. Before we deploy, we should take care to adjust plugins needed during development that should not be in production mode. For example, we probably don’t want the debug console plugin enabled, so we should remove it before generating the release builds:
$ cordova plugin rm cordova-plugin-console
Android Publishing
To generate a release build for Android, we can use the following cordova cli command:
$ cordova build --release android
This will generate a release build based on the settings in your config.xml. Your Ionic app will have preset default values in this file, but if you need to customize how your app is built, you can edit this file to fit your preferences. Check out the config.xml file documentation for more information.
Next, we can find our unsigned APK file in platforms/android/build/outputs/apk. In our example, the file was platforms/android/build/outputs/apk/HelloWorld-release-unsigned.apk. Now, we need to sign the unsigned APK and run an alignment utility on it to optimize it and prepare it for the app store. If you already have a signing key, skip these steps and use that one instead.
Let’s generate our private key using the keytool command that comes with the JDK. If this tool isn’t found, refer to the installation guide:
$ keytool -genkey -v -keystore my-release-key.keystore -alias alias_name -keyalg RSA -keysize 2048 -validity 10000
You’ll first be prompted to create a password for the keystore. Then, answer the rest of the nice tools’s questions and when it’s all done, you should have a file called my-release-key.keystore created in the current directory.
Note: Make sure to save this file somewhere safe, if you lose it you won’t be able to submit updates to your app!
To sign the unsigned APK, run the jarsigner tool which is also included in the JDK:
$ jarsigner -verbose -sigalg SHA1withRSA -digestalg SHA1 -keystore my-release-key.keystore HelloWorld-release-unsigned.apk alias_name
This signs the apk in place. Finally, we need to run the zip align tool to optimize the APK. The zipalign tool can be found in /path/to/Android/sdk/build-tools/VERSION/zipalign. For example, on OS X with Android Studio installed, zipalign is in ~/Library/Android/sdk/build-tools/VERSION/zipalign:
$ zipalign -v 4 HelloWorld-release-unsigned.apk HelloWorld.apk
Now we have our final release binary called HelloWorld.apk and we can release this on the Google Play Store for all the world to enjoy!
(There are a few other ways to sign APKs. Refer to the official Android App Signing documentation for more information.)
Google Play Store
Now that we have our release APK ready for the Google Play Store, we can create a Play Store listing and upload our APK.
To start, you’ll need to visit the Google Play Store Developer Console and create a new developer account. Unfortunately, this is not free. However, the cost is only $25 compared to Apple’s $99.
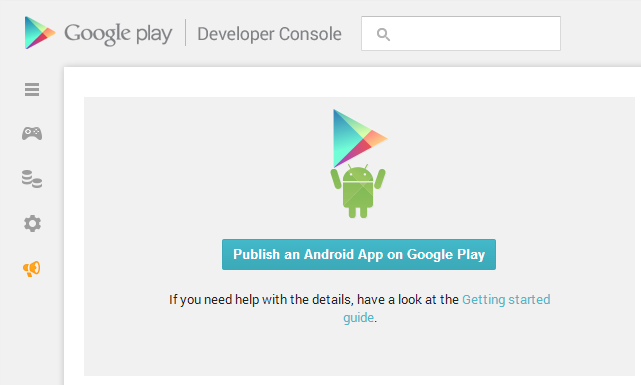
Once you have a developer account, you can go ahead and click “Publish an Android App on Google Play” as in the screenshot below:

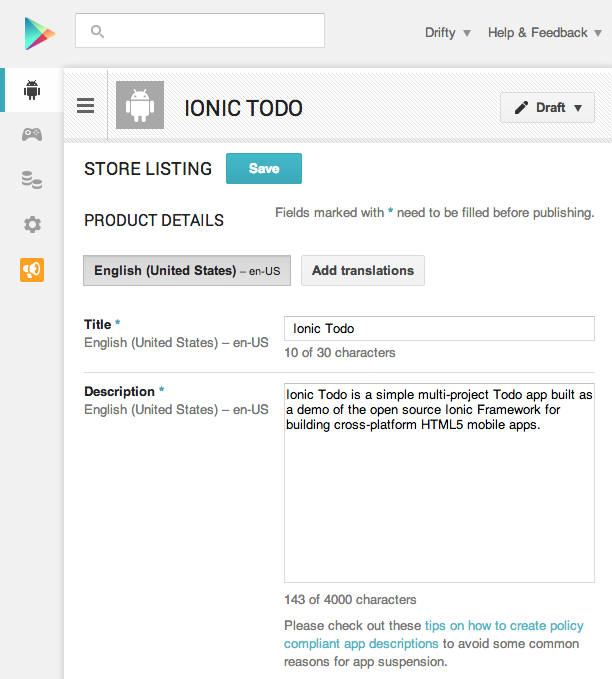
Then, you can go ahead and click the button to edit the store listing (We will upload an APK later). You’ll want to fill out the description for the app. Here is a little preview from when we filled out the application with the Ionic Todo app:

When you are ready, upload the APK for the release build and publish the listing. Be patient and your hard work should be live in the wild!
Updating your App
As you develop your app, you’ll want to update it periodically.
In order for the Google Play Store to accept updated APKs, you’ll need to edit the config.xml file to increment the version value, then rebuild the app for release.