Assembling the Arduino USB Board v2.0
Tom Igoe
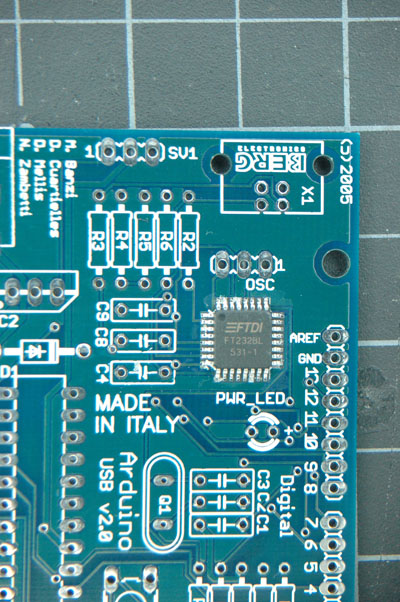
First, solder the FTDI FT232Bm (or BL) chip to the board. This is the hardest component to solder, since it's a surface-mount chip. The dot on corner of the chip has to line up with the dot on the board where the chip goes.
You can solder this part to the board without any solder. Just clean the solder pads on the board and the ends of the pins with solder flux. Then position the chip very precisely. Hold it down with a toothpick or other implement that will hold it steady. Tin your iron then wipe off any excess colder, leaving just a thin, shiny coat on the iron. Touch the tip of the iron to a corner pin of the chip. After a second or two, you should see the pin get shinier, as the solder wicks onto it from the pad, and from your iron. You should only need a second or two per pin. Don't hold your iron on each pin too long, or you'll burn the chip and the board.

Tack the chip down by soldering pins on two opposite corners first. Then you won't need to hold it with a toothpick anymore, and can hold the board steady with your other hand. Once you've got the corners done, go around the board and solder each pin down the same way as you did the corners.

Once you've got the USB chip soldered on, breathe a sigh of relief. The rest is easy compared to this. Here's what your board looks like now:

