Arduino/Genuino 101 CurieBLE LED
With this tutorial you use the Arduino or Genuino 101’s onboard Bluetooth Low Energy (BLE) capabilities to turn on and of the LED connected to Pin 13 from a smartphone or tablet. You create a LED service and keep reading the BLE central, looking for a writing event of the characteristic associated with the LED you want to control. This tutorial is similar to the Callback LED where the change is managed by polling and callback functions. The values are sent using nRF Master Control Panel (BLE) app, available for Android and iOS.
Hardware Required
- Arduino or Genuino 101
- Smartphone or Tablet Android or iOS
Software Required
The Circuit
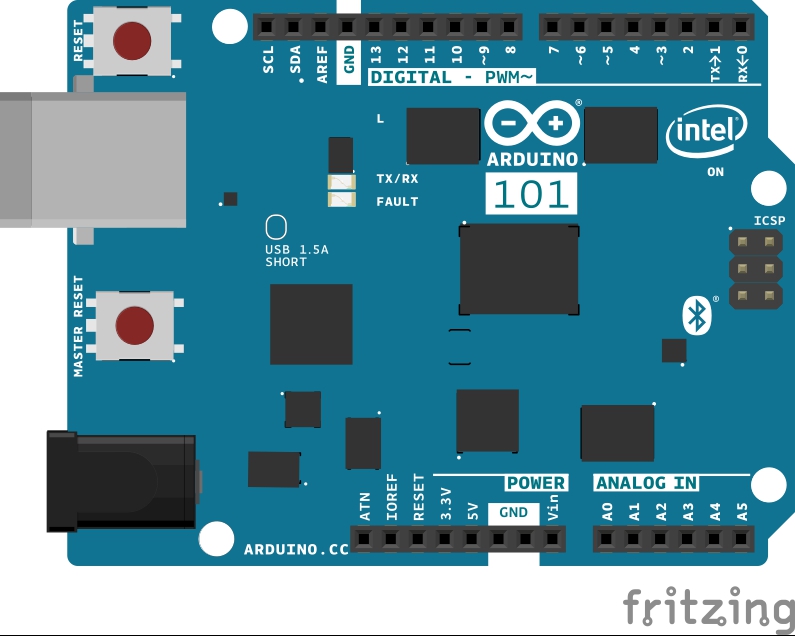
image developed using Fritzing.
Software Essentials
Libraries
CurieBLE.h is the library that gives access to all the parameters, features and functions of the BLE module of the 101 board. With Bluetooth Low Energy it is possible to connect to and communicate with smartphones, tablets and peripherals that support this standard. In this tutorial it is used to establish a connection with a control application on the smartphone and get the value used to turn on or off a LED.
Functions
None
On the Smartphone
To drive the onboard LED of Arduino or Genuino 101, you need the nRF Master Control Panel (BLE) for Android and iOS. Launch it and do a SCAN. You should find the LED tab with a connect button.
Tap on connect to open the following screen, where you find the description of our BLE service offered by the 101 board. The unknown service has a UUID 19B10000-E8F2-537E-4F6C-D104768A1214 and it is set by the BLEService ledService("19B10000-E8F2-537E-4F6C-D104768A1214"); statement at the beginning of the sketch.
Tap the Unknown Service to open up its characteristic, as shown below. It includes properties that can be written with a Write Request. you also find two icons on the right of the Unknow Characteristic. The arrow pointing down means read, the other means write.
Tap the arrow pointing up to open the Write value popup, then set the data type to UINT 8
Now tap on the line to write your chosen value (either "0" or "1"). As soon as you tap on send the value is sent to the 101 board and the LED instantly changes accordingly.
Code
In this sketch you use the setup() to initialise and configure the BLE peripheral. You start setting device name to LED, and configuring service UUID:
blePeripheral.setLocalName("LED"); blePeripheral.setAdvertisedServiceUuid(ledService.uuid());
Then you configure the BLE service, and add switch characteristics (which is used to control the LED):
blePeripheral.addAttribute(ledService); blePeripheral.addAttribute(switchCharacteristic);
You set switch characteristics value to 0 (default – LED off):
switchCharacteristic.setValue(0);
And finally you begin advertising the BLE service that was set up in the previous steps:
blePeripheral.begin();
In the loop() you check the connection with a BLE central and if connected you check if switch characteristic was written, and if so you read its value and set the LED state accordingly.
* Copyright (c) 2016 Intel Corporation. All rights reserved.
* See the bottom of this file for the license terms.
*/
#include <CurieBLE.h>
BLEPeripheral blePeripheral; // BLE Peripheral Device (the board you're programming)
BLEService ledService("19B10000-E8F2-537E-4F6C-D104768A1214"); // BLE LED Service
// BLE LED Switch Characteristic - custom 128-bit UUID, read and writable by central
BLEUnsignedCharCharacteristic switchCharacteristic("19B10001-E8F2-537E-4F6C-D104768A1214", BLERead | BLEWrite);
const int ledPin = 13; // pin to use for the LED
void setup() {
Serial.begin(9600);
// set LED pin to output mode
pinMode(ledPin, OUTPUT);
// set advertised local name and service UUID:
blePeripheral.setLocalName("LED");
blePeripheral.setAdvertisedServiceUuid(ledService.uuid());
// add service and characteristic:
blePeripheral.addAttribute(ledService);
blePeripheral.addAttribute(switchCharacteristic);
// set the initial value for the characeristic:
switchCharacteristic.setValue(0);
// begin advertising BLE service:
blePeripheral.begin();
Serial.println("BLE LED Peripheral");
}
void loop() {
// listen for BLE peripherals to connect:
BLECentral central = blePeripheral.central();
// if a central is connected to peripheral:
if (central) {
Serial.print("Connected to central: ");
// print the central's MAC address:
Serial.println(central.address());
// while the central is still connected to peripheral:
while (central.connected()) {
// if the remote device wrote to the characteristic,
// use the value to control the LED:
if (switchCharacteristic.written()) {
if (switchCharacteristic.value()) { // any value other than 0
Serial.println("LED on");
digitalWrite(ledPin, HIGH); // will turn the LED on
} else { // a 0 value
Serial.println(F("LED off"));
digitalWrite(ledPin, LOW); // will turn the LED off
}
}
}
// when the central disconnects, print it out:
Serial.print(F("Disconnected from central: "));
Serial.println(central.address());
}
}
/*
Copyright (c) 2016 Intel Corporation. All rights reserved.
This library is free software; you can redistribute it and/or
modify it under the terms of the GNU Lesser General Public
License as published by the Free Software Foundation; either
version 2.1 of the License, or (at your option) any later version.
This library is distributed in the hope that it will be useful,
but WITHOUT ANY WARRANTY; without even the implied warranty of
MERCHANTABILITY or FITNESS FOR A PARTICULAR PURPOSE. See the GNU
Lesser General Public License for more details.
You should have received a copy of the GNU Lesser General Public
License along with this library; if not, write to the Free Software
Foundation, Inc., 51 Franklin Street, Fifth Floor, Boston, MA 02110-1301 USA
*/
See Also
Last revision 2016/04/05


