Receive Voice Call
This sketch receives a voice call from an Arduino or Genuino board equipped with a GSM shield. Once the call is received and connected, it shows the number that is calling, and hangs up. You'll need to attach a speaker and microphone to hear the connected call and transmit your voice.
Hardware Required
- Arduino or Genuino Board
- Arduino + Telefonica GSM/GPRS Shield
- Microphone and speaker attached to the GSM shield
- SIM card
Circuit
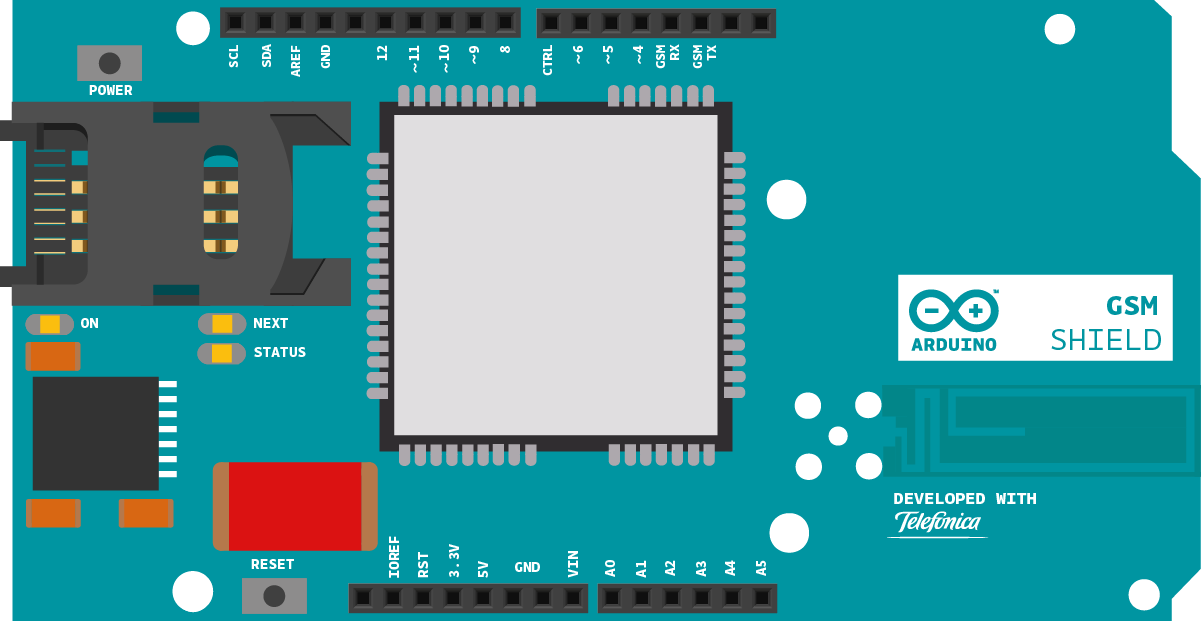
image of the Arduino GSM Shield on top of an Arduino or Genuino board
Code
First, import the GSM library
#include <GSM.h>
SIM cards may have a PIN number that unlocks their functionality. Define the PIN for your SIM. If your SIM has no PIN, you can leave it blank :
#define PINNUMBER ""
Initialize instances of the classes you're going to use. You're going to need both the GSM and GSMVoiceCall class.
GSMVoiceCall vcs;
Create a char array to store the incoming number :
In setup, open a serial connection to the computer. After opening the connection, send a message indicating the sketch has started.
Serial.begin(9600);
Serial.println("Receive Voice Call");
Create a local variable to track the connection status. You'll use this to keep the sketch from starting until the SIM is connected to the network :
Connect to the network by calling gsmAccess.begin(). It takes the SIM card's PIN as an argument. By placing this inside a while() loop, you can continually check the status of the connection. When the modem does connect, gsmAccess() will return GSM_READY. Use this as a flag to set the notConnected variable to true or false. Once connected, the remainder of setup will run.
{
if(gsmAccess.begin(PINNUMBER)==GSM_READY)
notConnected = false;
else
{
Serial.println("Not connected");
delay(1000);
}
}
To ensure the modem is ready to accept incoming calls, use the hangCall() function
vcs.hangCall();
Finish setup with some information to the serial monitor.
Serial.println("Awaiting call.");
}
In loop, use a switch statement to control the flow of the program. getvoiceCallStatus() will return its state when it is called.
{
switch (vcs.getvoiceCallStatus())
{
If getvoiceCallStatus() returns IDLE_CALL, there is nothing happening.
break;
If getvoiceCallStatus() returns RECEIVINGCALL, someone is calling you. Use retrieveCallingNumber() to store the incoming number to the numtel array you created, and print it to the serial monitor.
Use answerCall() to initiate the voice conection with the caller.
Serial.println("RECEIVING CALL");
vcs.retrieveCallingNumber(numtel, 20);
Serial.print("Number:");
Serial.println(numtel);
vcs.answerCall();
break;
Once you have answered the call, getvoiceCallStatus() will return TALKING. The sketch will wait for a newline character to trigger hangCall() and terminate the connection.
Close the switch statement.
Serial.println("TALKING. Enter line to interrupt.");
while(Serial.read()!='\n')
delay(100);
vcs.hangCall();
Serial.println("HANG. Waiting Call.");
break;
}
Add a small delay before continuing with the loop:
}
Once your code is uploaded, open the serial monitor. Make sure the serial monitor is set to only send a newline character on return.
The complete sketch is below.
Receive Voice Call
This sketch, for the Arduino GSM shield, receives voice calls,
displays the calling number, waits a few seconds then hangs up.
Circuit:
* GSM shield
* Voice circuit. Refer to to the GSM shield getting started guide
at http://www.arduino.cc/en/Guide/ArduinoGSMShield#toc11
* SIM card that can accept voice calls
With no voice circuit the call will connect, but will not send or receive sound
created Mar 2012
by Javier Zorzano
This example is in the public domain.
http://www.arduino.cc/en/Tutorial/GSMExamplesReceiveVoiceCall
*/
// Include the GSM library
#include <GSM.h>
// PIN Number
#define PINNUMBER ""
// initialize the library instance
GSM gsmAccess;
GSMVoiceCall vcs;
// Array to hold the number for the incoming call
char numtel[20];
void setup() {
// initialize serial communications and wait for port to open:
Serial.begin(9600);
while (!Serial) {
; // wait for serial port to connect. Needed for native USB port only
}
Serial.println("Receive Voice Call");
// connection state
boolean notConnected = true;
// Start GSM shield
// If your SIM has PIN, pass it as a parameter of begin() in quotes
while (notConnected) {
if (gsmAccess.begin(PINNUMBER) == GSM_READY) {
notConnected = false;
} else {
Serial.println("Not connected");
delay(1000);
}
}
// This makes sure the modem correctly reports incoming events
vcs.hangCall();
Serial.println("Waiting for a call");
}
void loop() {
// Check the status of the voice call
switch (vcs.getvoiceCallStatus()) {
case IDLE_CALL: // Nothing is happening
break;
case RECEIVINGCALL: // Yes! Someone is calling us
Serial.println("RECEIVING CALL");
// Retrieve the calling number
vcs.retrieveCallingNumber(numtel, 20);
// Print the calling number
Serial.print("Number:");
Serial.println(numtel);
// Answer the call, establish the call
vcs.answerCall();
break;
case TALKING: // In this case the call would be established
Serial.println("TALKING. Press enter to hang up.");
while (Serial.read() != '\n') {
delay(100);
}
vcs.hangCall();
Serial.println("Hanging up and waiting for the next call.");
break;
}
delay(1000);
}
See Also
- GSM Constructor
- GSM.begin()
- GSM.shutdown()
- GSMVoiceCall Constructor
- getVoiceCallStatus()
- ready()
- voiceCall()
- answerCall()
- hangCall()
- retrieveCallingNumber()
- Arduino GSM Shield – Complete product description.
- Getting started with the GSM Shield – Get everything set up in minutes.
- GSM library – Your reference for the GSM Library.
- GSMExamplesMakeVoiceCall - How to make a voice call with mic and speaker.
- GSMExamplesReceiveSMS - How to receive an SMS message.
- GSMExamplesSendSMS - How to send an SMS entering number and text through the serial monitor.
- GSMExamplesWebServer - A web server that when gets a request from a client sends back the value read on Analog inputs.
- GSMExamplesWebClient - Connect to the Arduino.cc home and print the contents on the serial monitor window.
- GSMToolsTestGPRS – Tries to access the internet over GPRS with supplied APN and credentials.
Last revision 2018/08/23 by SM
