GSM PIN Management
This example is part of the tools supplied for the Arduino GSM Shield and helps you change or remove the PIN of a SIM card .
Hardware Required
- Arduino or Genuino Board
- Arduino + Telefonica GSM/GPRS Shield
- SIM card
Circuit
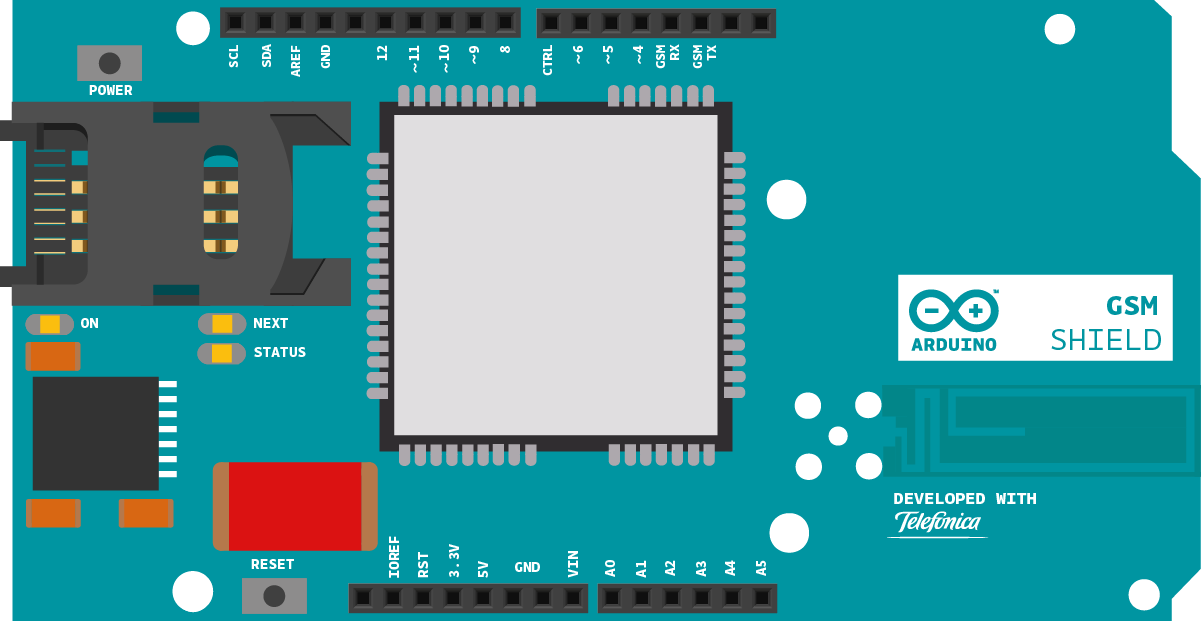
image of the Arduino GSM Shield on top of an Arduino or Genuino board
Code
First, import the GSM library
#include <GSM.h>
Initialize an instance of the GSMPin class.
GSMPIN PINManager;
Create your variables, starting with a String to hold input from the serial monitor. Also make a flag for checking f the SIM has been authenticated with a valid PIN, and messages for the serial monitor.
boolean auth = false;
String oktext = "OK";
String errortext = "ERROR";
In setup, open a serial connection to the computer. After opening the connection, send a message to the Serial Monitor indicating the sketch has started. Call PINManager.begin() to reset the modem.
Serial.begin(9600);
Serial.println("Change PIN example\n");
PINManager.begin();
Check to see if the SIM is locked with a PIN
int pin_query = PINManager.isPIN();
if(pin_query == 1)
{
If locked, ask for the PIN via the serial monitor. You'll use a custom function named readSerial() to parse the information.
user_input = readSerial();
If the PIN is valid, set the auth flag to true. Send a status message to the serial monitor indicating the result. If you enter the wrong PIN, you can try again. After 3 missed attempts, the PIN will be locked, and you'll need the PUK number to unlock.
{
auth = true;
PINManager.setPINUsed(true);
Serial.println(oktext);
}
else
{
Serial.println("Incorrect PIN. Remember that you have 3 opportunities.");
}
}
If the SIM is in PUK lock mode, ask for the PUK code and a new PIN
{
Serial.println("PIN locked. Enter PUK code: ");
String puk = readSerial();
Serial.print("Now, enter a new PIN code: ");
user_input = readSerial();
if(PINManager.checkPUK(puk, user_input) == 0)
{
auth = true;
PINManager.setPINUsed(true);
Serial.println(oktext);
}
else
{
Serial.println("Incorrect PUK or invalid new PIN. Try again!.");
}
}
If there is an error, and the PIN number and PUK are both locked, send an appropriate status message :
{
Serial.println("PIN & PUK locked. Use PIN2/PUK2 in a mobile phone.");
while(true);
}
If there's no PIN number, set the auth flag to true
{
// SIM does not requires authetication
Serial.println("No pin necessary.");
auth = true;
}
}
Check the registration on the GSM network, and indicate if you're connected or not, and if you're roaming.
if(PINManager.checkReg() == 0)
Serial.println(oktext);
else if(PINManager.checkReg() == 1)
Serial.println("ROAMING " + oktext);
else
{
Serial.println(errortext);
while(true);
}
}
You're going to create a custom function to handle serial input from the serial monitor. Make a named function of type String.
{
While there is serial information available, read it into a new String. If a newline character is encountered, return to the main program.
while(1)
{
while (Serial.available() > 0)
{
char inChar = Serial.read();
if (inChar == '\n')
{
return text;
}
if(inChar!='\r')
text += inChar;
}
}
}
loop() acts as a PIN management tool, allowing you to turn the PIN on or off, and change it.
{
Serial.println("Choose an option:\n1 - On/Off PIN.");
if(PINManager.getPINUsed())
Serial.println("2 - Change PIN.");
String user_op = readSerial();
if(user_op == "1")
{
Serial.println("Enter your PIN code:");
user_input = readSerial();
PINManager.switchPIN(user_input);
}
else if(user_op == "2" & PINManager.getPINUsed())
{
Serial.println("Enter your actual PIN code:");
String oldPIN = readSerial();
Serial.println("Now, enter your new PIN code:");
String newPIN = readSerial();
PINManager.changePIN(oldPIN, newPIN);
}
else
{
Serial.println("Incorrect option. Try again!.");
}
delay(1000);
}
Once your code is uploaded, open the serial monitor to work with the PIN.
The complete sketch is below.
Band Management
This sketch, for the Arduino GSM shield, checks the band
currently configured in the modem and allows you to change
it.
Please check http://www.worldtimezone.com/gsm.html
Usual configurations:
Europe, Africa, Middle East: E-GSM(900)+DCS(1800)
USA, Canada, South America: GSM(850)+PCS(1900)
Mexico: PCS(1900)
Brazil: GSM(850)+E-GSM(900)+DCS(1800)+PCS(1900)
Circuit:
* GSM shield
created 12 June 2012
by Javier Zorzano, Scott Fitzgerald
This example is in the public domain.
*/
// libraries
#include <GSM.h>
// initialize the library instance
GSMBand band;
void setup() {
// initialize serial communications and wait for port to open:
Serial.begin(9600);
while (!Serial) {
; // wait for serial port to connect. Needed for Leonardo only
}
// Beginning the band manager restarts the modem
Serial.println("Restarting modem...");
band.begin();
Serial.println("Modem restarted.");
};
void loop() {
// Get current band
String bandName = band.getBand(); // Get and print band name
Serial.print("Current band:");
Serial.println(bandName);
Serial.println("Want to change the band you’re on?");
String newBandName;
newBandName = askUser();
// Tell the user what we are about to do…
Serial.print("\nConfiguring band ");
Serial.println(newBandName);
// Change the band
boolean operationSuccess;
operationSuccess = band.setBand(newBandName);
// Tell the user if the operation was OK
if (operationSuccess) {
Serial.println("Success");
} else {
Serial.println("Error while changing band");
}
if (operationSuccess) {
while (true);
}
}
// This function offers the user different options
// through the Serial interface
// The user selects one
String askUser() {
String newBand;
Serial.println("Select band:");
// Print the different options
Serial.println("1 : E-GSM(900)");
Serial.println("2 : DCS(1800)");
Serial.println("3 : PCS(1900)");
Serial.println("4 : E-GSM(900)+DCS(1800) ex: Europe");
Serial.println("5 : GSM(850)+PCS(1900) Ex: USA, South Am.");
Serial.println("6 : GSM(850)+E-GSM(900)+DCS(1800)+PCS(1900)");
// Empty the incoming buffer
while (Serial.available()) {
Serial.read();
}
// Wait for an answer, just look at the first character
while (!Serial.available());
char c = Serial.read();
if (c == '1') {
newBand = GSM_MODE_EGSM;
} else if (c == '2') {
newBand = GSM_MODE_DCS;
} else if (c == '3') {
newBand = GSM_MODE_PCS;
} else if (c == '4') {
newBand = GSM_MODE_EGSM_DCS;
} else if (c == '5') {
newBand = GSM_MODE_GSM850_PCS;
} else if (c == '6') {
newBand = GSM_MODE_GSM850_EGSM_DCS_PCS;
} else {
newBand = "GSM_MODE_UNDEFINED";
}
return newBand;
}
See Also
- Arduino GSM Shield – Complete product description.
- Getting started with the GSM Shield – Get everything set up in minutes.
- GSM library – Your reference for the GSM Library.
- GSMPIN
- begin()
- isPIN()
- checkPIN()
- checkPUK()
- changePIN()
- switchPIN()
- checkReg()
- getPINUsed()
- setPINUsed()
- GSMToolsTestGPRS - Tries to access the internet over GPRS with supplied APN and credentials.
- GSMToolsBandManagement - Checks the band currently configured in the modem and allows you to change it.
- GSMToolsGsmScanNetworks - Scans the available networks and prints informations about IMEI and number of the SIM card.
- GSMToolsTestModem - Tests to see if the modem of the GSM shield is working correctly.
- GSMToolsTestWebServer - A simple web server that replies with nothing, but prints the client's request and the server IP address.
- GSMExamplesMakeVoiceCall - How to make a voice call with mic and speaker.
Last revision 2018/08/23 by SM
