Ionic 2 Tutorial
Now that you have Ionic and its dependencies installed, you can build your first app! This section will guide you through the process of starting a new application, adding pages, navigating between those pages, and more. Let’s get started!
Starting a New Ionic 2 App
Let’s create a new app! Use the start command to initialize a new Ionic app. Specify that you want it to be an Ionic 2 app by passing in the --v2 option. We also specify that the tutorial template should be used.
$ ionic start MyIonic2Project tutorial --v2
This will pull Ionic 2 down, install npm modules for the application, and get Cordova set up and ready to go.
Want to use TypeScript instead? Pass the --ts flag and get a project set up for TypeScript instead.
You may have noticed that we passed in tutorial to the
ionic startcommand. This tells Ionic to initialize your application using the tutorial template. If you don’t specify a template by runningionic start MyIonic2Project --v2, the tabs template will be used.
Viewing the app in a browser
Now, you can cd into the folder that was created. To get a quick preview of your app in the browser, use the serve command.
$ cd MyIonic2Project/
$ ionic serve

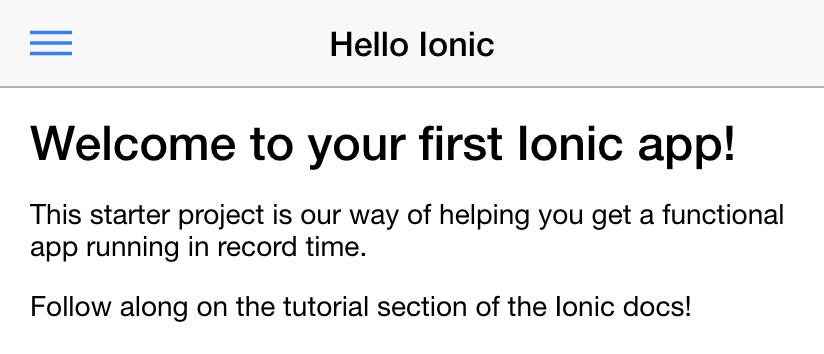
You should see the welcome message shown above if everything was installed successfully.
In the next section, let’s go over the project structure created by the ionic start command.