MultiSerialMega
Sometimes, one serial port just isn't enough! When trying to communicate with multiple serial enabled devices, while also sending info back to the main serial window, a few extra RX/TX ports can be a welcomed thing. This example makes use of one of Arduino and Genuino Mega's 3 auxiliary serial ports, routing any incoming data read on that connection straight to the main TX line, and, in turn, to the main serial window for you to view.
Hardware Required
- Arduino or Genuino Mega Board
- Serial enabled device (a Xbee Radio, a Bluetooth module, or RFID reader, or another board, for instance).
Circuit
After checking the data sheet of whatever serial enabled device you choose to use for this example, make sure that it is both properly wired and powered. Connect the RX pin and TX pins of your device to the TX1 and RX1 pins of your Mega, as shown in the schematic below.
Make sure that your Mega is connected to your computer, via USB, to enable serial communication.
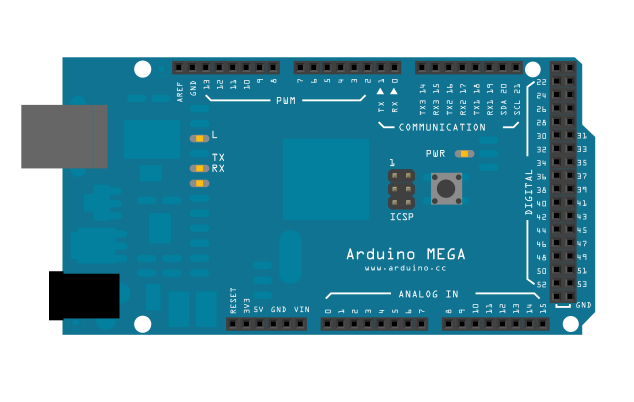
image developed using Fritzing. For more circuit examples, see the Fritzing project page
Schematic

Code
This sketch assumes that you connect your serial enabled device is attached to TX1 and RX1.
Multiple Serial test
Receives from the main serial port, sends to the others.
Receives from serial port 1, sends to the main serial (Serial 0).
This example works only with boards with more than one serial like Arduino Mega, Due, Zero etc.
The circuit:
- any serial device attached to Serial port 1
- Serial Monitor open on Serial port 0
created 30 Dec 2008
modified 20 May 2012
by Tom Igoe & Jed Roach
modified 27 Nov 2015
by Arturo Guadalupi
This example code is in the public domain.
*/
void setup() {
// initialize both serial ports:
Serial.begin(9600);
Serial1.begin(9600);
}
void loop() {
// read from port 1, send to port 0:
if (Serial1.available()) {
int inByte = Serial1.read();
Serial.write(inByte);
}
// read from port 0, send to port 1:
if (Serial.available()) {
int inByte = Serial.read();
Serial1.write(inByte);
}
}
See Also
- serial.begin()
- serial.read()
- serial.available()
- if()
- ASCIITable - Demonstrates Arduino's advanced serial output functions.
- Dimmer - Move the mouse to change the brightness of an LED.
- Graph - Send data to the computer and graph it in Processing.
- Midi - Send MIDI note messages serially.
- PhysicalPixel - Turn a LED on and off by sending data to your board from Processing or Max/MSP.
- ReadASCIIString - Parse a comma-separated string of integers to fade an LED.
- SerialCallResponse - Send multiple variables using a call-and-response (handshaking) method.
- SerialCallResponseASCII - Send multiple variables using a call-and-response (handshaking) method, and ASCII-encode the values before sending.
- SerialEvent - Demonstrates the use of SerialEvent().
- VirtualColorMixer - Send multiple variables from Arduino to your computer and read them in Processing or Max/MSP.
Last revision 2015/07/29 by SM
