Arduino/Genuino 101 CurieIMU Raw IMU Data Serial
In this tutorial you read the whole set of raw data from accelerometer and gyroscope. The function used reads the six values all together, but there are specific functions to read a single sensor or a single axis of a sensor.
Hardware Required
The Circuit
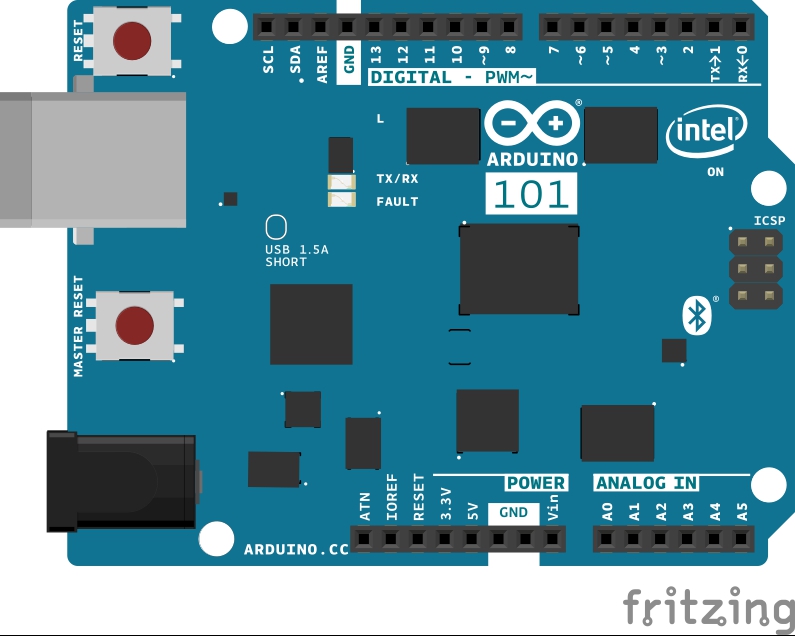
image developed using Fritzing.
No additional hardware is needed to use this tutorial.
Software Essentials
Libraries
CurieIMU.h is the library that gives access to all the parameters, features and readings of the IMU chip of the 101 board. This unit contains a three axes accelerometer and a three axes gyroscope. This library is part of the 101 board core and it is loaded together with the core files for Arduino or Genuino 101. In this tutorial we read the whole set of data from the motion sensor with the readMotionSensor function.
Functions
none
Code
The sensors may need calibration to get raw data that is related to the real position of the board. To achieve this, you change this line from int calibrateOffsets = 1; to int calibrateOffsets = 0; and place the board on a flat surface, with components pointing upwards. On the Serial monitor you will see the sensors output before offset calibration and then after calibration. If you don't move the board, the reading of raw data should be close to zero, except for the third value that is Z, equal or close to 16767 that is 1g for a +/-2G range.
===============================================
Example sketch for CurieIMU library for Intel(R) Curie(TM) devices.
Copyright (c) 2015 Intel Corporation. All rights reserved.
Based on I2C device class (I2Cdev) demonstration Arduino sketch for MPU6050
class by Jeff Rowberg: https://github.com/jrowberg/i2cdevlib
===============================================
I2Cdev device library code is placed under the MIT license
Copyright (c) 2011 Jeff Rowberg
Permission is hereby granted, free of charge, to any person obtaining a copy
of this software and associated documentation files (the "Software"), to deal
in the Software without restriction, including without limitation the rights
to use, copy, modify, merge, publish, distribute, sublicense, and/or sell
copies of the Software, and to permit persons to whom the Software is
furnished to do so, subject to the following conditions:
The above copyright notice and this permission notice shall be included in
all copies or substantial portions of the Software.
THE SOFTWARE IS PROVIDED "AS IS", WITHOUT WARRANTY OF ANY KIND, EXPRESS OR
IMPLIED, INCLUDING BUT NOT LIMITED TO THE WARRANTIES OF MERCHANTABILITY,
FITNESS FOR A PARTICULAR PURPOSE AND NONINFRINGEMENT. IN NO EVENT SHALL THE
AUTHORS OR COPYRIGHT HOLDERS BE LIABLE FOR ANY CLAIM, DAMAGES OR OTHER
LIABILITY, WHETHER IN AN ACTION OF CONTRACT, TORT OR OTHERWISE, ARISING FROM,
OUT OF OR IN CONNECTION WITH THE SOFTWARE OR THE USE OR OTHER DEALINGS IN
THE SOFTWARE.
===============================================
*/
#include "CurieIMU.h"
int ax, ay, az; // accelerometer values
int gx, gy, gz; // gyrometer values
const int ledPin = 13; // activity LED pin
boolean blinkState = false; // state of the LED
int calibrateOffsets = 1; // int to determine whether calibration takes place or not
void setup() {
Serial.begin(9600); // initialize Serial communication
while (!Serial); // wait for the serial port to open
// initialize device
Serial.println("Initializing IMU device...");
CurieIMU.begin();
// verify connection
Serial.println("Testing device connections...");
if (CurieIMU.begin()) {
Serial.println("CurieIMU connection successful");
} else {
Serial.println("CurieIMU connection failed");
}
// use the code below to calibrate accel/gyro offset values
if (calibrateOffsets == 1) {
Serial.println("Internal sensor offsets BEFORE calibration...");
Serial.print(CurieIMU.getAccelerometerOffset(X_AXIS));
Serial.print("\t"); // -76
Serial.print(CurieIMU.getAccelerometerOffset(Y_AXIS));
Serial.print("\t"); // -235
Serial.print(CurieIMU.getAccelerometerOffset(Z_AXIS));
Serial.print("\t"); // 168
Serial.print(CurieIMU.getGyroOffset(X_AXIS));
Serial.print("\t"); // 0
Serial.print(CurieIMU.getGyroOffset(Y_AXIS));
Serial.print("\t"); // 0
Serial.println(CurieIMU.getGyroOffset(Z_AXIS));
// To manually configure offset compensation values,
// use the following methods instead of the autoCalibrate...() methods below
//CurieIMU.setAccelerometerOffset(X_AXIS,495.3);
//CurieIMU.setAccelerometerOffset(Y_AXIS,-15.6);
//CurieIMU.setAccelerometerOffset(Z_AXIS,491.4);
//CurieIMU.setGyroOffset(X_AXIS,7.869);
//CurieIMU.setGyroOffset(Y_AXIS,-0.061);
//CurieIMU.setGyroOffset(Z_AXIS,15.494);
Serial.println("About to calibrate. Make sure your board is stable and upright");
delay(5000);
// The board must be resting in a horizontal position for
// the following calibration procedure to work correctly!
Serial.print("Starting Gyroscope calibration and enabling offset compensation...");
CurieIMU.autoCalibrateGyroOffset();
Serial.println(" Done");
Serial.print("Starting Acceleration calibration and enabling offset compensation...");
CurieIMU.autoCalibrateAccelerometerOffset(X_AXIS, 0);
CurieIMU.autoCalibrateAccelerometerOffset(Y_AXIS, 0);
CurieIMU.autoCalibrateAccelerometerOffset(Z_AXIS, 1);
Serial.println(" Done");
Serial.println("Internal sensor offsets AFTER calibration...");
Serial.print(CurieIMU.getAccelerometerOffset(X_AXIS));
Serial.print("\t"); // -76
Serial.print(CurieIMU.getAccelerometerOffset(Y_AXIS));
Serial.print("\t"); // -2359
Serial.print(CurieIMU.getAccelerometerOffset(Z_AXIS));
Serial.print("\t"); // 1688
Serial.print(CurieIMU.getGyroOffset(X_AXIS));
Serial.print("\t"); // 0
Serial.print(CurieIMU.getGyroOffset(Y_AXIS));
Serial.print("\t"); // 0
Serial.println(CurieIMU.getGyroOffset(Z_AXIS));
}
// configure Arduino LED for activity indicator
pinMode(ledPin, OUTPUT);
}
void loop() {
// read raw accel/gyro measurements from device
CurieIMU.readMotionSensor(ax, ay, az, gx, gy, gz);
// these methods (and a few others) are also available
//CurieIMU.readAcceleration(ax, ay, az);
//CurieIMU.readRotation(gx, gy, gz);
//ax = CurieIMU.readAccelerometer(X_AXIS);
//ay = CurieIMU.readAccelerometer(Y_AXIS);
//az = CurieIMU.readAccelerometer(Z_AXIS);
//gx = CurieIMU.readGyro(X_AXIS);
//gy = CurieIMU.readGyro(Y_AXIS);
//gz = CurieIMU.readGyro(Z_AXIS);
// display tab-separated accel/gyro x/y/z values
Serial.print("a/g:\t");
Serial.print(ax);
Serial.print("\t");
Serial.print(ay);
Serial.print("\t");
Serial.print(az);
Serial.print("\t");
Serial.print(gx);
Serial.print("\t");
Serial.print(gy);
Serial.print("\t");
Serial.println(gz);
// blink LED to indicate activity
blinkState = !blinkState;
digitalWrite(ledPin, blinkState);
}
