Mailbox Read Message
This example for a Yún device shows how to use the Bridge library to send text messages from the Linux to the AVR. It demonstrate how you can create a queue of messages using REST style calls through the browser.
When running this example, make sure your computer is on the same network as the Yún device.
Once you have uploaded the sketch on the board you can start to append messages in the Yún mailbox. The Mailbox will be checked every 10 seconds and the available messages displayed on the Serial Monitor.
To use the REST APIs you need to insert the password or disable it from the Web panel.
You can use a browser with the following URL structure:
http://myArduinoYun.local/mailbox/hello
Hardware Required
- Yún board or shield
- computer and Yún on the same wireless or wired network
Software Required
- web browser
Circuit
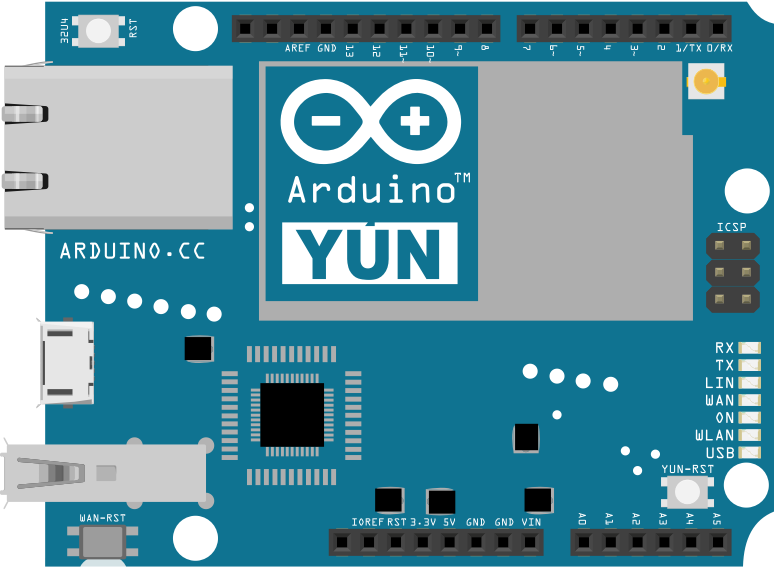
There is no circuit for this example.
image developed using Fritzing. For more circuit examples, see the Fritzing project page
Code
The example code shows how it's possible to make REST requests to the Yún deviceto send messages from the Linux side to the AVR. The messages are stored in a message queue, internal to the Linux side, and read by the AVR only when the readMessage() method is called.
You need to include only the Mailbox library because it automatically include the Bridge library:
In setup(), start serial communication for debugging purposes, and turn the built-in LED on pin 13 high while Bridge begins. Bridge.begin() is blocking, and should take about 2 seconds to complete. Once Bridge starts up, turn the LED off. Mailbox.begin() starts the Mailbox on the OpenWrt-Yun and on the Arduino processor.
pinMode(13, OUTPUT);
digitalWrite(13, LOW);
// Initialize Bridge and Mailbox
Bridge.begin();
Mailbox.begin();
digitalWrite(13, HIGH);
// Initialize Serial
Serial.begin(9600);
// Wait until a Serial Monitor is connected.
while (!Serial);
Serial.println("Mailbox Read Message\n");
Serial.println("The Mailbox is checked every 10 seconds. The incoming messages will be shown below.\n");
}
In loop(), you'll create a String where to save the incoming message and call the Mailbox.messageAvailable() function to read if there is an available message in the Mailbox.
String message;
// if there is a message in the Mailbox
if (Mailbox.messageAvailable())
{
If there is at least one message in the Mailbox, start to read all the messages in the queue and print it on the Serial Monitor.
while (Mailbox.messageAvailable())
{
Mailbox.readMessage(message);
Serial.println(message);
}
The Mailbox in the sketch is checked every 10 seconds using a delay(). This is also done to demonstrate the advantage to store data on the Linux processor instead of cluttering the RAM of the Arduino processor.
}
// wait 10 seconds
delay(10000);
}
Read Messages from the Mailbox
This example for the YunShield/Yún shows how to
read the messages queue, called Mailbox, using the
Bridge library.
The messages can be sent to the queue through REST calls.
Appen the message in the URL after the keyword "/mailbox".
Example
"/mailbox/hello"
created 3 Feb 2014
by Federico Vanzati & Federico Fissore
This example code is in the public domain.
http://www.arduino.cc/en/Tutorial/MailboxReadMessage
*/
#include <Mailbox.h>
void setup() {
pinMode(13, OUTPUT);
digitalWrite(13, LOW);
// Initialize Bridge and Mailbox
Bridge.begin();
Mailbox.begin();
digitalWrite(13, HIGH);
// Initialize Serial
SerialUSB.begin(9600);
// Wait until a Serial Monitor is connected.
while (!SerialUSB);
SerialUSB.println("Mailbox Read Message\n");
SerialUSB.println("The Mailbox is checked every 10 seconds. The incoming messages will be shown below.\n");
}
void loop() {
String message;
// if there is a message in the Mailbox
if (Mailbox.messageAvailable()) {
// read all the messages present in the queue
while (Mailbox.messageAvailable()) {
Mailbox.readMessage(message);
SerialUSB.println(message);
}
SerialUSB.println("Waiting 10 seconds before checking the Mailbox again");
}
// wait 10 seconds
delay(10000);
}
See Also
- Bridge Library - Your reference to the Bridge Library
- Bridge – Simple REST style calls to access analog and digital pins
- Console Ascii Table – A complete ASCII table printed to the Console
- Console Pixel – Turn an LED on and off through the Console
- Console Read - Read data coming from bridge using the Console.read() function
- Data Logger - Log data from three analog sensors to an SD card.
- File Write - How to write file into the Yún filesystem.
- Http Client - A basic HTTP client that connects to the internet and downloads content.
- Http Client Console - HTTP client that connects, downloads content and shows it using WiFi and Console.
- Process - How to run linux processes using an Yún.
- Remote Due Blink - How to upload remotely a sketch on DUE boards.
- Shell Commands - How to run linux shell commands using a Yún.
- Temperature Web Panel - How to serve data from an analog input via the Yún's built-in webserver.
- Time check - Gets the time from Linux via Bridge then parses out hours, minutes and seconds.
- WiFi Status - Prints information about the status of your wifi connection.
- Yún First Configuration - Easily configure your Yún device using Serial Monitor and USB port.
- Serial Terminal - Use the Yún's 32U4 processor as a serial terminal for the Linux side on the Yún.
Last revision 2016/05/25 by SM

