Time Check
This example for a Yún device gets the time from the Linux processor via Bridge, then parses out hours, minutes and seconds for the Arduino. The Yún device must be connected to a network to get the correct time. If you used the web-based WiFi interface to configure the Yún device for the network, make sure you've selected the proper time zone.
Hardware Required
- Yún board or shield
- WiFi network connected to the internet
Circuit
There is no circuit for this example.
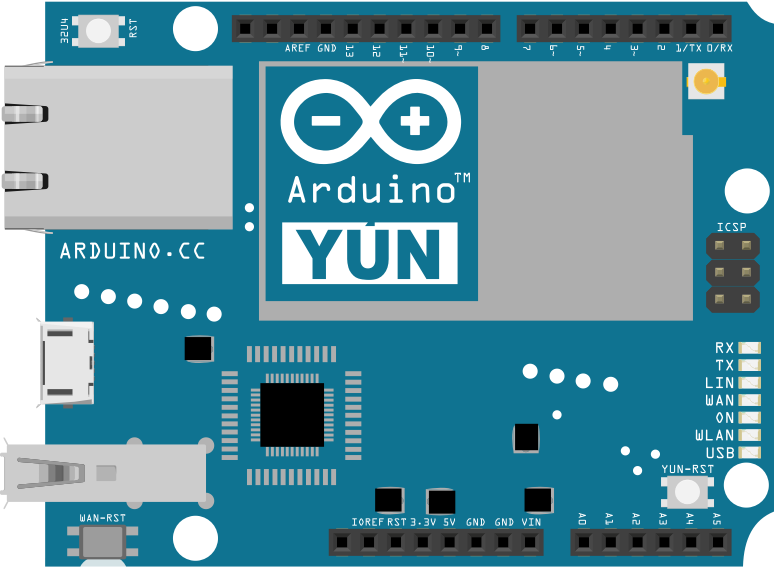
image developed using Fritzing. For more circuit examples, see the Fritzing project page
Code
You need to include the Process class :#include <Process.h>
Create an instance of Process that will be used to get the date, and create variables to hold the current hour, minute, and second. You'll also want to create a variable to store the previous time. To start, put in a value that cannot be a valid time (like a negative number).
int hours, minutes, seconds;
int lastSecond = -1;
In @@setup()@ initialize Bridge and Serial. Wait until there is a serial connection before continuing with the sketch and printing a status to the serial monitor.
Bridge.begin();
Serial.begin(9600);
while(!Serial);
Serial.println("Time Check");
Run an initial process to get the time by adding the parameter "T" to date.
date.begin("date");
date.addParameter("+%T");
date.run();
}
}
In loop() check to see if a second has passed since the previous time. If so, print out the current time to the serial monitor and restart the date process if it has stopped.
if(lastSecond != seconds) { // if a second has passed
if (hours <= 9) Serial.print("0"); // adjust for 0-9
Serial.print(hours);
Serial.print(":");
if (minutes <= 9) Serial.print("0"); // adjust for 0-9
Serial.print(minutes);
Serial.print(":");
if (seconds <= 9) Serial.print("0"); // adjust for 0-9
Serial.println(seconds);
if (!date.running()) {
date.begin("date");
date.addParameter("+%T");
date.run();
}
}
If there is a result from the date process, parse the data. First, store the result (hh:mm:ss) in a string, then find the location of the colons with indexOf() and lastIndexOf().
String timeString = date.readString();
int firstColon = timeString.indexOf(":");
int secondColon= timeString.lastIndexOf(":");
Knowing the index numbers of the colons, you can separate the hours minutes and seconds as substrings :
String minString = timeString.substring(firstColon+1, secondColon);
String secString = timeString.substring(secondColon+1);
Finally, convert the strings to ints, and save the previous second to do a time comparison in the next loop().
minutes = minString.toInt();
lastSecond = seconds;
seconds = secString.toInt();
}
}
The complete code follows :
Time Check
Gets the time from Linux via Bridge then parses out hours,
minutes and seconds using a YunShield/Yún.
created 27 May 2013
modified 21 June 2013
By Tom Igoe
This example code is in the public domain.
http://www.arduino.cc/en/Tutorial/TimeCheck
*/
#include <Process.h>
Process date; // process used to get the date
int hours, minutes, seconds; // for the results
int lastSecond = -1; // need an impossible value for comparison
void setup() {
Bridge.begin(); // initialize Bridge
SerialUSB.begin(9600); // initialize serial
while (!Serial); // wait for Serial Monitor to open
SerialUSB.println("Time Check"); // Title of sketch
// run an initial date process. Should return:
// hh:mm:ss :
if (!date.running()) {
date.begin("date");
date.addParameter("+%T");
date.run();
}
}
void loop() {
if (lastSecond != seconds) { // if a second has passed
// print the time:
if (hours <= 9) {
SerialUSB.print("0"); // adjust for 0-9
}
SerialUSB.print(hours);
SerialUSB.print(":");
if (minutes <= 9) {
SerialUSB.print("0"); // adjust for 0-9
}
SerialUSB.print(minutes);
SerialUSB.print(":");
if (seconds <= 9) {
SerialUSB.print("0"); // adjust for 0-9
}
SerialUSB.println(seconds);
// restart the date process:
if (!date.running()) {
date.begin("date");
date.addParameter("+%T");
date.run();
}
}
//if there's a result from the date process, parse it:
while (date.available() > 0) {
// get the result of the date process (should be hh:mm:ss):
String timeString = date.readString();
// find the colons:
int firstColon = timeString.indexOf(":");
int secondColon = timeString.lastIndexOf(":");
// get the substrings for hour, minute second:
String hourString = timeString.substring(0, firstColon);
String minString = timeString.substring(firstColon + 1, secondColon);
String secString = timeString.substring(secondColon + 1);
// convert to ints,saving the previous second:
hours = hourString.toInt();
minutes = minString.toInt();
lastSecond = seconds; // save to do a time comparison
seconds = secString.toInt();
}
}
See Also
- Bridge Library - Your reference to the Bridge Library
- Bridge – Simple REST style calls to access analog and digital pins
- Console Ascii Table – A complete ASCII table printed to the Console
- Console Pixel – Turn an LED on and off through the Console
- Console Read - Read data coming from bridge using the Console.read() function
- Data Logger - Log data from three analog sensors to an SD card.
- File Write - How to write file into the Yún filesystem.
- Http Client - A basic HTTP client that connects to the internet and downloads content.
- Http Client Console - HTTP client that connects, downloads content and shows it using WiFi and Console.
- Mailbox Read Message - How to read the messages queue, called Mailbox, using the Bridge library.
- Process - How to run linux processes using an Yún.
- Remote Due Blink - How to upload remotely a sketch on DUE boards.
- Shell Commands - How to run linux shell commands using a Yún.
- Temperature Web Panel - How to serve data from an analog input via the Yún's built-in webserver.
- WiFi Status - Prints information about the status of your wifi connection.
- Yún First Configuration - Easily configure your Yún device using Serial Monitor and USB port.
- Serial Terminal - Use the Yún's 32U4 processor as a serial terminal for the Linux side on the Yún.
Last revision 2016/05/25 by SM
