SerialPassthrough
This example demonstrates how to virtually connect together Serial and Serial1. This tutorial can be so loaded on boards that have two different UART interfaces on the 0 and 1 pins and the USB port (like Zero, MKR1000, 101). In particular every data coming from the RX pin of the Serial1 is transmitted to Serial and viceversa.
Hardware Required
- Arduino or Genuino Board
Circuit
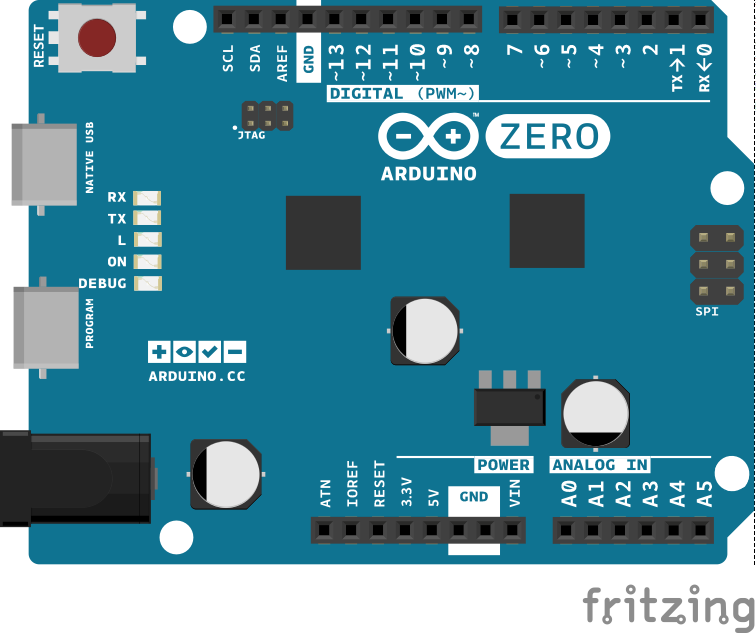
image developed using Fritzing. For more circuit examples, see the Fritzing project page
None, but the board has to be connected to the computer; the Arduino Software (IDE) serial monitor may be used to communicate the single or multiple characters and receive the string back.
Code
/*
SerialPassthrough sketch
Some boards, like the Arduino 101, the MKR1000, Zero, or the Micro, have one
hardware serial port attached to Digital pins 0-1, and a separate USB serial
port attached to the IDE Serial Monitor. This means that the "serial
passthrough" which is possible with the Arduino UNO (commonly used to interact
with devices/shields that require configuration via serial AT commands) will
not work by default.
This sketch allows you to emulate the serial passthrough behaviour. Any text
you type in the IDE Serial monitor will be written out to the serial port on
Digital pins 0 and 1, and vice-versa.
On the 101, MKR1000, Zero, and Micro, "Serial" refers to the USB Serial port
attached to the Serial Monitor, and "Serial1" refers to the hardware serial
port attached to pins 0 and 1. This sketch will emulate Serial passthrough
using those two Serial ports on the boards mentioned above, but you can change
these names to connect any two serial ports on a board that has multiple ports.
created 23 May 2016
by Erik Nyquist
*/
void setup() {
Serial.begin(9600);
Serial1.begin(9600);
}
void loop() {
if (Serial.available()) { // If anything comes in Serial (USB),
Serial1.write(Serial.read()); // read it and send it out Serial1 (pins 0 & 1)
}
if (Serial1.available()) { // If anything comes in Serial1 (pins 0 & 1)
Serial.write(Serial1.read()); // read it and send it out Serial (USB)
}
}
See Also
- SerialEvent()
- ASCIITable - Demonstrates Arduino's advanced serial output functions.
- Dimmer - Move the mouse to change the brightness of an LED.
- Graph - Send data to the computer and graph it in Processing.
- Midi - Send MIDI note messages serially.
- MultiSerialMega - Use two of the serial ports available on the Arduino and Genuino Mega.
- PhysicalPixel - Turn a LED on and off by sending data to your board from Processing or Max/MSP.
- ReadASCIIString - Parse a comma-separated string of integers to fade an LED.
- SerialCallResponse - Send multiple variables using a call-and-response (handshaking) method.
- SerialCallResponseASCII - Send multiple variables using a call-and-response (handshaking) method, and ASCII-encode the values before sending.
- VirtualColorMixer - Send multiple variables from Arduino to your computer and read them in Processing or Max/MSP.
Last revision 2016/05/26 by AG
