Two Port Receive
Arduino and Genuino boards have built in support for serial communication on pins 0 and 1, but what if you need more serial ports? The SoftwareSerial Library has been developed to allow serial communication to take place on the other digital pins of your boards, using software to replicate the functionality of the hardwired RX and TX lines. This can be extremely helpful when the need arises to communicate with two serial enabled devices, or to talk with just one device while leaving the main serial port open for debugging purpose.
In the example below, digital pins 2 and 4 on your Arduino or Genuino board are used as virtual RX serial lines. Pins 3 and 5 are virtual TX lines. The board listens on one virtual port (portOne) until it receives a "?" character. After that, it listens on the second virtual port (portTwo).
Hardware Required
- Arduino or Genuino Board
Circuit
There is no circuit for this example. Make sure that your Arduino or Genuino board is attached to your computer via USB to enable serial communication through the serial monitor window of the Arduino Software (IDE).
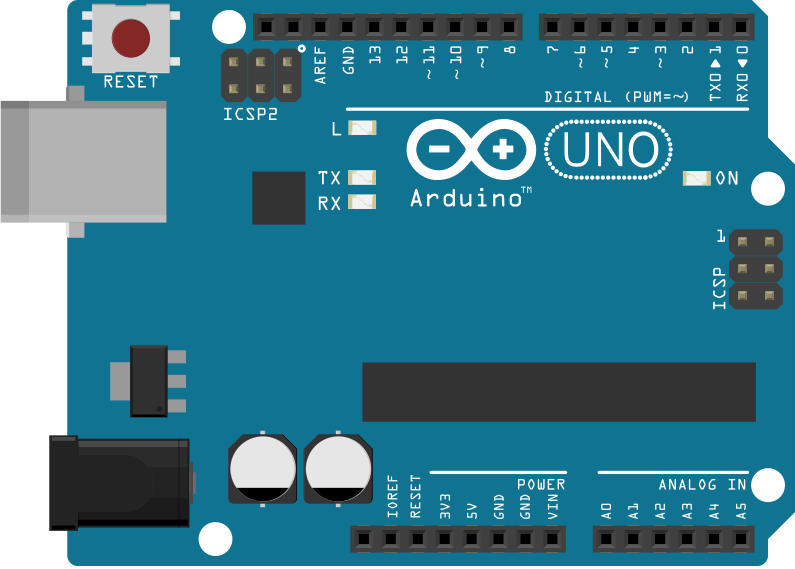
image developed using Fritzing. For more circuit examples, see the Fritzing project page
Schematics
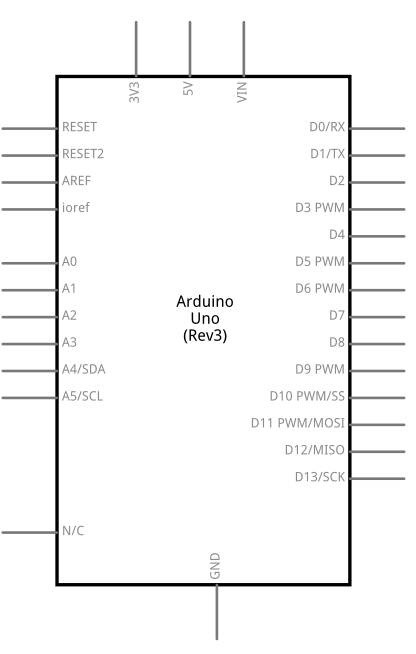
image developed using Fritzing. For more circuit examples, see the Fritzing project page
Code
Software serial multple serial test
Receives from the two software serial ports,
sends to the hardware serial port.
In order to listen on a software port, you call port.listen().
When using two software serial ports, you have to switch ports
by listen()ing on each one in turn. Pick a logical time to switch
ports, like the end of an expected transmission, or when the
buffer is empty. This example switches ports when there is nothing
more to read from a port
The circuit:
Two devices which communicate serially are needed.
* First serial device's TX attached to digital pin 10(RX), RX to pin 11(TX)
* Second serial device's TX attached to digital pin 8(RX), RX to pin 9(TX)
Note:
Not all pins on the Mega and Mega 2560 support change interrupts,
so only the following can be used for RX:
10, 11, 12, 13, 50, 51, 52, 53, 62, 63, 64, 65, 66, 67, 68, 69
Not all pins on the Leonardo support change interrupts,
so only the following can be used for RX:
8, 9, 10, 11, 14 (MISO), 15 (SCK), 16 (MOSI).
created 18 Apr. 2011
modified 19 March 2016
by Tom Igoe
based on Mikal Hart's twoPortRXExample
This example code is in the public domain.
*/
#include <SoftwareSerial.h>
// software serial #1: RX = digital pin 10, TX = digital pin 11
SoftwareSerial portOne(10, 11);
// software serial #2: RX = digital pin 8, TX = digital pin 9
// on the Mega, use other pins instead, since 8 and 9 don't work on the Mega
SoftwareSerial portTwo(8, 9);
void setup() {
// Open serial communications and wait for port to open:
Serial.begin(9600);
while (!Serial) {
; // wait for serial port to connect. Needed for native USB port only
}
// Start each software serial port
portOne.begin(9600);
portTwo.begin(9600);
}
void loop() {
// By default, the last intialized port is listening.
// when you want to listen on a port, explicitly select it:
portOne.listen();
Serial.println("Data from port one:");
// while there is data coming in, read it
// and send to the hardware serial port:
while (portOne.available() > 0) {
char inByte = portOne.read();
Serial.write(inByte);
}
// blank line to separate data from the two ports:
Serial.println();
// Now listen on the second port
portTwo.listen();
// while there is data coming in, read it
// and send to the hardware serial port:
Serial.println("Data from port two:");
while (portTwo.available() > 0) {
char inByte = portTwo.read();
Serial.write(inByte);
}
// blank line to separate data from the two ports:
Serial.println();
}
See also
- The Software Serial Library
- SoftwareSerialExample - Two serial ports that route data between them mirroring TX and RX.
- MultiSerialMega - Use two of the serial ports available on the Arduino and Genuino Mega.
- Serial Call Response - Send multiple vairables using a call-and-response (handshaking) method.
- Serial Call Response ASCII - Send multiple variables using a call-and-response (handshaking) method, and ASCII-encode the values before sending.
Last revision 2018/05/17 by SM
