Docker for AWS setup & prerequisites
Estimated reading time: 7 minutesDocker Enterprise Edition (EE) for AWS
This deployment is fully baked and tested, and comes with the latest Docker Enterprise Edition for AWS.
This release is maintained and receives security and critical bug fixes for one year.
Deploy Docker Enterprise Edition (EE) for AWS
Docker Community Edition (CE) for AWS
Quickstart
If your account has the proper permissions, you can use the blue button to bootstrap Docker for AWS using CloudFormation.
Deploy Docker Community Edition (CE) for AWS (stable)
Deploy Docker Community Edition (CE) for AWS (stable)
uses your existing VPC
Deployment options
There are two ways to deploy Docker for AWS:
- With a pre-existing VPC
- With a new VPC created by Docker
We recommend allowing Docker for AWS to create the VPC since it allows Docker to optimize the environment. Installing in an existing VPC requires more work.
Create a new VPC
This approach creates a new VPC, subnets, gateways, and everything else needed to run Docker for AWS. It is the easiest way to get started, and requires the least amount of work.
All you need to do is run the CloudFormation template, answer some questions, and you are good to go.
Install with an Existing VPC
If you need to install Docker for AWS with an existing VPC, you need to do a few preliminary steps. See recommended VPC and Subnet setup for more details.
-
Pick a VPC in a region you want to use.
-
Make sure the selected VPC is setup with an Internet Gateway, Subnets, and Route Tables.
-
You need to have three different subnets, ideally each in their own availability zone. If you are running in a region with only two Availability Zones, you need to add more than one subnet into one of the availability zones. For production deployments we recommend only deploying to regions that have three or more Availability Zones.
-
When you launch the docker for AWS CloudFormation stack, make sure you use the one for existing VPCs. This template prompts you for the VPC and subnets that you want to use for Docker for AWS.
Prerequisites
- Access to an AWS account with permissions to use CloudFormation and creating the following objects. Full set of required permissions.
- EC2 instances + Auto Scaling groups
- IAM profiles
- DynamoDB Tables
- SQS Queue
- VPC + subnets and security groups
- ELB
- CloudWatch Log Group
- SSH key in AWS in the region where you want to deploy (required to access the completed Docker install)
- AWS account that support EC2-VPC (See the FAQ for details about EC2-Classic)
For more information about adding an SSH key pair to your account, refer to the Amazon EC2 Key Pairs docs.
The China and US Gov Cloud AWS partitions are not currently supported.
Configuration
Docker for AWS is installed with a CloudFormation template that configures Docker in swarm mode, running on instances backed by custom AMIs. There are two ways you can deploy Docker for AWS. You can use the AWS Management Console (browser based), or use the AWS CLI. Both have the following configuration options.
Configuration options
KeyName
Pick the SSH key to be used when you SSH into the manager nodes.
InstanceType
The EC2 instance type for your worker nodes.
ManagerInstanceType
The EC2 instance type for your manager nodes. The larger your swarm, the larger the instance size you should use.
ClusterSize
The number of workers you want in your swarm (0-1000).
ManagerSize
The number of managers in your swarm. On Docker CE, you can select either 1, 3 or 5 managers. We only recommend 1 manager for testing and dev setups. There are no failover guarantees with 1 manager — if the single manager fails the swarm goes down as well. Additionally, upgrading single-manager swarms is not currently guaranteed to succeed.
On Docker EE, you can choose to run with 3 or 5 managers.
We recommend at least 3 managers, and if you have a lot of workers, you should use 5 managers.
EnableSystemPrune
Enable if you want Docker for AWS to automatically cleanup unused space on your swarm nodes.
When enabled, docker system prune runs staggered every day, starting at
1:42AM UTC on both workers and managers. The prune times are staggered slightly
so that not all nodes are pruned at the same time. This limits resource
spikes on the swarm.
Pruning removes the following:
- All stopped containers
- All volumes not used by at least one container
- All dangling images
- All unused networks
EnableCloudWatchLogs
Enable if you want Docker to send your container logs to CloudWatch. (“yes”, “no”) Defaults to yes.
WorkerDiskSize
Size of Workers’ ephemeral storage volume in GiB (20 - 1024).
WorkerDiskType
Worker ephemeral storage volume type (“standard”, “gp2”).
ManagerDiskSize
Size of Manager’s ephemeral storage volume in GiB (20 - 1024)
ManagerDiskType
Manager ephemeral storage volume type (“standard”, “gp2”)
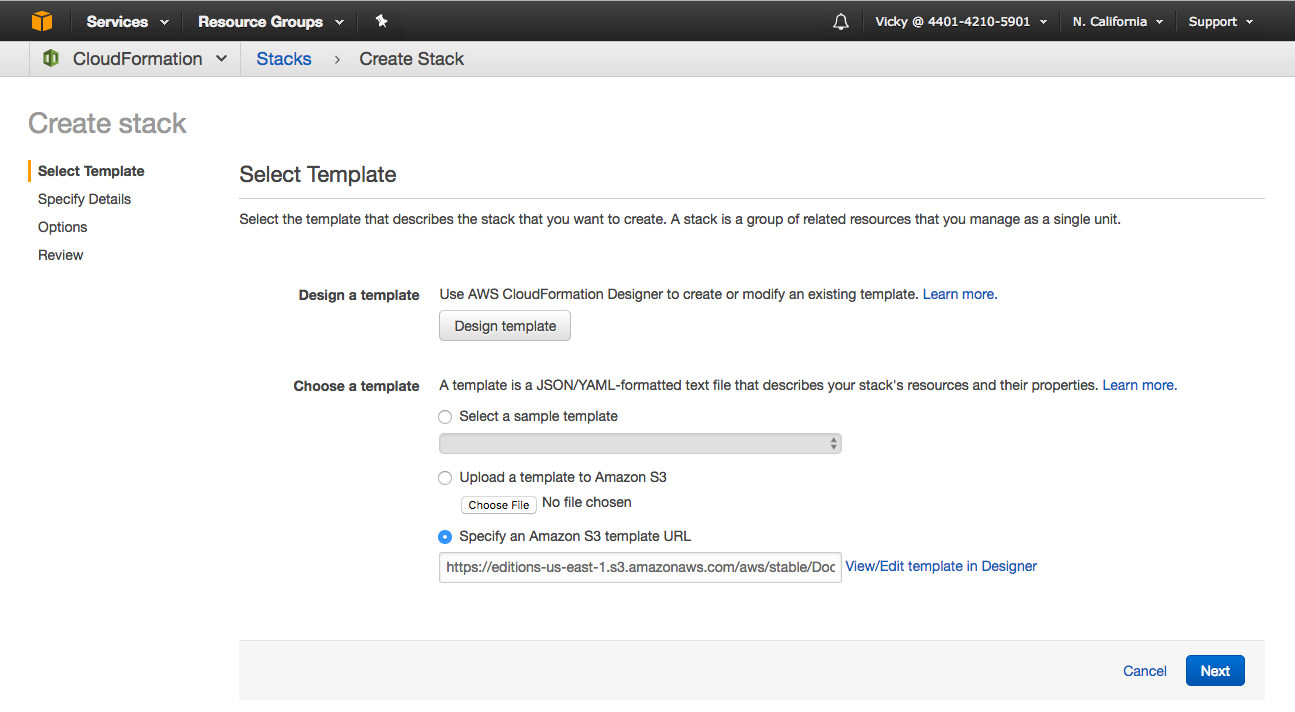
Installing with the AWS Management Console
The simplest way to use the template is to use one of the Quickstart options with the CloudFormation section of the AWS Management Console.
Installing with the CLI
You can also invoke the Docker for AWS CloudFormation template from the AWS CLI:
Here is an example of how to use the CLI. Make sure you populate all of the parameters and their values from the above list:
$ aws cloudformation create-stack --stack-name teststack --template-url <templateurl> --parameters ParameterKey=<keyname>,ParameterValue=<keyvalue> ParameterKey=InstanceType,ParameterValue=t2.micro ParameterKey=ManagerInstanceType,ParameterValue=t2.micro ParameterKey=ClusterSize,ParameterValue=1 .... --capabilities CAPABILITY_IAM
To fully automate installs, you can use the AWS Cloudformation API.
How it works
Docker for AWS starts with a CloudFormation template that creates everything that you need from scratch. There are only a few prerequisites that are listed above.
The CloudFormation template first creates a new VPC along with subnets and security groups. After the networking set-up completes, two Auto Scaling Groups are created, one for the managers and one for the workers, and the configured capacity setting is applied. Managers start first and create a quorum using Raft, then the workers start and join the swarm one at a time. At this point, the swarm is comprised of X number of managers and Y number of workers, and you can deploy your applications. See the deployment docs for your next steps.
To log into your nodes using SSH, use the
dockeruser rather thanrootorec2-user.
If you increase the number of instances running in your worker Auto Scaling Group (via the AWS console, or updating the CloudFormation configuration), the new nodes that start up automatically join the swarm.
Elastic Load Balancers (ELBs) are set up to help with routing traffic to your swarm.
Logging
Docker for AWS automatically configures logging to Cloudwatch for containers you run on Docker for AWS. A Log Group is created for each Docker for AWS install, and a log stream for each container.
The docker logs and docker service logs commands are not supported on Docker
for AWS when using Cloudwatch for logs. Instead, check container logs in
CloudWatch.
System containers
Each node has a few system containers running on it to help run your swarm cluster. For everything to run smoothly, keep those containers running, and don’t make any changes. If you make any changes, Docker for AWS does not work correctly.
Uninstalling or removing a stack
To uninstall Docker for AWS, log on to the AWS Console, navigate to Management Tools -> CloudFormation -> Actions -> Delete Stack, and select the Docker stack you want to remove.

Stack removal does not remove EBS and EFS volumes created by the cloudstor volume plugin or the S3 bucket associated with DTR. Those resources must be removed manually. See the cloudstor docs for instructions on removing volumes.