Share Cookbooks on the Chef Supermarket
[edit on GitHub]
This guide will show you how to share a cookbook on the public Chef Supermarket. The public Supermarket uses Hosted Chef, the Chef-as-a-service provider, for user authentication. You will need a Hosted Chef account to share cookbooks.
Note
If you already use Hosted Chef as your Chef server, skip to the cookbook sharing method of your choice:
Create a Hosted Chef Account
Go to the Hosted Chef signup page and enter the requested information to create your account.
You will receive a confirmation email. Use the link in the email to confirm your confirm your email address.
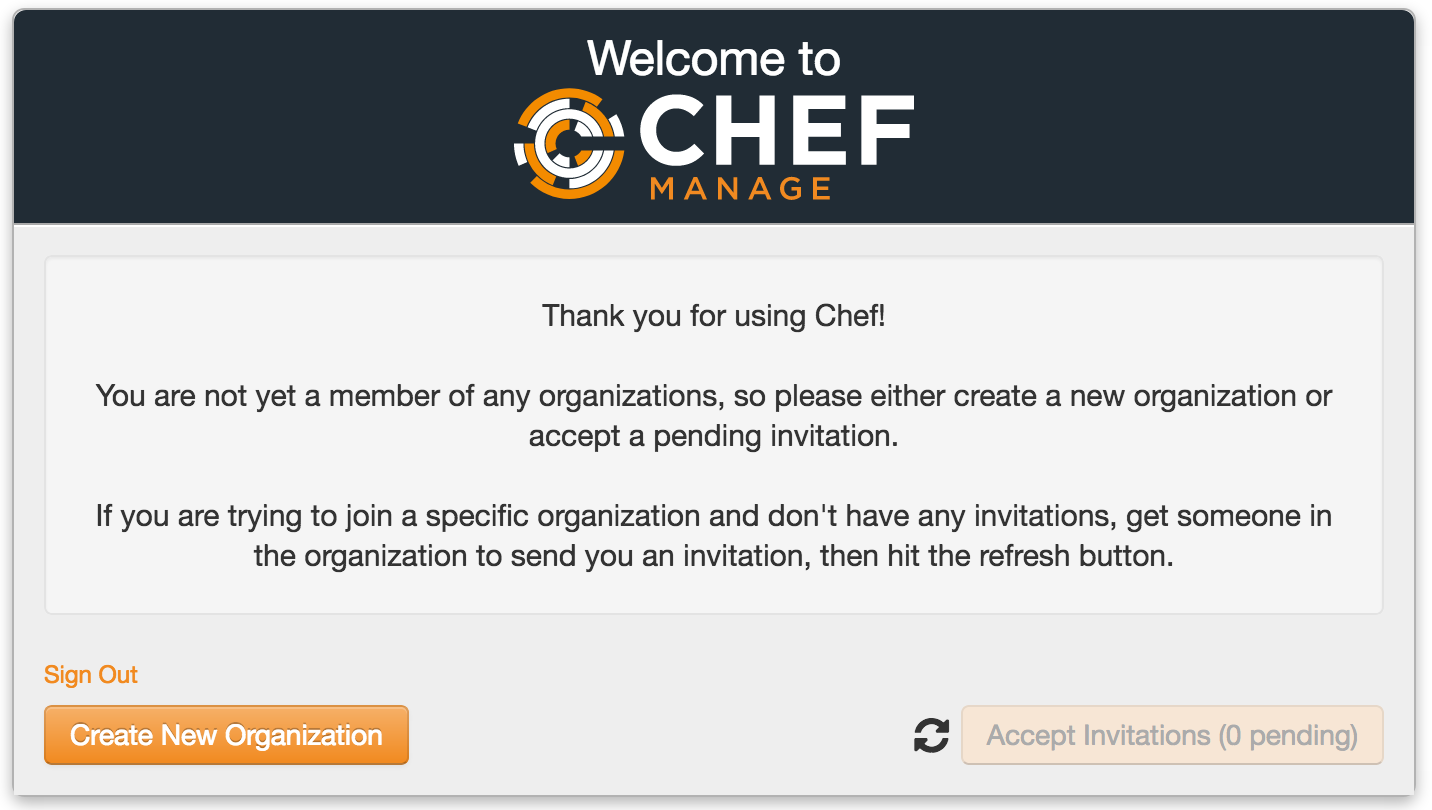
Log in to Hosted Chef and click the Create New Organization button:
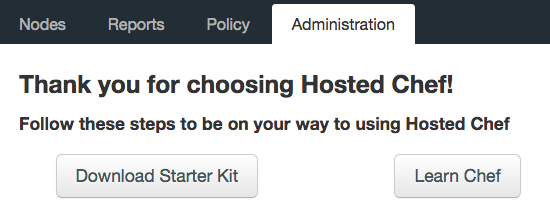
Download and extract the Hosted Chef starter kit:
Share Cookbooks via Stove
Stove is a cookbook release utility that keeps the upload process localized to the cookbook itself, as opposed to the Knife method which requires a cookbook repository.
Add your Hosted Chef credentials to Stove. Replace USER with your Hosted Chef user, and KEY.pem with your the full path to Hosted Chef private key:
stove login --username USER --key ~/chef-repo/.chef/KEY.pem
Stove will save this information to its configuration file under ~/.stove. Note that if you’ve downloaded the Hosted Chef starter kit, the private key is located within its chef-repo under /chef-repo/.chef/USERNAME.pem.
Navigate to the root of the cookbook that you want to upload, then initialize Stove:
Stove will package the cookbook, tag the cookbook version, and publish it to the public Supermarket. By default, Stove will tag the current commit of the Git repo with the version number declared in the cookbook’s metadata, and will push that tag to the Git remote; Use stove --no-git to disable this feature.
Share Cookbooks via Knife
Use the knife supermarket command to upload cookbooks to the Supermarket via Knife. In this section you’ll configure the chef-repo that was created by the Hosted Chef starter kit, and then upload cookbooks from your workstation’s cookbook repository.
Note
If you’re using Hosted Chef as your regular Chef server, skip to the second step.
The config.rb file located under /chef-repo/.chef/config.rb contains the basic information necessary to authenticate with Hosted Chef. It will look similar to the following:
current_dir = File.dirname(__FILE__)
log_level                :info
log_location             STDOUT
node_name                "brewn"
client_key               "#{current_dir}/brewn.pem"
chef_server_url          "https://api.chef.io/organizations/chfex"
cookbook_path            ["#{current_dir}/../cookbooks"]
However if you’re not an existing Hosted Chef user, you’ve most likely created your cookbooks within another repository with its own Knife configuration. Instead of modifying your workstation setup, simply add the path to your cookbook repository under the cookbook_path setting in your Hosted Chef chef-repo. For example:
cookbook_path ["~/my-repo/cookbooks"]
Use the knife supermarket command to upload your cookbook to the Supermarket:
knife supermarket share example_cookbook
Alternatively, if you chose not to modify the location of your cookbook repository within your config.rb, you can specify the cookbook path in your knife command:
knife supermarket share example_cookbook -o ~/my-repo/cookbooks

