Setting up the post-processing stack
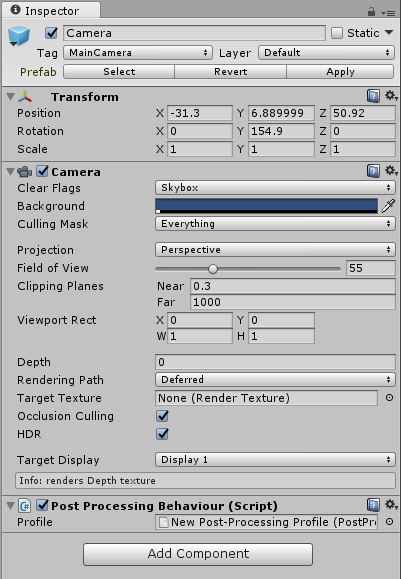
For optimal post-processing results it is recommended that you work in the Linear color-space with HDRhigh dymanic range
See in Glossary enabled. Using the deferred rendering pathThe technique Unity uses to render graphics. Choosing a different path affects the performance of your game, and how lighting and shading are calculated. Some paths are more suited to different platforms and hardware than others. More info
See in Glossary is also recommended (as required for some effects, such as Screen Space Reflection).
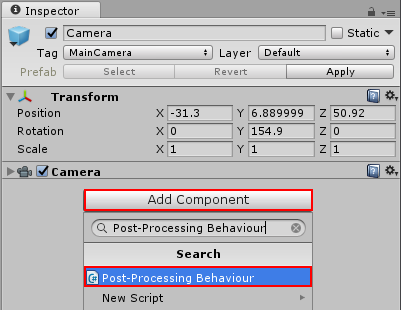
First you need to add the Post ProcessingA process that improves product visuals by applying filters and effects before the image appears on screen. You can use post-processing effects to simulate physical camera and film properties, for example Bloom and Depth of Field. More info
See in Glossary Behaviour script to your cameraA component which creates an image of a particular viewpoint in your scene. The output is either drawn to the screen or captured as a texture. More info
See in Glossary. You can do that by selecting your camera and use one of the following ways:
Drag the PostProcessingBehaviour.cs script from the project window to the camera.
Use the menu ComponentA functional part of a GameObject. A GameObject can contain any number of components. Unity has many built-in components, and you can create your own by writing scripts that inherit from MonoBehaviour. More info
See in Glossary > Effects > Post Processing Behaviour.Use the Add Component button in the InspectorA Unity window that displays information about the currently selected GameObject, Asset or Project Settings, alowing you to inspect and edit the values. More info
See in Glossary.

You will now have a behaviour configured with an empty profile. The next step is to create a custom profile using one of the following ways:
Right-click in your project window and select Create > Post-Processing Profile.
Use the menu AssetsAny media or data that can be used in your game or Project. An asset may come from a file created outside of Unity, such as a 3D model, an audio file or an image. You can also create some asset types in Unity, such as an Animator Controller, an Audio Mixer or a Render Texture. More info
See in Glossary > Create > Post-Processing Profile.
This will create a new asset in your project.
Post-Processing Profiles are project assets and can be shared easily between scenesA Scene contains the environments and menus of your game. Think of each unique Scene file as a unique level. In each Scene, you place your environments, obstacles, and decorations, essentially designing and building your game in pieces. More info
See in Glossary / cameras, as well as between different projects or on the Asset StoreA growing library of free and commercial assets created by Unity and members of the community. Offers a wide variety of assets, from textures, models and animations to whole Project examples, tutorials and Editor extensions. More info
See in Glossary. This makes creating presets easier (ie. high quality preset for desktop or lower settings for mobile).
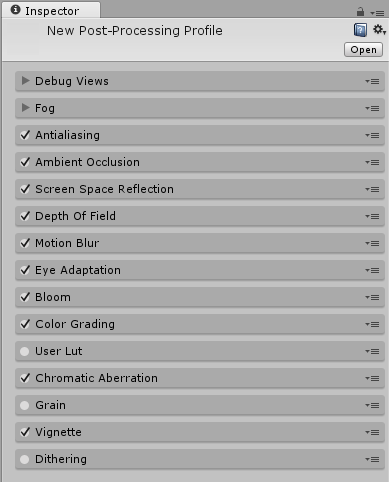
Selecting a profile will show the inspector window for editing the profile settings.

To assign the profile to the behaviour you can drag it from the project panel to the component or use the object selector in the inspector.

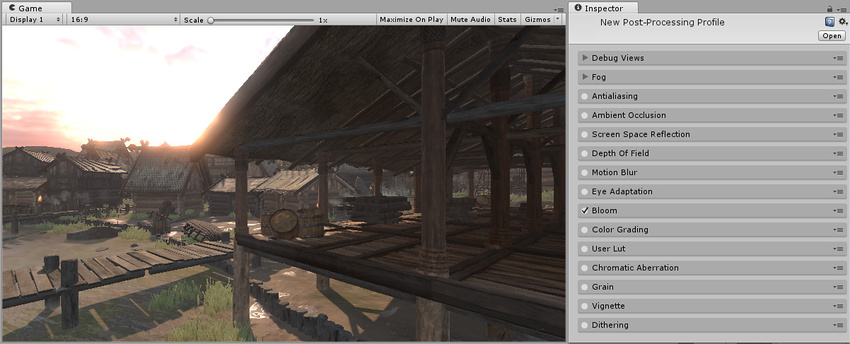
With the profile selected, you can use the checkbox on each effect in the inspector to enable or disable individual effects. You’ll find more information about each effect in their individual documentation pages.

2017–05–24 Page published with limited editorial review
New feature in 5.6
Did you find this page useful? Please give it a rating: