Evaluate DDC in a sandbox deployment
Estimated reading time: 8 minutesThis tutorial assumes that you have installed and configured a two-node Docker Datacenter installation including both UCP and DTR using the instructions here. If you haven’t done this, we can’t promise that this tutorial workflow will work exactly the same.
In the second half of this tutorial, we walk you through a typical deployment workflow using your sandbox installation of DDC as if it was a production instance installed on your organization’s network.
Over the course of this tutorial, we will:
- Create a repository in DTR
- Set up certificates or set insecure flag
- Pull a Docker image, tag it and push it to your DTR repo.
- Use UCP to deploy the image to a node
Step 1: Set --insecure registry or set up DTR trust and log in
First, we set up a security exception that allows a the Docker-machine hosts used in your UCP cluster to push images to and pull images from DTR even though the DTR instance has a self-signed certificate. For a production deployment, you would set up certificate trust between UCP and DTR, and between DTR and your Docker Engine/docker-trusted-registry/repos-and-images/, but for our sandbox deployment we can skip this.
Warning: These steps produce an insecure DTR connection. Do not use these configuration steps for a production deployment.
To allow the Docker Engine to connect to DTR despite it having a self-signed certificate, we specify that there is one insecure registry that we allow the Engine instance to connect to. We add this exception by editing the configuration file where docker-machine stores the host’s configuration details.
-
Edit the file found at
~/.docker/machine/machines/node1/config.jsonusing your preferred text editor.For example
$ vi ~/.docker/machine/machines/node1/config.json -
Locate
InsecureRegistrykey inEngineOptionssection, and add your DTR instance’s IP between the brackets, enclosed in quotes.For example
"InsecureRegistry": ["192.168.99.101"], -
Save your changes to the file and exit.
-
Run the command
docker-machine provision node1to updatenode1’s configuration with the newInsecureRegistrysetting. -
Repeat this process for
node2.Because UCP runs a
docker pullfrom DTR for each node in its cluster, you must make this security exception for all nodes in the cluster.
This allows you to push docker images to, and pull docker images from, the registry.
Step 2: Create an image repository in DTR
In this step, we create an image repository in DTR that you will be able to push Docker images to. Remember a Docker image is a combination of code and filesystem used as a template to create a container.
-
In your web browser, go to the DTR web UI.
If you need help finding the URL for this host, you can use
docker-machine lsto find the IP fornode2where you installed DTR. -
Log in to DTR using your administrator credentials.
-
Navigate to the Repositories screen and click New Repository.
-
In the repository name field, enter
my-nginx. -
Click Save.
Step 3: Pull an image, tag and push to DTR
-
In your terminal, make sure
node1is active usingdocker-machine ls.This is the node that you configured the security exception for, and if you are connecting to a Docker Engine without this exception you can’t push to your DTR instance.
If necessary, use
docker-machine envto makenode1active.$ eval "$(docker-machine env node1)" -
Pull the latest Nginx image
$ docker pull nginx:latestBecause you aren’t specifying a registry as part of the
pullcommand, Docker Engine locates and downloads the latestnginximage from Docker Cloud’s registry. -
Log in to your DTR instance on
node2using thedocker logincommand and the DTR instance’s IP address.docker login $(docker-machine ip node2)Enter your administrator username and password when prompted.
-
Tag the
nginximage you downloaded.Use the IP of your DTR instance to specify the repository path, and the tag.
$ docker tag nginx:latest $(docker-machine ip node2)/admin/my-nginx:official -
Push the tagged image to your DTR instance.
$ docker push $(docker-machine ip node2)/admin/my-nginx:official
You now have a copy of the official Nginx Docker image available on your sandbox DTR instance.
Step 4: Pull your image from DTR into UCP
UCP does not automatically pull images from DTR. To make an image from DTR
appear in UCP, you use the UCP web UI to perform a docker pull. This pull
command pulls the image and makes it available on all nodes in the UCP cluster.
-
From the UCP dashboard, click Images in the left navigation.
-
Click Pull Image.
-
Enter the full path to the image that you just pushed to your DTR instance.
For the example path in this demo use
<dtr-ip>/admin/my-nginx:official -
Click Pull.
UCP contacts the DTR host, and pulls the image on each node in the cluster.
Step 5. Deploy a container from the UCP web interface
UCP allows you to deploy and manage “Dockerized” applications in production. An application is built using Docker objects, such as images and containers, and Docker resources, such as volumes and networks.
UCP deploys and manages these objects and resources using Engine API calls to
the Engine daemons running on the nodes. For example, the run action may
deploy an image in a Docker container. That image might define a service such as
an Nginx web server or a database like Postgres.
A UCP administrator initiates Engine actions using the UCP dashboard or the
Docker Engine CLI. In this step, you deploy a container from the UCP dashboard.
The container runs an Nginx server, so you need to launch the nginx image
inside of it.
-
Log in to the UCP Dashboard.
-
Click Containers from the left navigation.
The system displays the Containers page.
Tip: UCP runs some containers that support its own operations called “system” containers. These containers are hidden by default.
-
Click + Deploy Container.
Deploy the simple
nginxcontainer you just pulled, using specific values for each field. If you already know what you’re doing, feel free to explore once you’ve completed this example. -
Enter the path to the
nginx:officialimage you just pulled in the image name field.This should something like
<dtr-ip>/admin/my-nginx:officialAn image is a specific build of software you want to run. The software might be a stand-alone application, or component software necessary to support a complex service.
-
Enter
nginx_officialfor the container name.This name just identifies the container on your network.
-
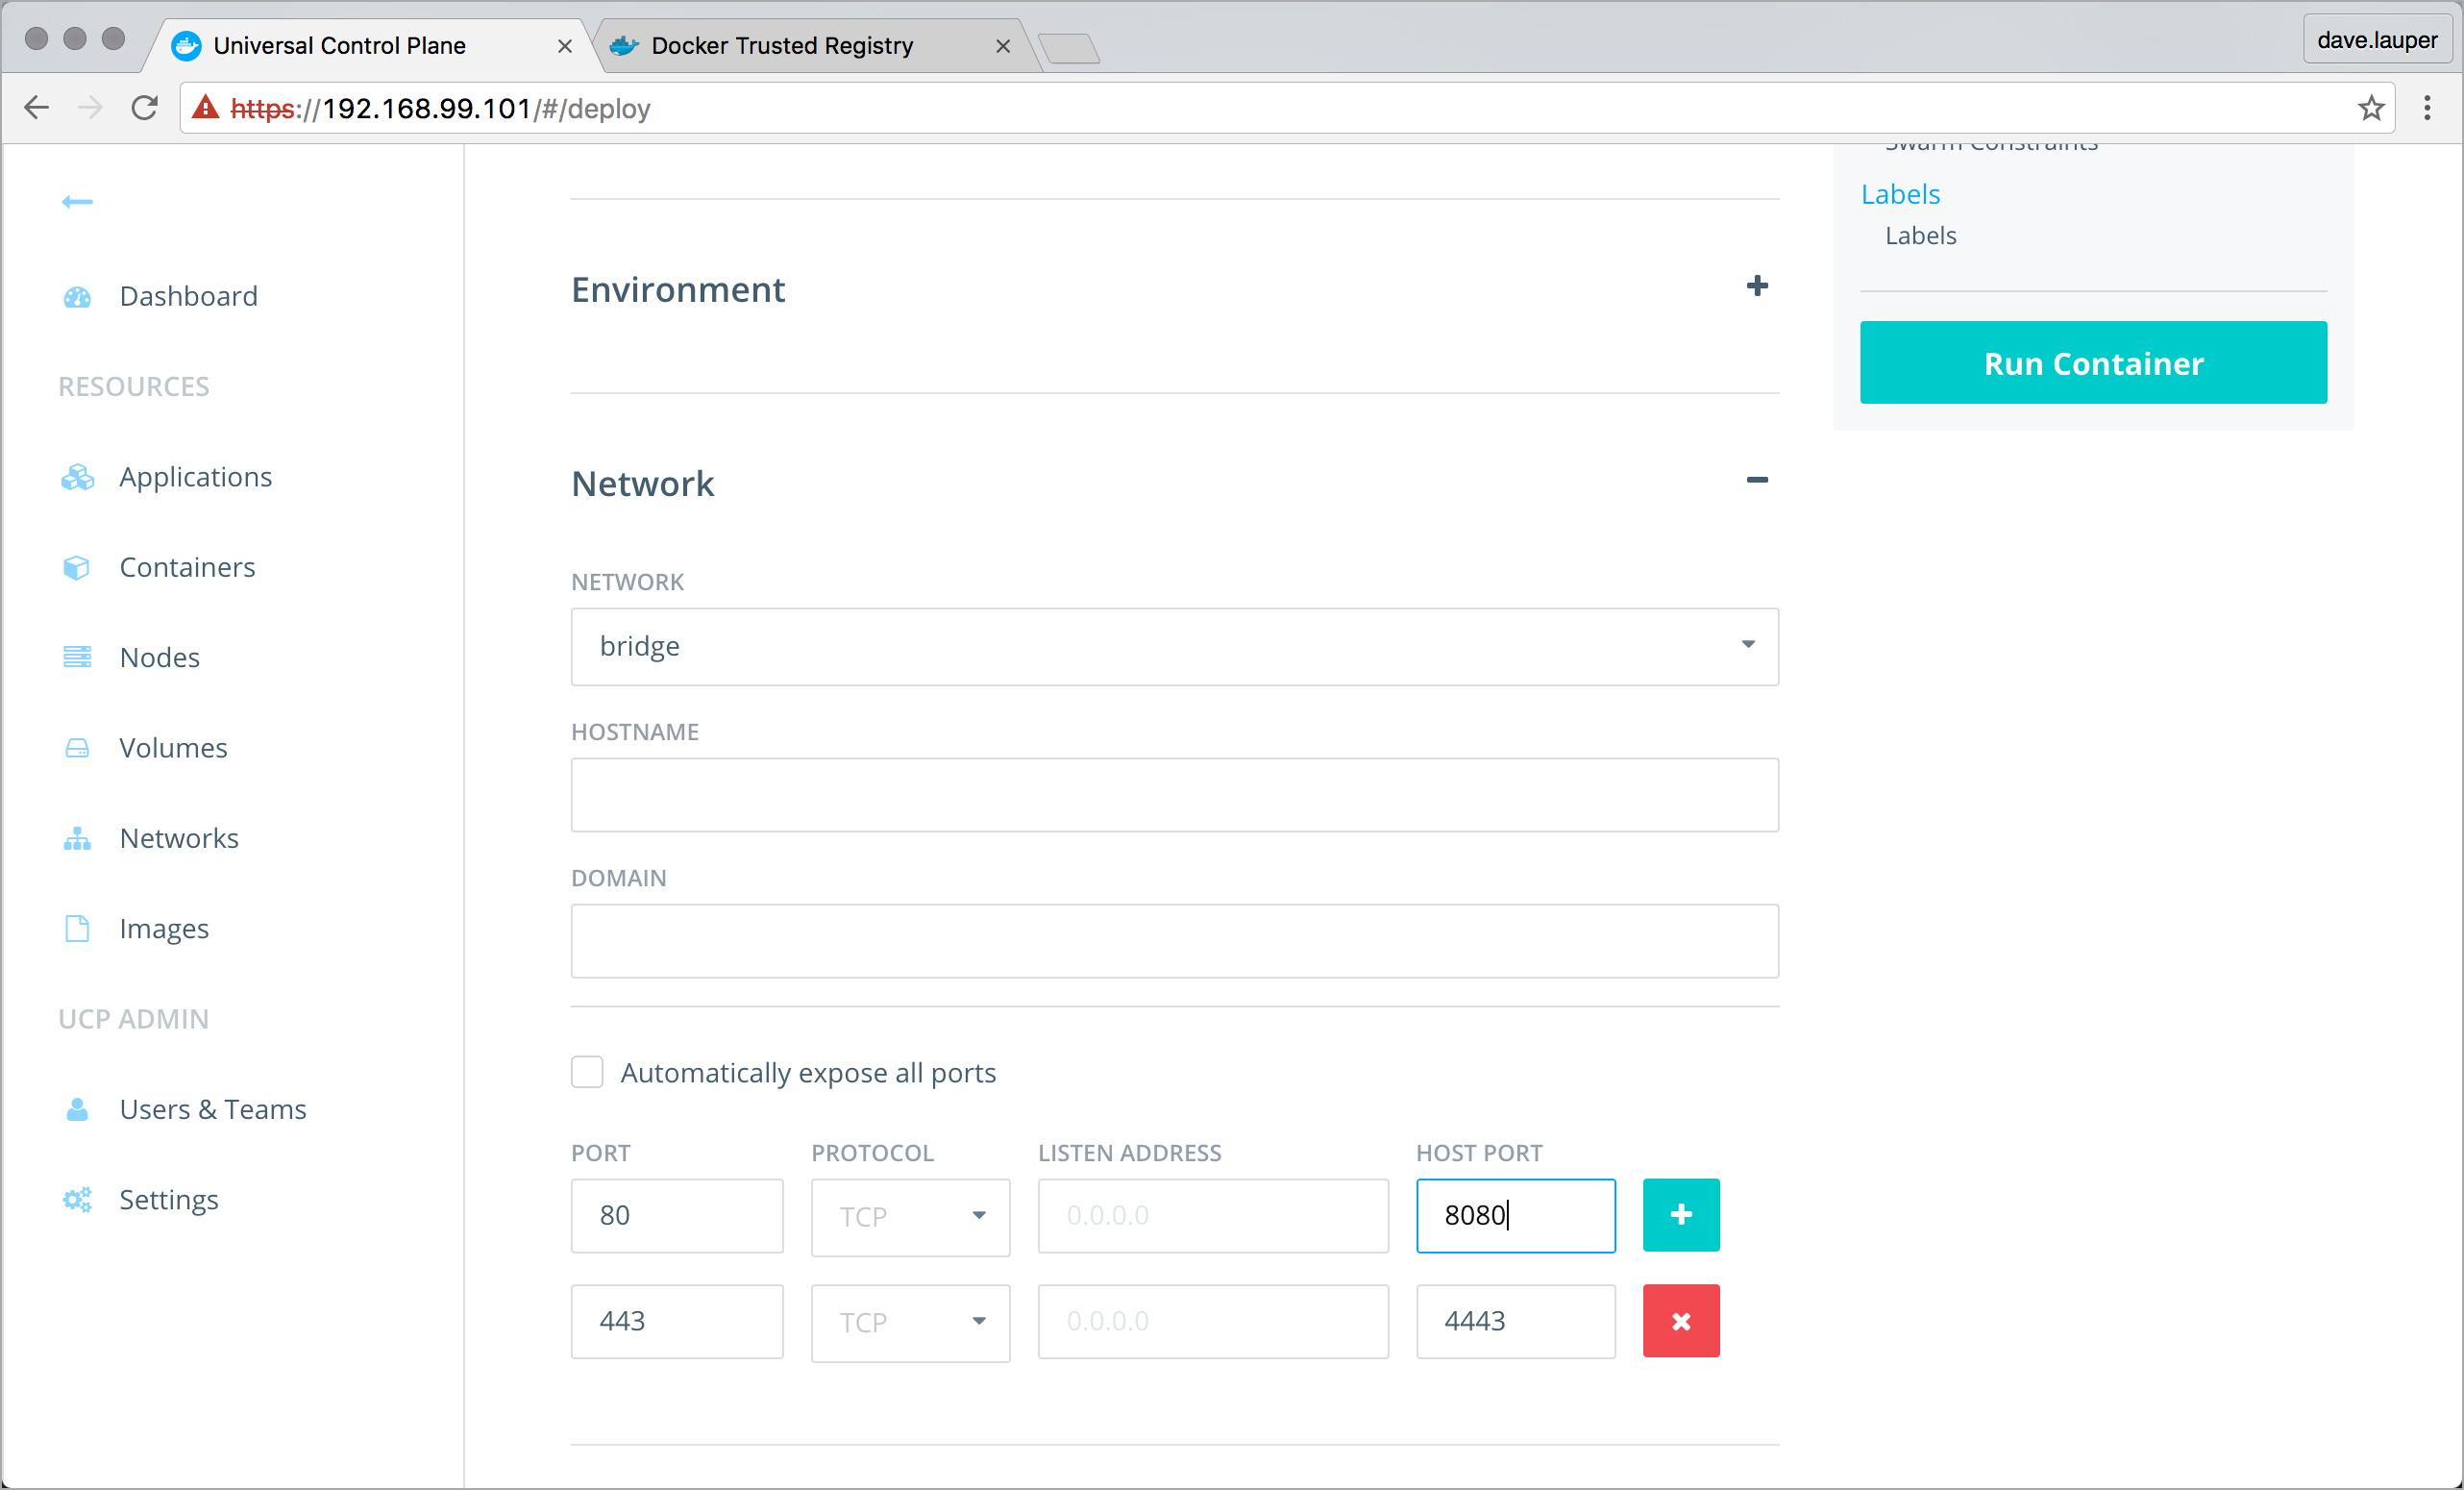
Click Network to expand the networking settings.
A Docker container is isolated from other processes on your network and has its own internal network configuration. To access the service inside a container, you need to expose the container’s port, which maps to a port on the node. The node is hosting an instance of Docker Engine, so its port is called the Host Port.
-
Enter
443in the Port field and enter4443the Host Port field.We’re mapping port 443 in the container to a different port on the host because your UCP instance is already serving the web interface on port 443.
-
Click the plus sign to add another Port.
-
For this port, enter
80in the Port field, and enter8080in the Host Port field.When you are done, your dialog should look like this:
-
Click Run Container to deploy the container.
Step 6. View a running service
At this point, you have deployed a container and you should see the container
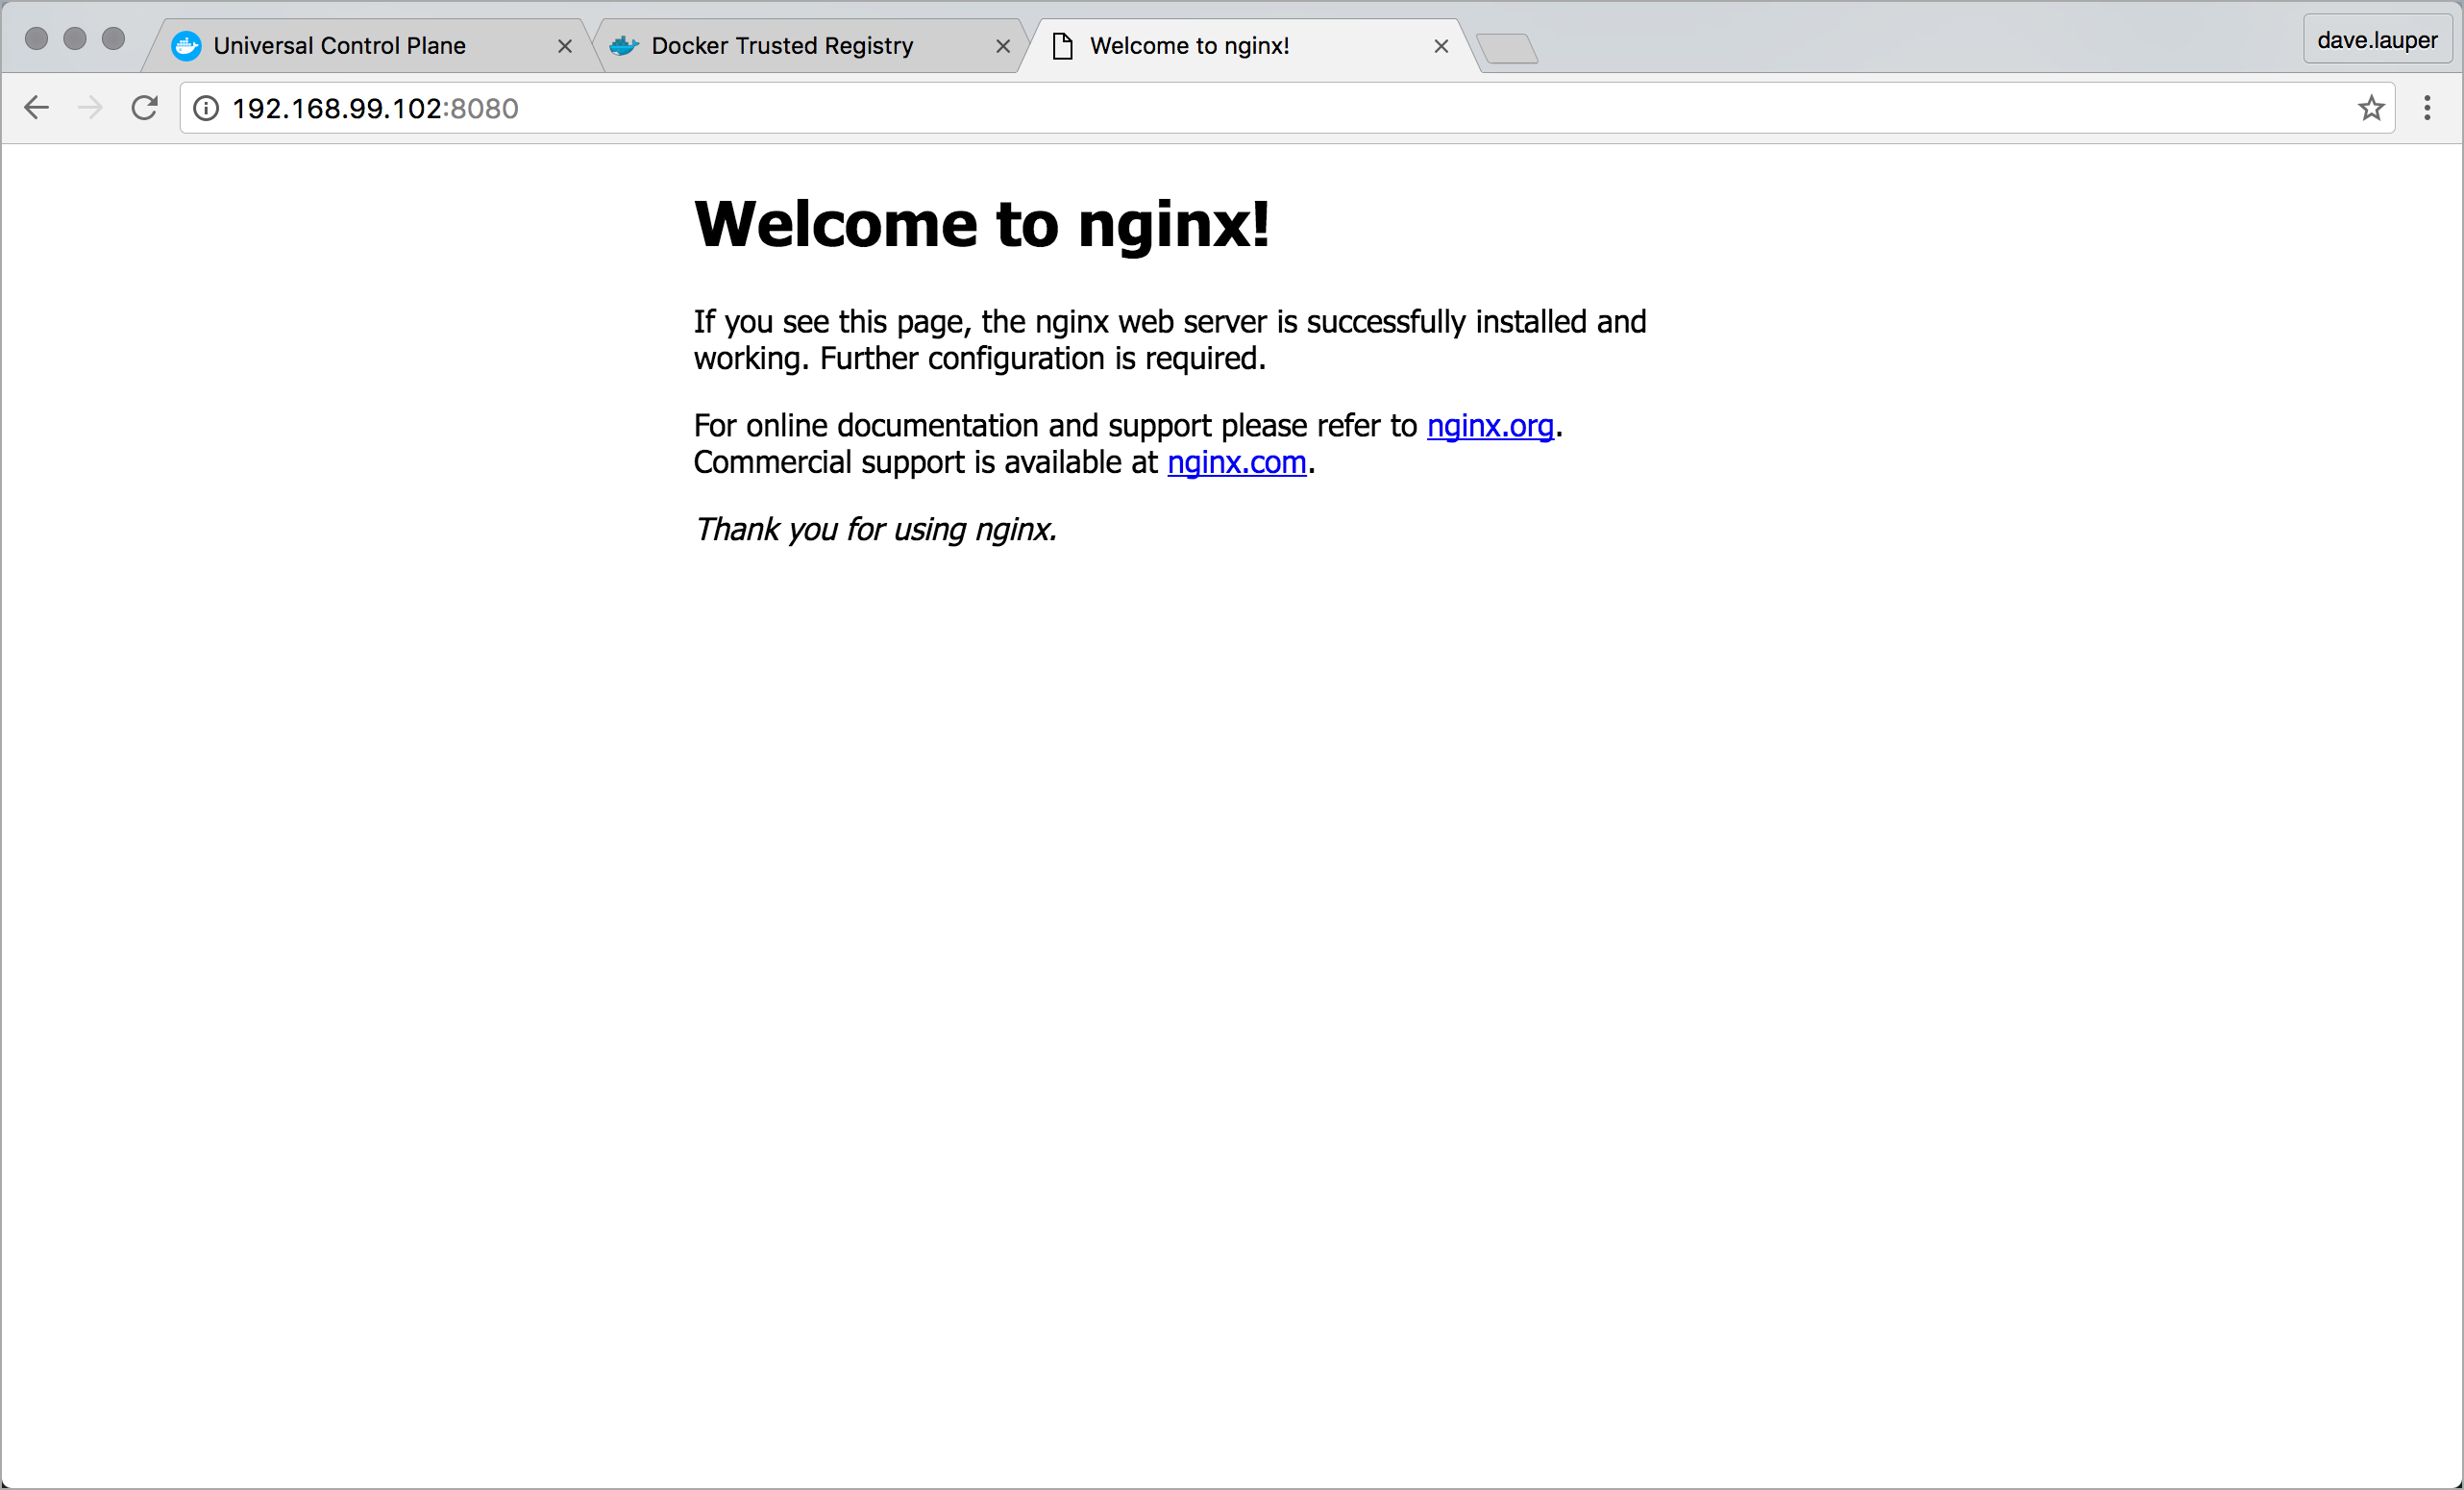
status is running. Recall that you deployed an Nginx web server. That server
comes with a default page that you can view to validate that the server is
running. In this step, you open the running server.
-
Navigate back to the Containers page.
-
Click the nginx_official container.
The system displays the container’s details and some operations you can run on the container.
-
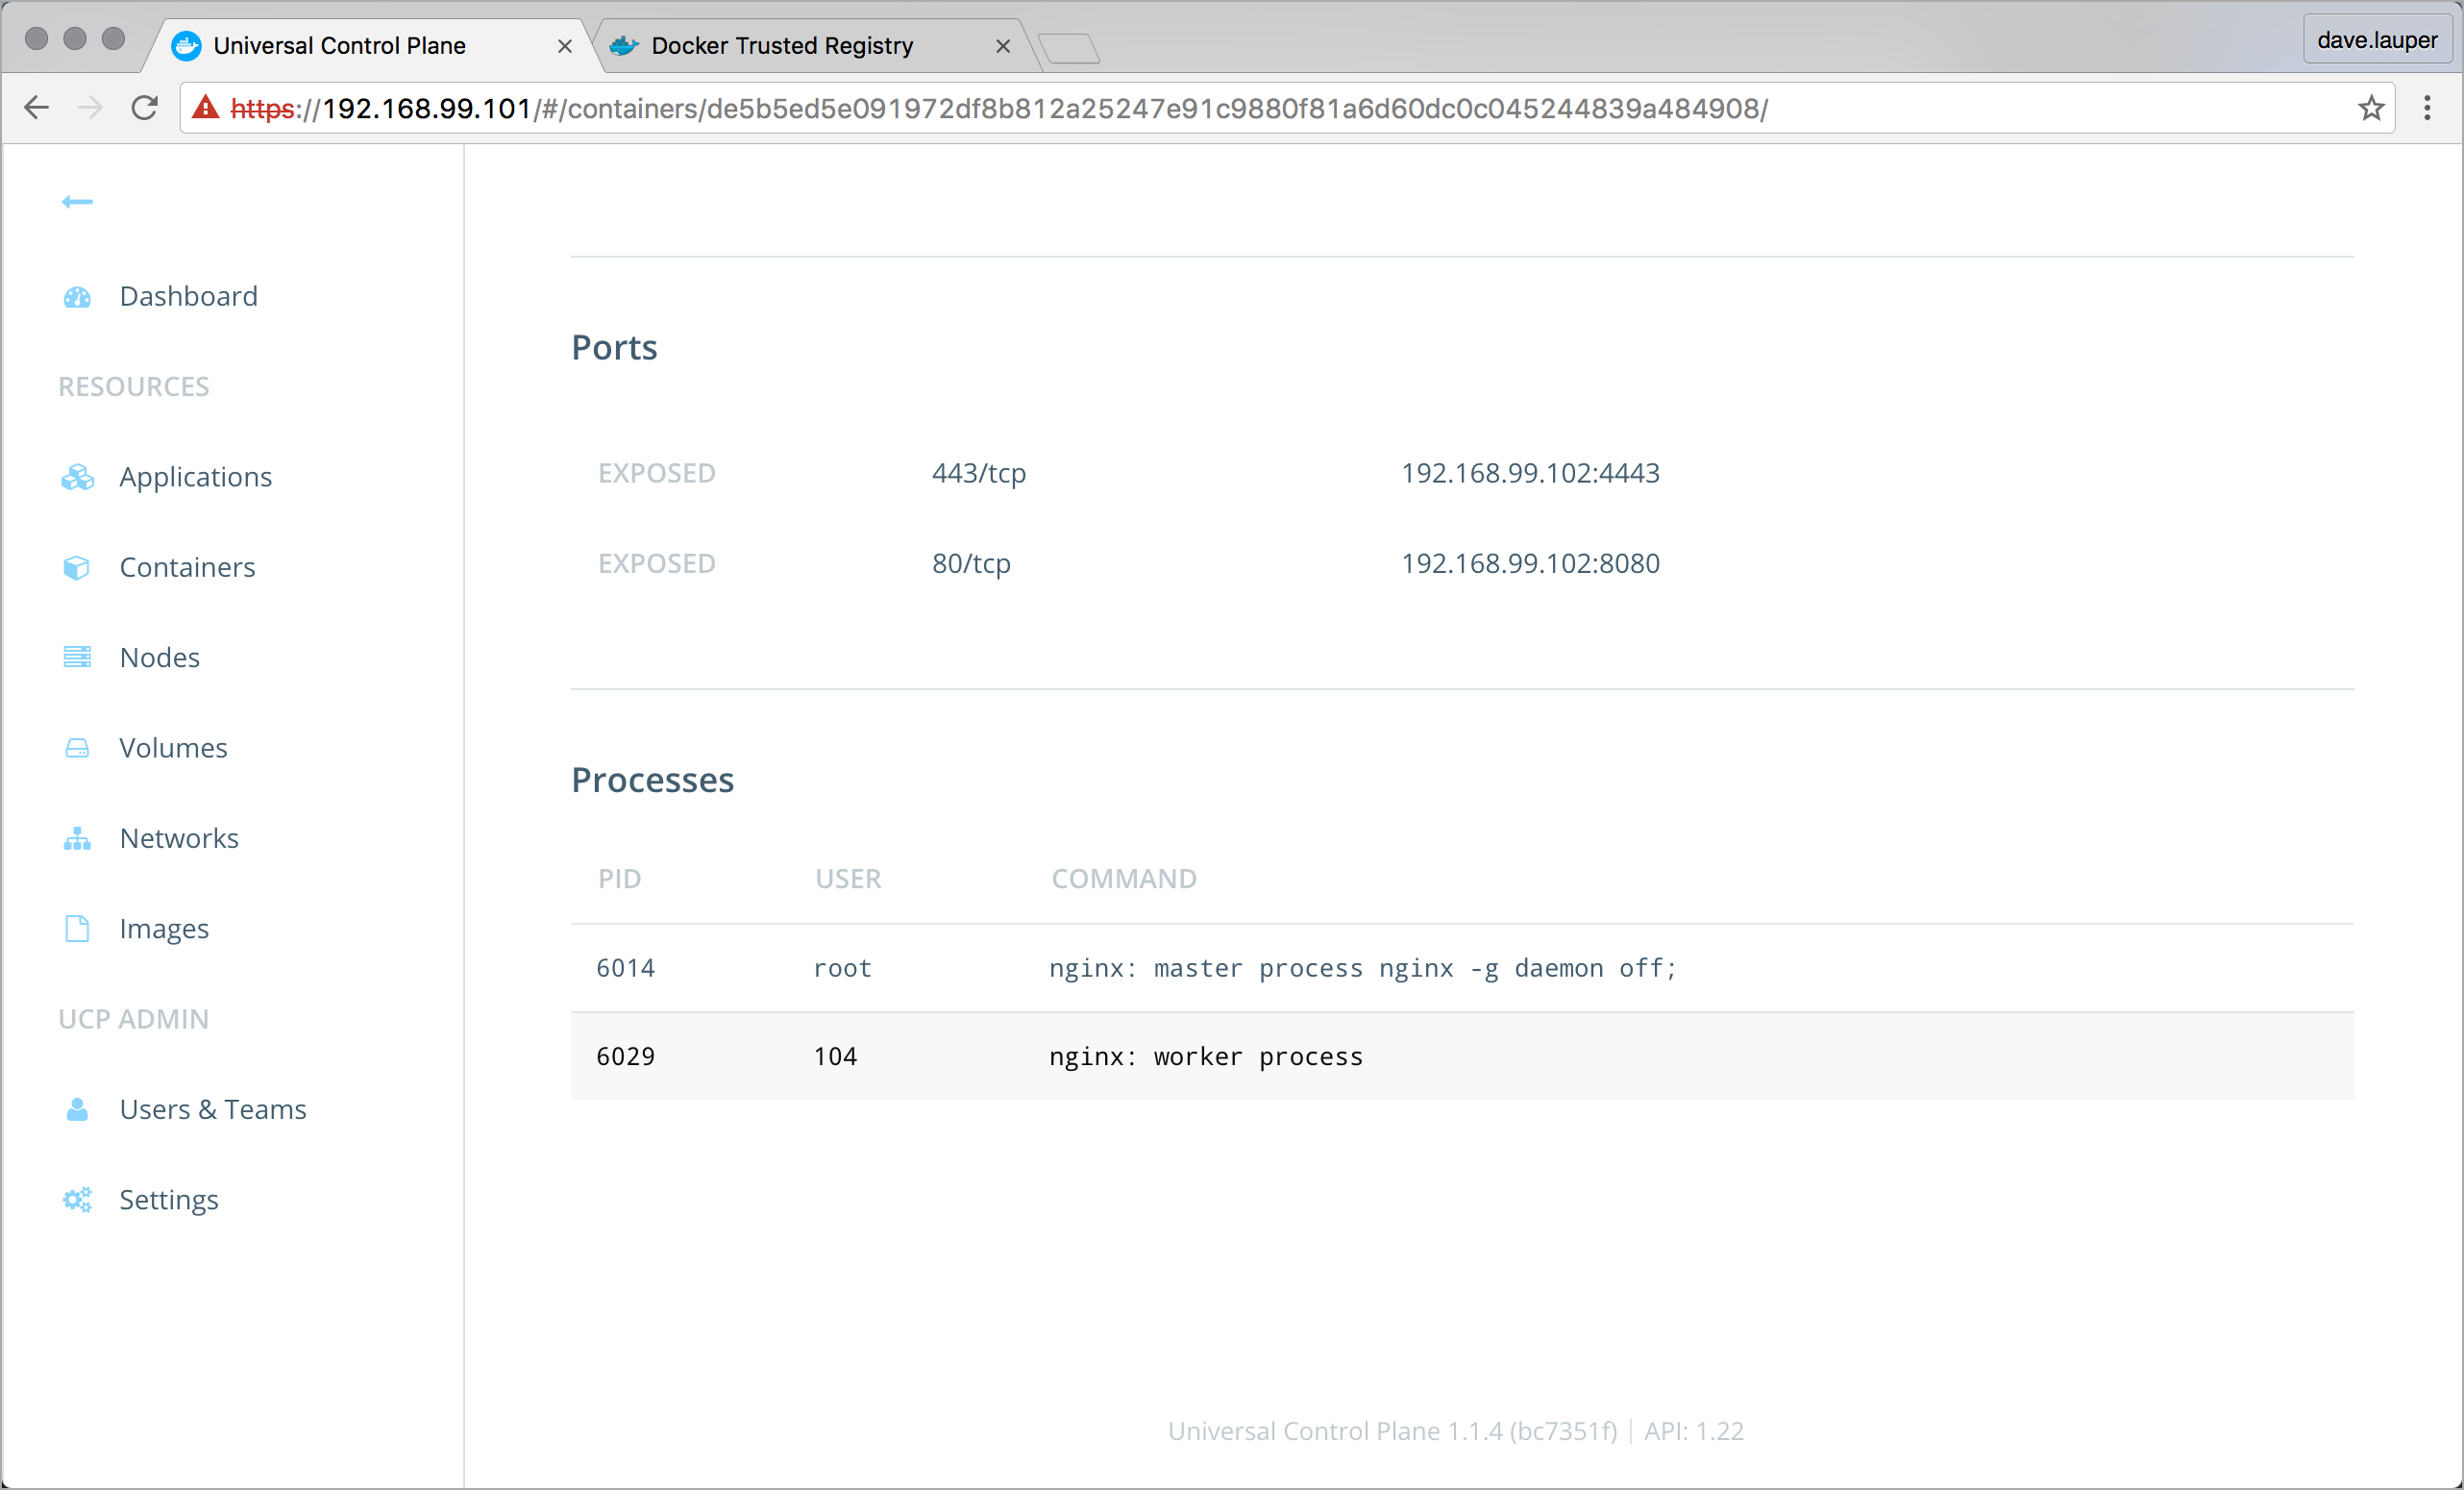
Scroll down to the ports section.
Look for an IP address with port
8080for the server. -
Copy the IP address to your browser and paste the information you copied.
You should see the welcome message for nginx.
Explore UCP
At this point, you’ve completed the guided tour of a UCP installation. You’ve learned how to create a UCP installation by creating two nodes and designating one of them as a controller. You’ve pushed an image to Docker Trusted Registry and used that image to run a container in the cluster managed by UCP.
In a real UCP production installation, UCP admins and operators are expected to do similar work every day. While the applications they launch will be more complicated, the workflow will be very similar to what you’ve just learned.
Take some time to explore UCP some more. Investigate the documentation for other activities you can perform with UCP.