Manage secrets
Estimated reading time: 7 minutesWhen deploying and orchestrating services, you often need to configure them with sensitive information like passwords, TLS certificates, or private keys.
Universal Control Plane allows you to store this sensitive information, also known as secrets, in a secure way. It also gives you role-based access control so that you can control which users can use a secret in their services and which ones can manage the secret.
UCP extends the functionality provided by Docker Engine, so you can continue using the same workflows and tools you already use, like the Docker CLI client. Learn how to use secrets with Docker.
In this example, we’re going to deploy a WordPress application that’s composed of two services:
- wordpress: The service that runs Apache, PHP, and WordPress
- wordpress-db: a MySQL database used for data persistence
Instead of configuring our services to use a plain text password stored in an environment variable, we’re going to create a secret to store the password. When we deploy those services, we’ll attach the secret to them, which creates a file with the password inside the container running the service. Our services will be able to use that file, but no one else will be able to see the plain text password.
To make things simpler, we’re not going to configure the database service to persist data. When the service stops, the data is lost.
Create a secret
In the UCP web UI, open the Swarm section and click Secrets.
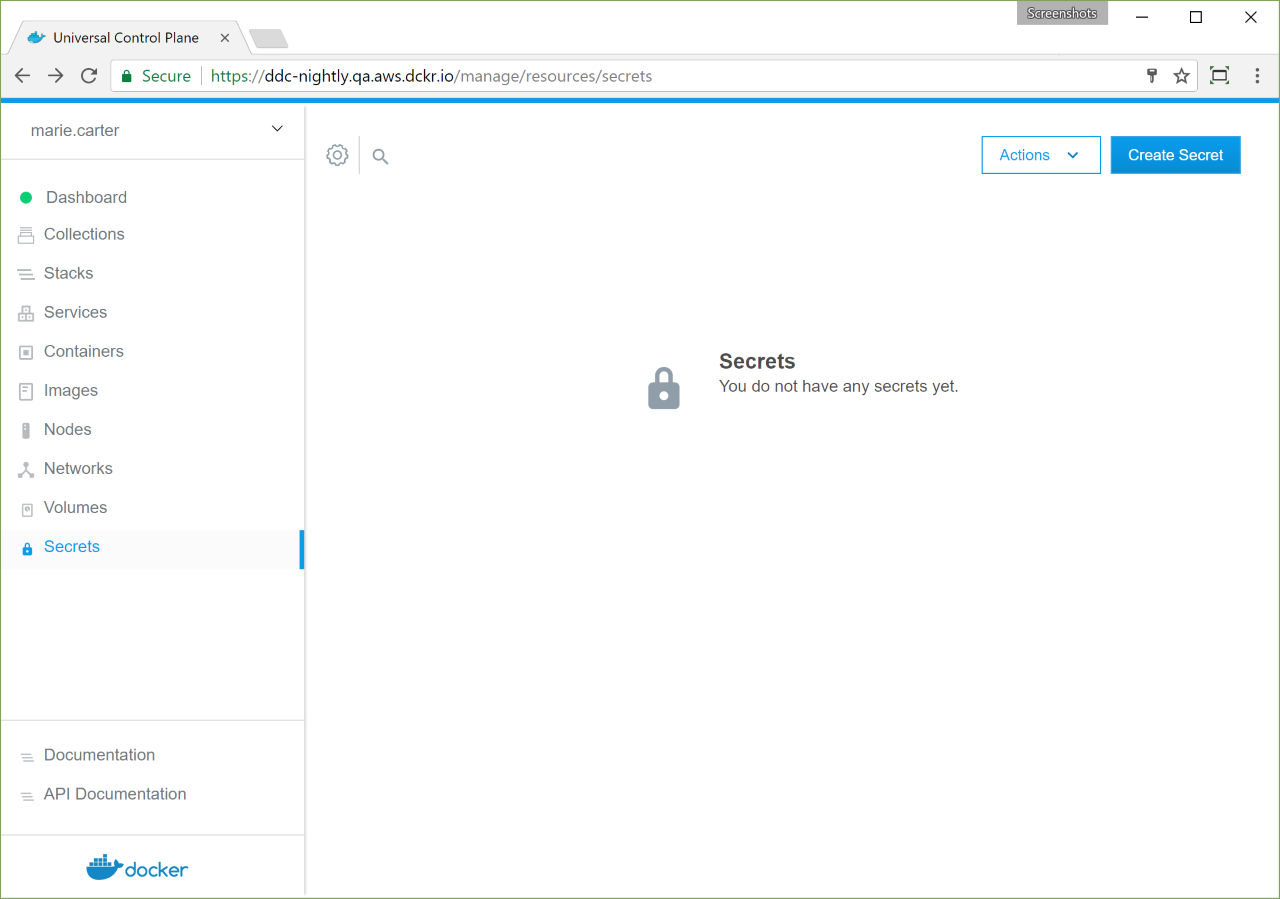
Click Create Secret to create a new secret. Once you create the secret you won’t be able to edit it or see the secret data again.
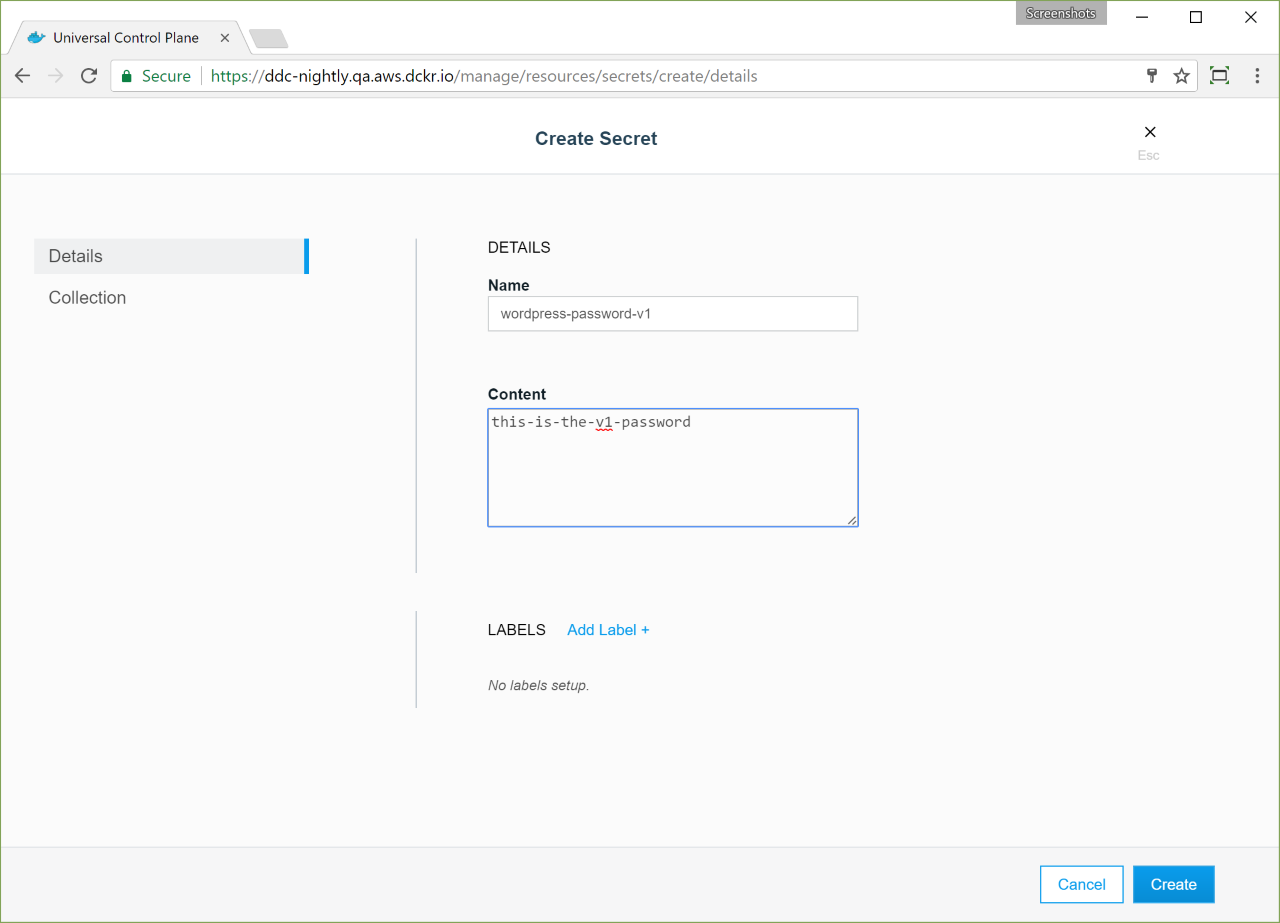
Assign a unique name to the secret and set its value. You can optionally define a permission label so that other users have permission to use this secret. Also note that a service and secret must have the same permission label, or both must have no permission label at all, in order to be used together.
In this example, the secret is named wordpress-password-v1, to make it easier
to track which version of the password our services are using.
Use secrets in your services
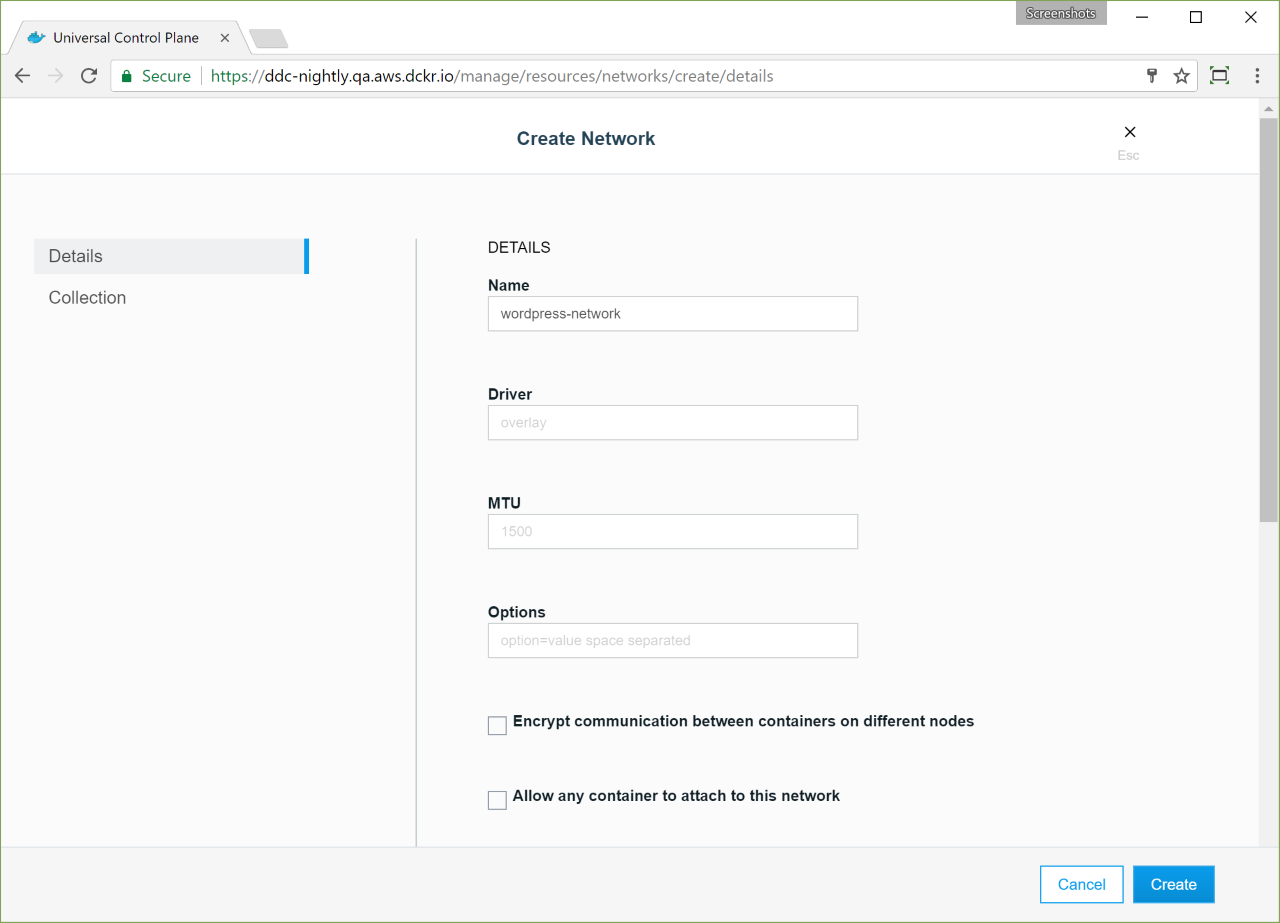
Before creating the MySQL and WordPress services, we need to create the network that they’re going to use to communicate with one another.
Navigate to the Networks page, and create the wordpress-network with the
default settings.
Now create the MySQL service:
- Navigate to the Services page and click Create Service. Name the service “wordpress-db”, and for the Task Template, use the “mysql:5.7” image.
- In the left pane, click Network. In the Networks section, click Attach Network, and in the dropdown, select wordpress-network.
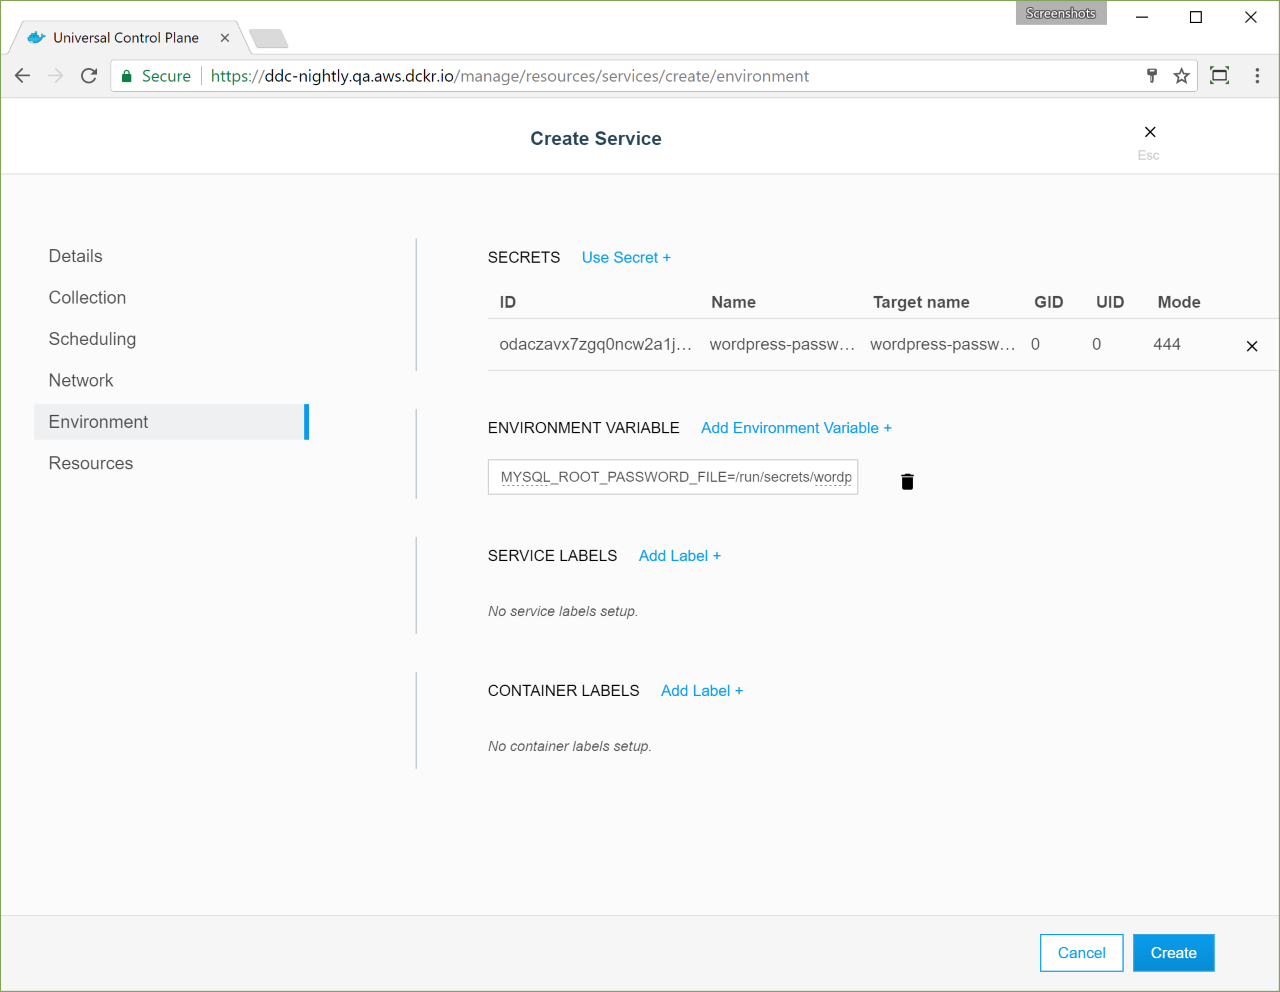
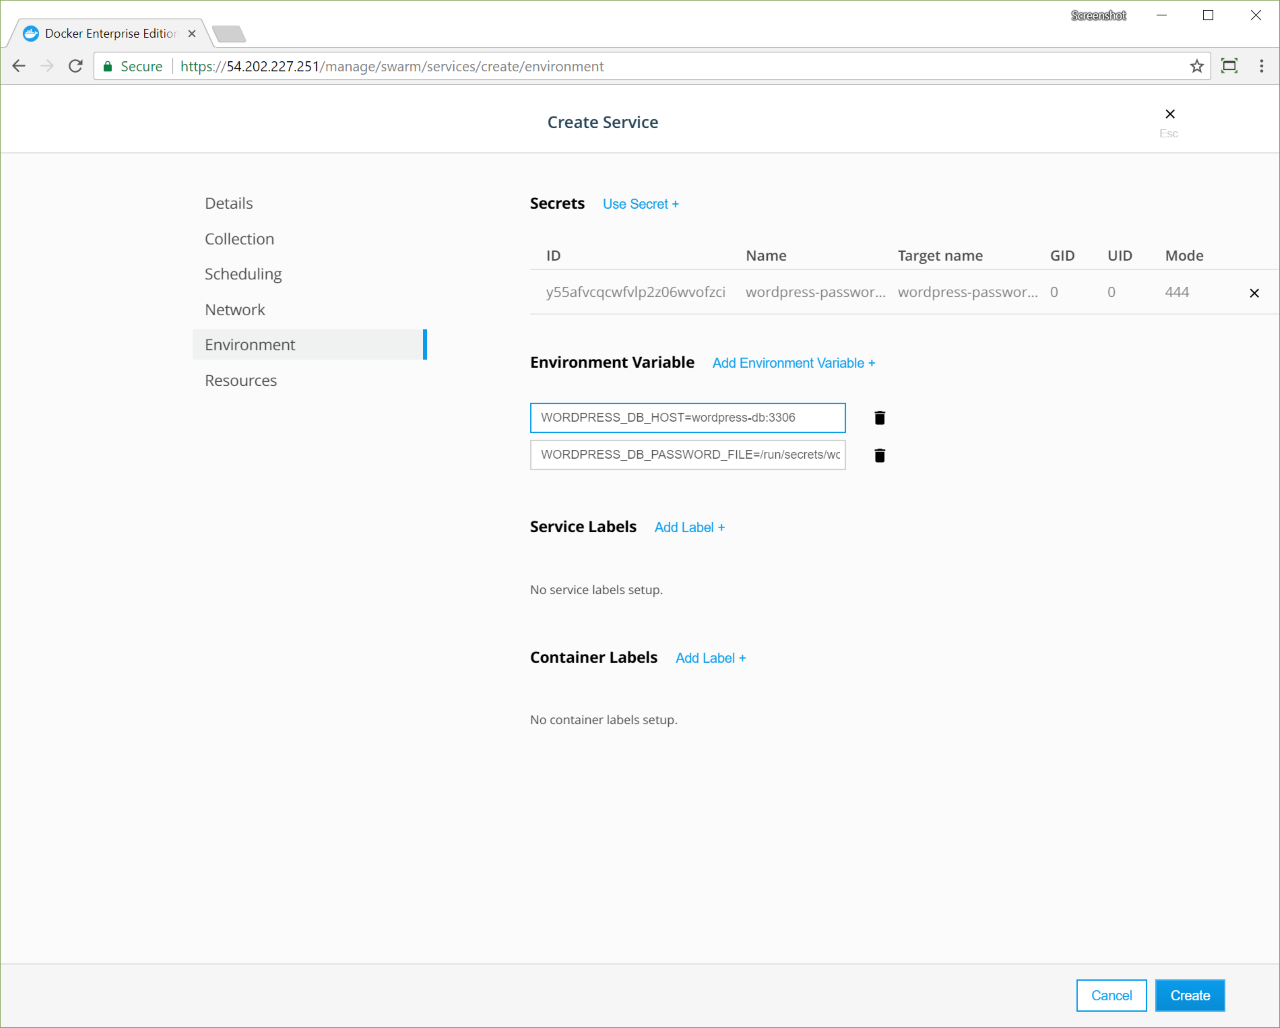
- In the left pane, click Environment. The Environment page is where you assign secrets, environment variables, and labels to the service.
- In the Secrets section, click Use Secret, and in the Secret Name dropdown, select wordpress-password-v1. Click Confirm to associate the secret with the service.
- In the Environment Variable section, click Add Environment Variable and enter the string “MYSQL_ROOT_PASSWORD_FILE=/run/secrets/wordpress-password-v1” to create an environment variable that holds the path to the password file in the container.
- If you specified a permission label on the secret, you must set the same permission label on this service. If the secret doesn’t have a permission label, then this service also can’t have a permission label.
- Click Create to deploy the MySQL service.
This creates a MySQL service that’s attached to the wordpress-network network
and that uses the wordpress-password-v1 secret. By default, this creates a file
with the same name at /run/secrets/<secret-name> inside the container running
the service.
We also set the MYSQL_ROOT_PASSWORD_FILE environment variable to configure
MySQL to use the content of the /run/secrets/wordpress-password-v1 file as
the root password.
Now that the MySQL service is running, we can deploy a WordPress service that uses MySQL as a storage backend:
- Navigate to the Services page and click Create Service. Name the service “wordpress”, and for the Task Template, use the “wordpress:latest” image.
- In the left pane, click Network. In the Networks section, click Attach Network, and in the dropdown, select wordpress-network.
- In the left pane, click Environment.
- In the Secrets section, click Use Secret, and in the Secret Name dropdown, select wordpress-password-v1. Click Confirm to associate the secret with the service.
- In the Environment Variable, click Add Environment Variable and enter the string “WORDPRESS_DB_PASSWORD_FILE=/run/secrets/wordpress-password-v1” to create an environment variable that holds the path to the password file in the container.
- Add another environment variable and enter the string “WORDPRESS_DB_HOST=wordpress-db:3306”.
- If you specified a permission label on the secret, you must set the same permission label on this service. If the secret doesn’t have a permission label, then this service also can’t have a permission label.
- Click Create to deploy the WordPress service.
This creates the WordPress service attached to the same network as the MySQL service so that they can communicate, and maps the port 80 of the service to port 8000 of the cluster routing mesh.
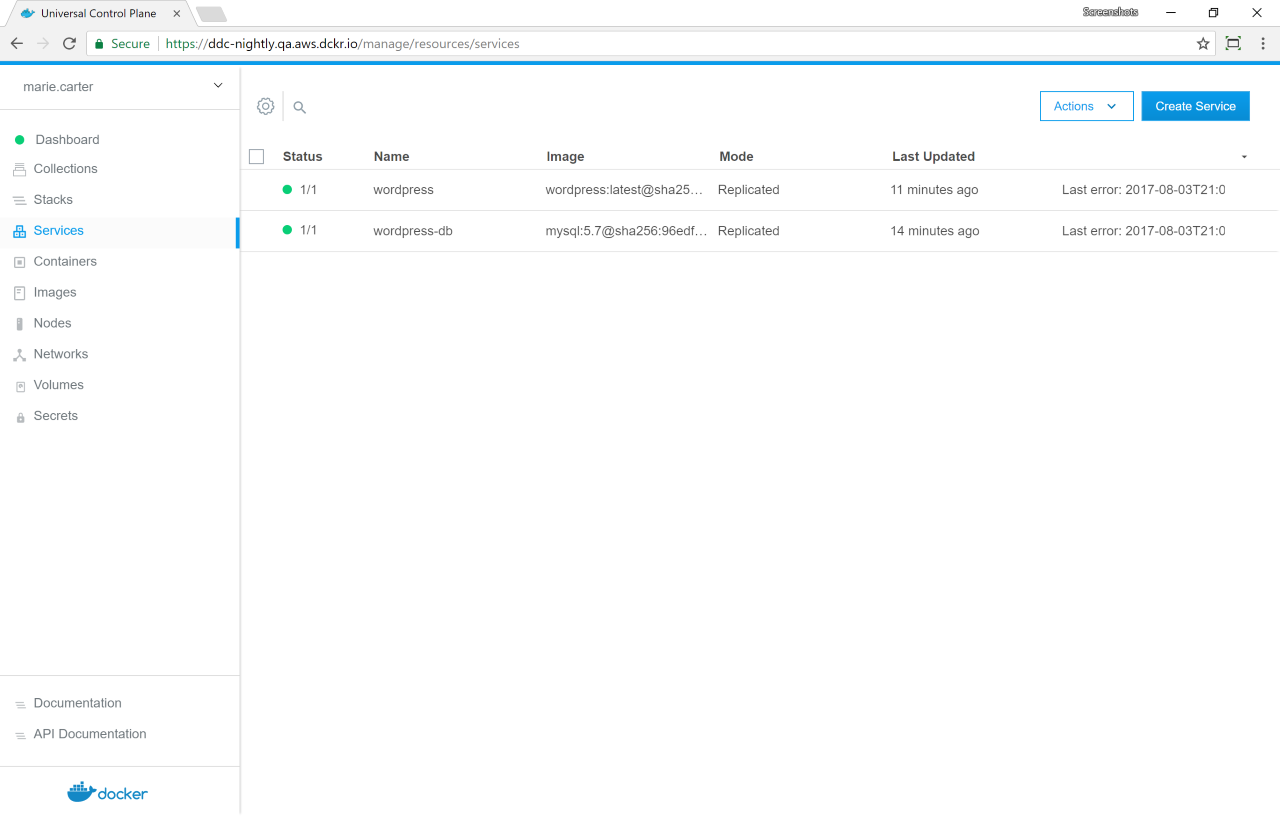
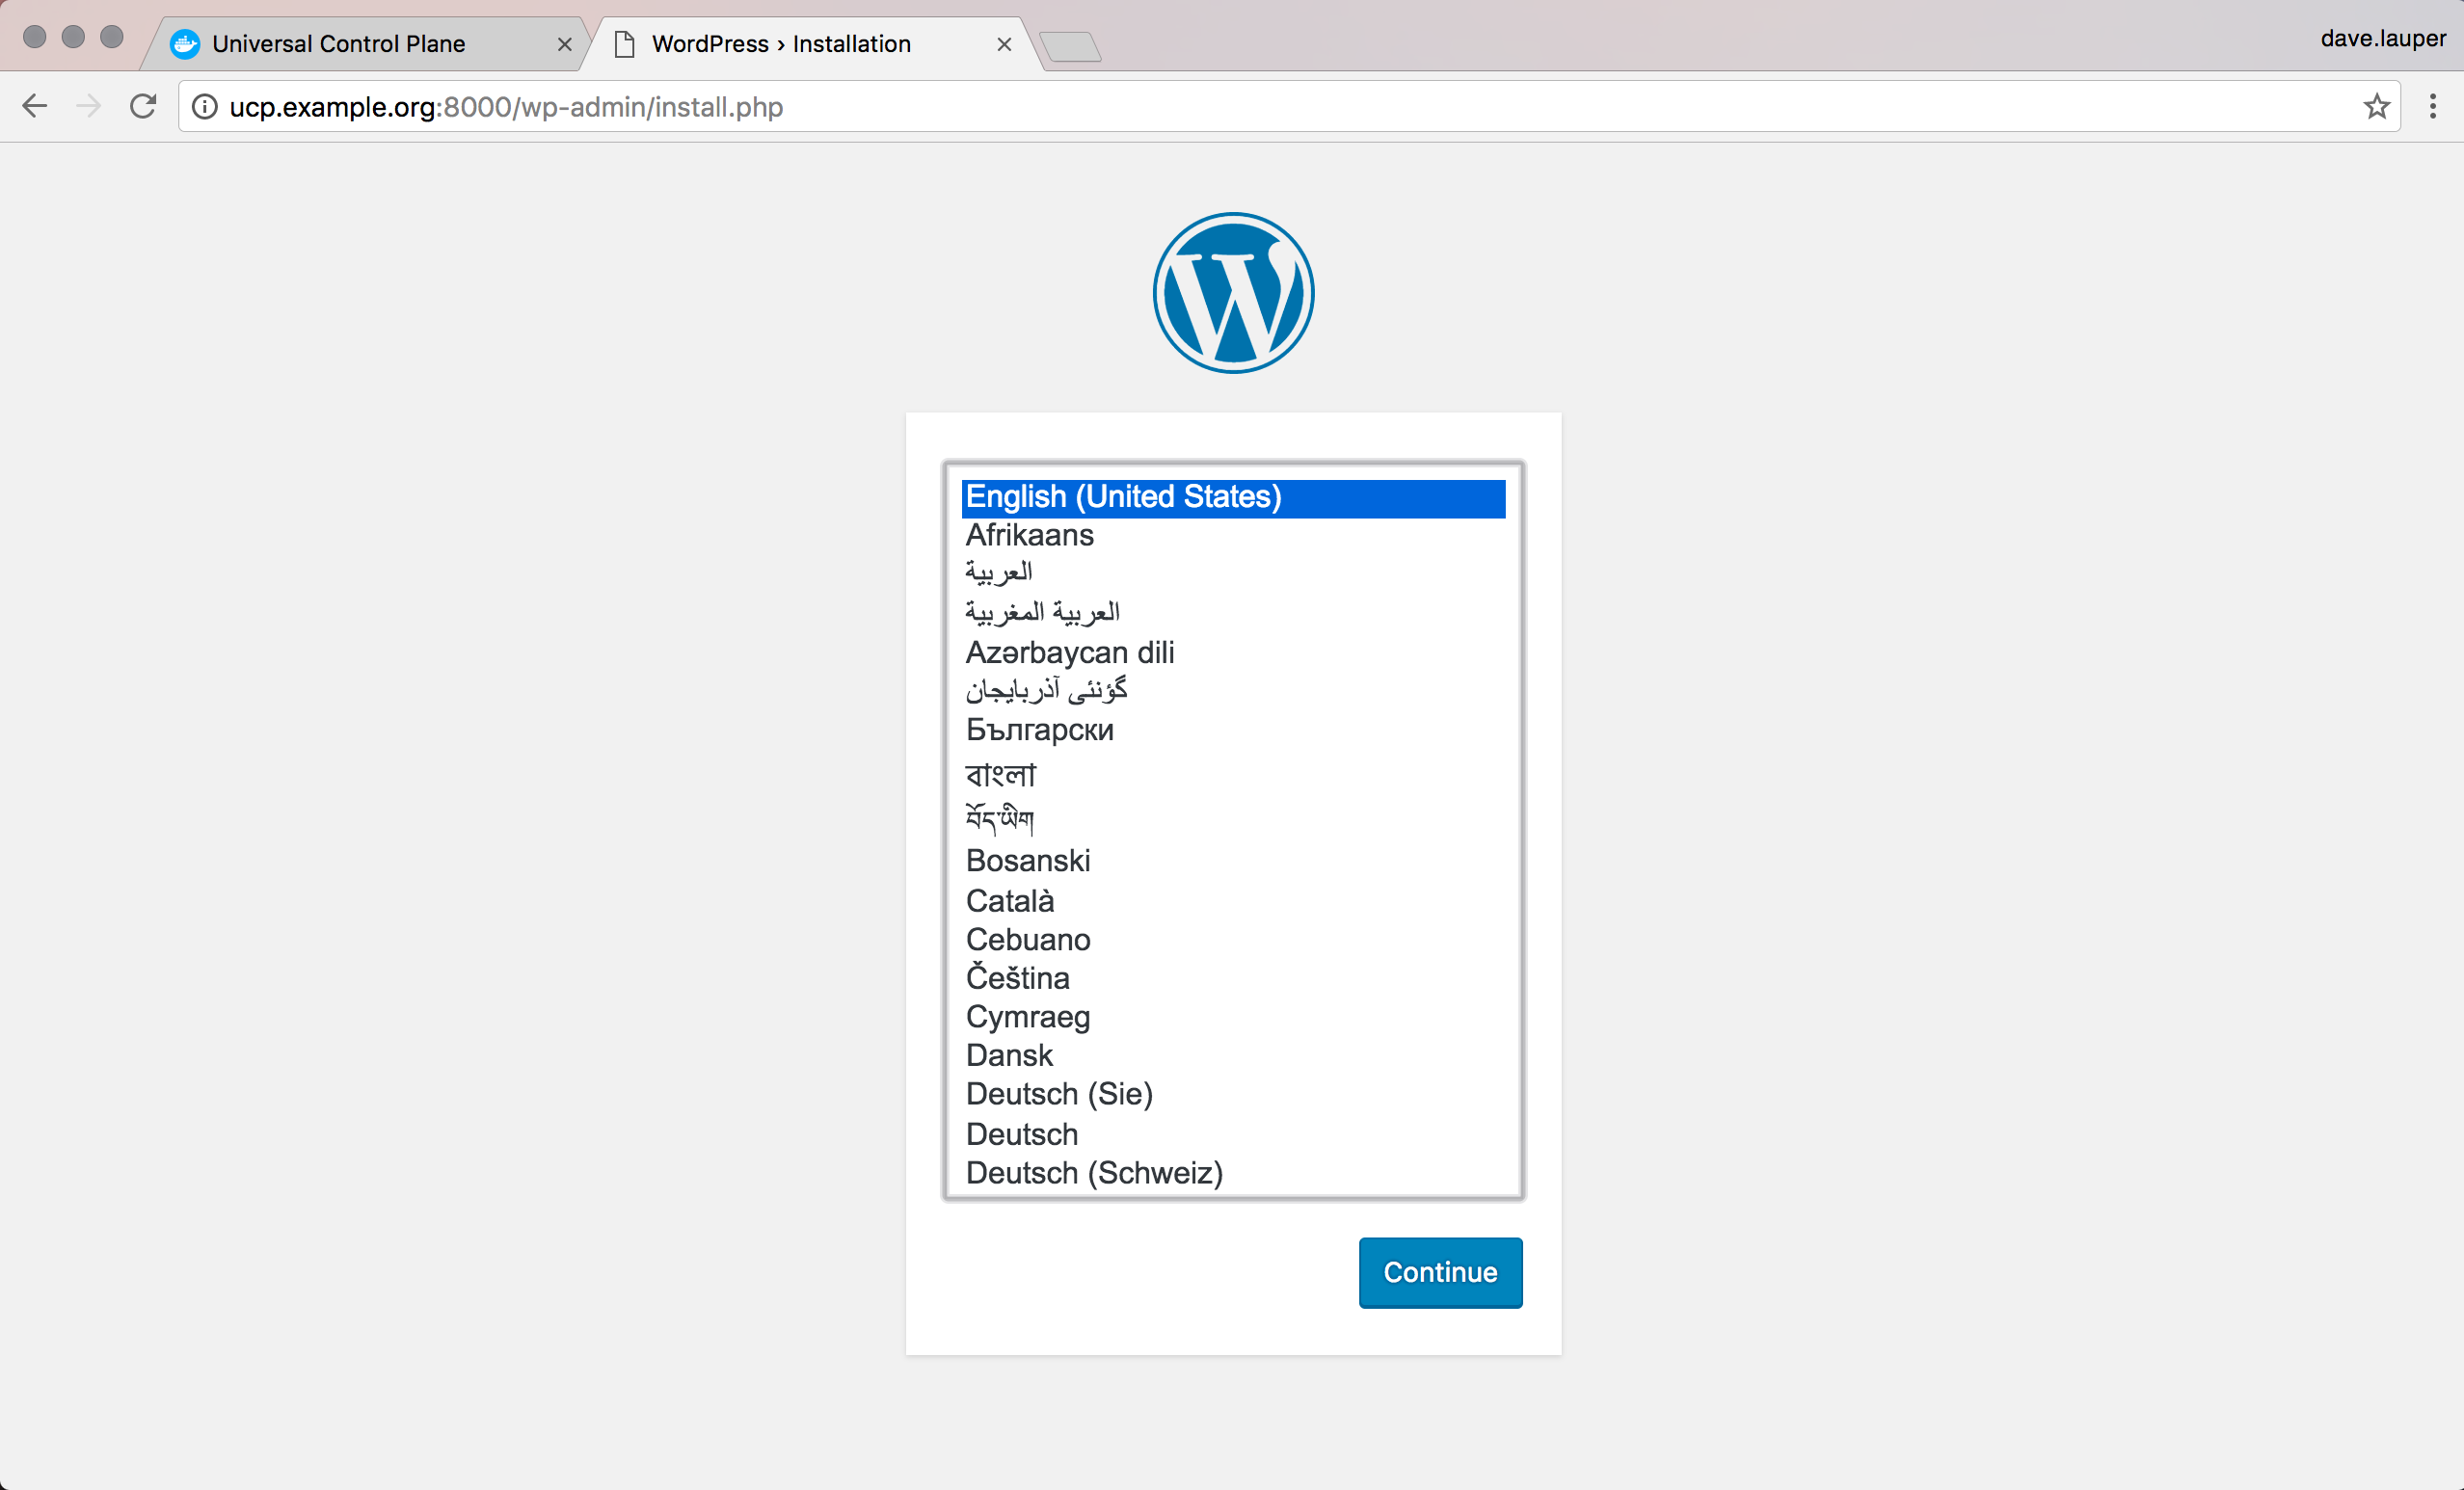
Once you deploy this service, you’ll be able to access it using the IP address of any node in your UCP cluster, on port 8000.
Update a secret
If the secret gets compromised, you’ll need to rotate it so that your services start using a new secret. In this case, we need to change the password we’re using and update the MySQL and WordPress services to use the new password.
Since secrets are immutable in the sense that you can’t change the data they store after they are created, we can use the following process to achieve this:
- Create a new secret with a different password.
- Update all the services that are using the old secret to use the new one instead.
- Delete the old secret.
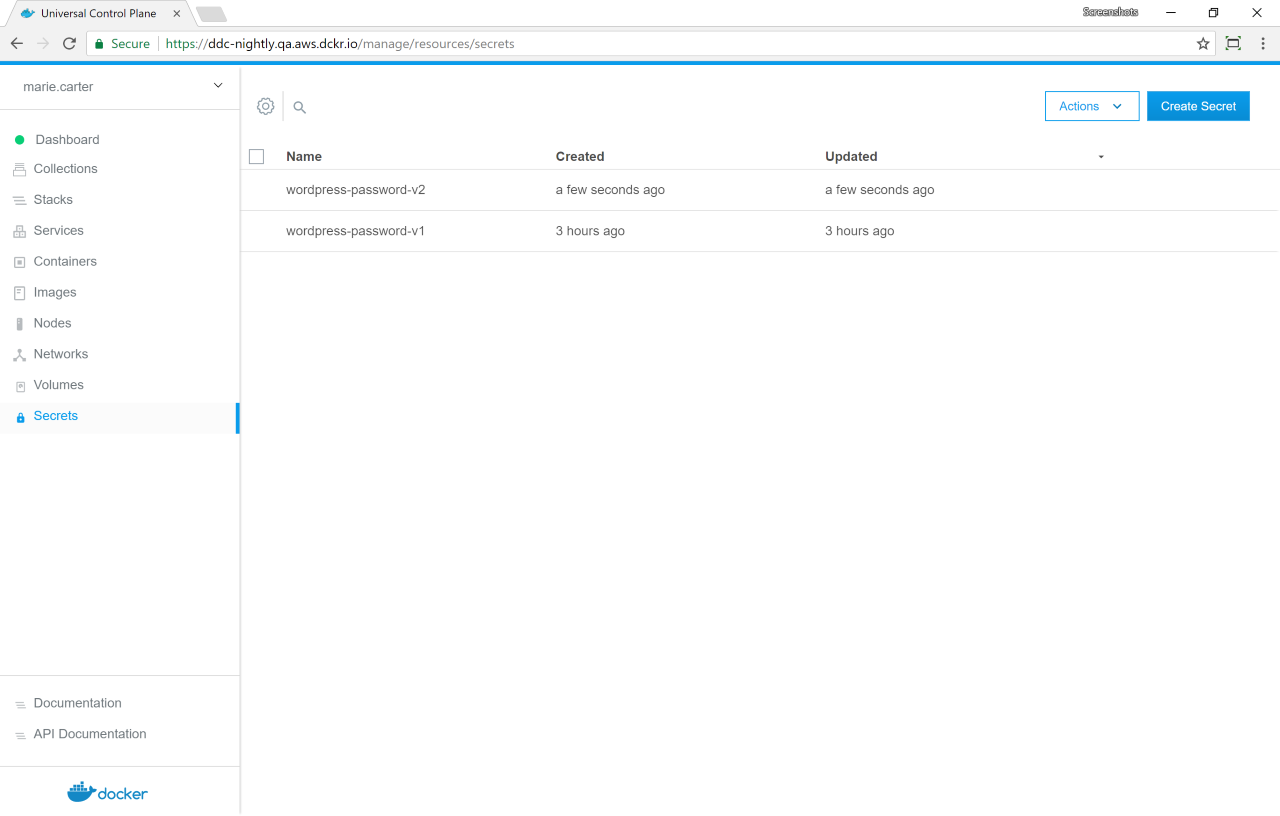
Let’s rotate the secret we’ve created. Navigate to the Secrets page
and create a new secret named wordpress-password-v2.
This example is simple, and we know which services we need to update, but in the real world, this might not always be the case.
Click the wordpress-password-v1 secret. In the details pane, click Inspect Resource, and in the dropdown, select Services.
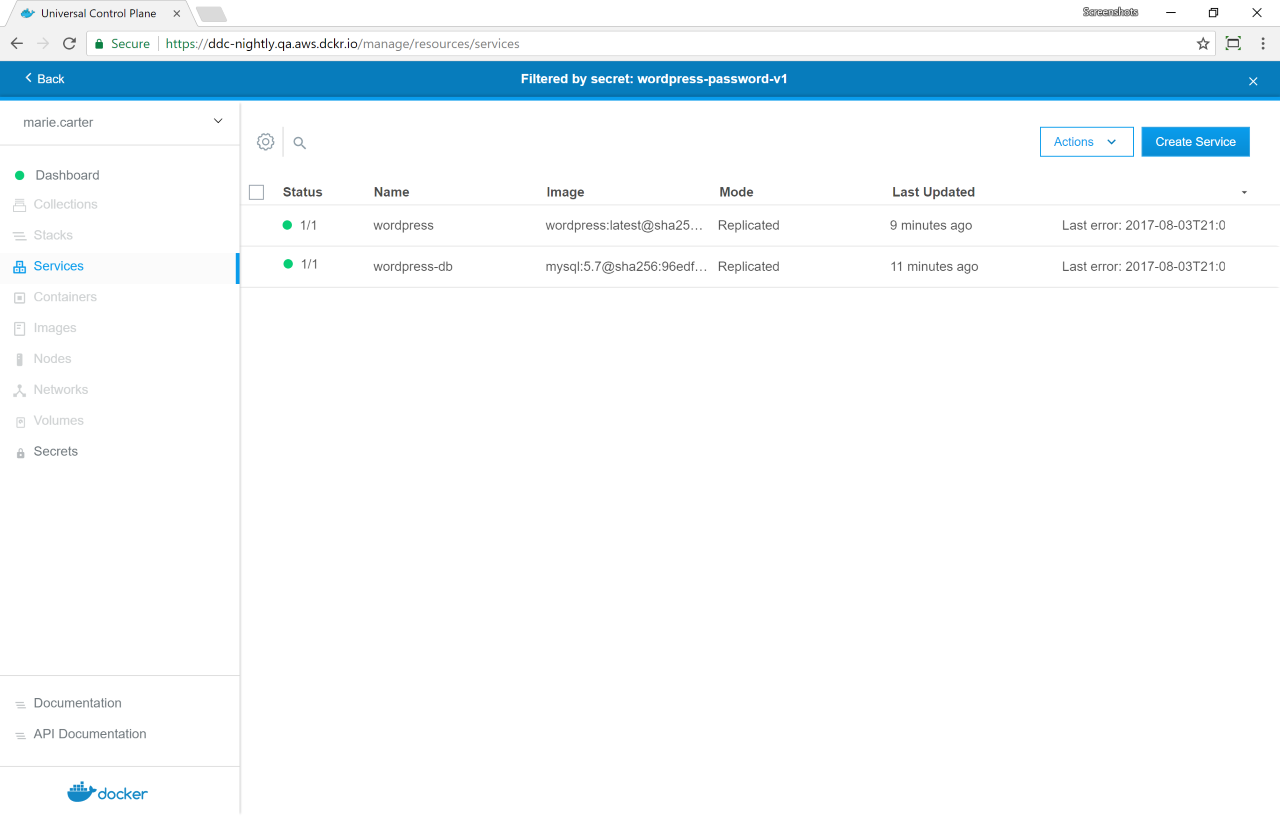
Start by updating the wordpress-db service to stop using the secret
wordpress-password-v1 and use the new version instead.
The MYSQL_ROOT_PASSWORD_FILE environment variable is currently set to look for
a file at /run/secrets/wordpress-password-v1 which won’t exist after we
update the service. So we have two options:
- Update the environment variable to have the value
/run/secrets/wordpress-password-v2, or - Instead of mounting the secret file in
/run/secrets/wordpress-password-v2(the default), we can customize it to be mounted in/run/secrets/wordpress-password-v1instead. This way we don’t need to change the environment variable. This is what we’re going to do.
When adding the secret to the services, instead of leaving the Target Name
field with the default value, set it with wordpress-password-v1. This will make
the file with the content of wordpress-password-v2 be mounted in
/run/secrets/wordpress-password-v1.
Delete the wordpress-password-v1 secret, and click Update.

Then do the same thing for the WordPress service. After this is done, the WordPress application is running and using the new password.
Managing secrets through the CLI
You can find additional documentation on managing secrets through the CLI at How Docker manages secrets.