Isolate volumes between two different teams
Estimated reading time: 3 minutesIn this example, two teams are granted access to volumes in two different resource collections. UCP access control prevents the teams from viewing and accessing each other’s volumes, even though they may be located in the same nodes.
- Create two teams.
- Create two collections, one for either team.
- Create grants to manage access to the collections.
- Team members create volumes that are specific to their team.

Create two teams
Navigate to the Organizations & Teams page to create two teams in your organization, named “Dev” and “Prod”. Add a user who’s not a UCP administrator to the Dev team, and add another non-admin user to the Prod team. Learn how to create and manage teams.
Create resource collections
In this example, the Dev and Prod teams use two different volumes, which they
access through two corresponding resource collections. The collections are
placed under the /Shared collection.
- In the left pane, click Collections to show all of the resource collections in the swarm.
- Find the /Shared collection and click View children.
- Click Create collection and name the new collection “dev-volumes”.
- Click Create to create the collection.
- Click Create collection again, name the new collection “prod-volumes”, and click Create.
Create grants for controlling access to the new volumes
In this example, the Dev team gets access to its volumes from a grant that
associates the team with the /Shared/dev-volumes collection, and the Prod
team gets access to its volumes from another grant that associates the team
with the /Shared/prod-volumes collection.
- Navigate to the Grants page and click Create Grant.
- In the left pane, click Collections, and in the Swarm collection, click View Children.
- In the Shared collection, click View Children.
- In the list, find /Shared/dev-volumes and click Select Collection.
- Click Roles, and in the dropdown, select Restricted Control.
- Click Subjects, and under Select subject type, click Organizations. In the dropdown, pick your organization, and in the Team dropdown, select Dev.
- Click Create to grant permissions to the Dev team.
- Click Create Grant and repeat the previous steps for the /Shared/prod-volumes collection and the Prod team.

With the collections and grants in place, users can sign in and create volumes in their assigned collections.
Create a volume as a team member
Team members have permission to create volumes in their assigned collection.
- Log in as one of the users on the Dev team.
- Navigate to the Volumes page to view all of the volumes in the swarm that the user can access.
- Click Create volume and name the new volume “dev-data”.
- In the left pane, click Collections. The default collection appears. At the top of the page, click Shared, find the dev-volumes collection in the list, and click Select Collection.
- Click Create to add the “dev-data” volume to the collection.
- Log in as one of the users on the Prod team, and repeat the previous steps
to create a “prod-data” volume assigned to the
/Shared/prod-volumescollection.
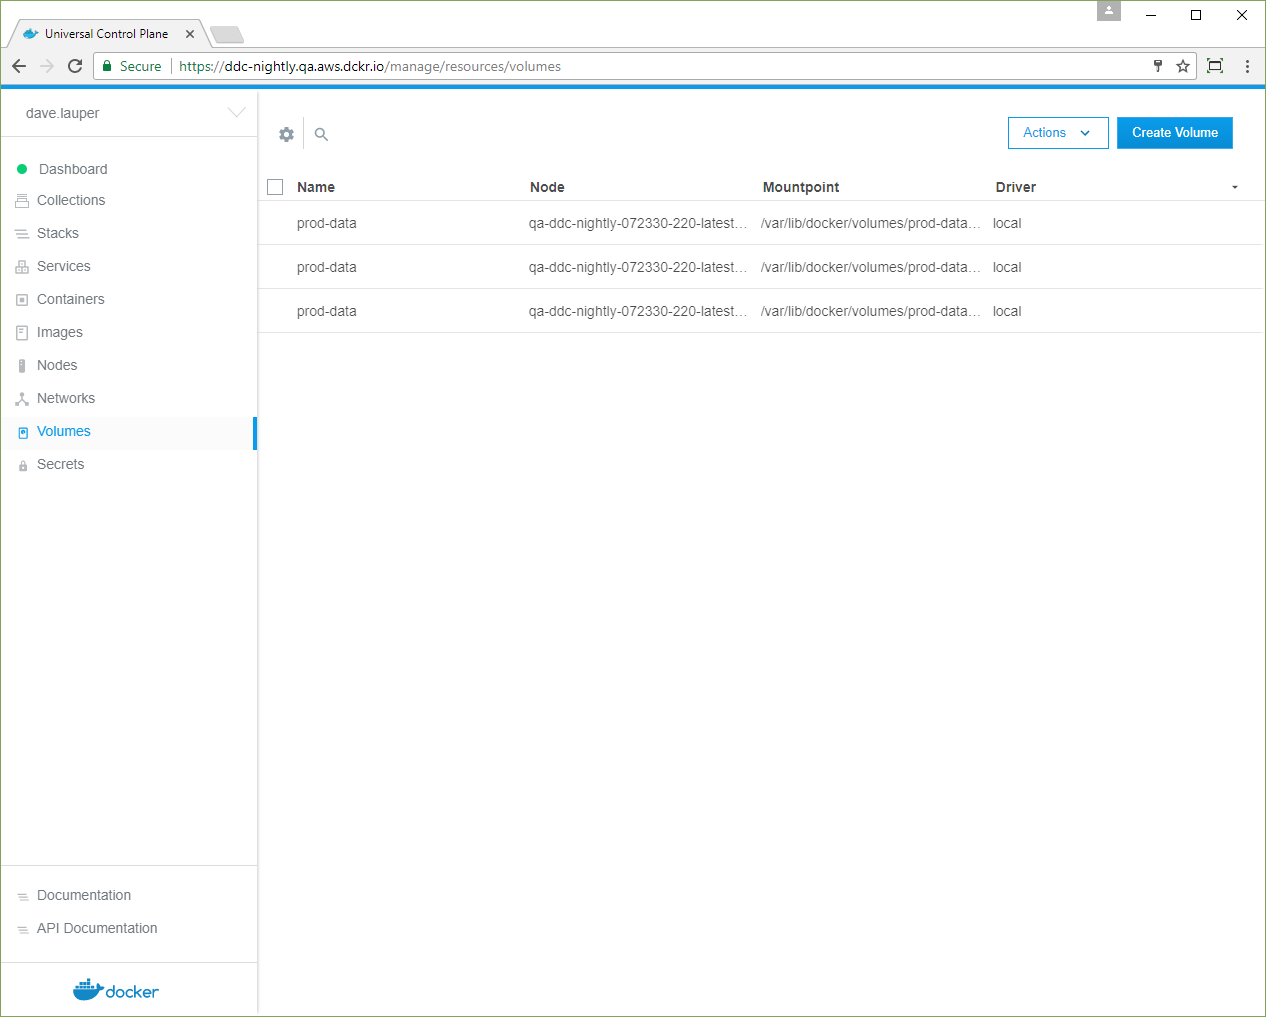
Now you can see role-based access control in action for volumes. The user on the Prod team can’t see the Dev team’s volumes, and if you log in again as a user on the Dev team, you can’t see the Prod team’s volumes.

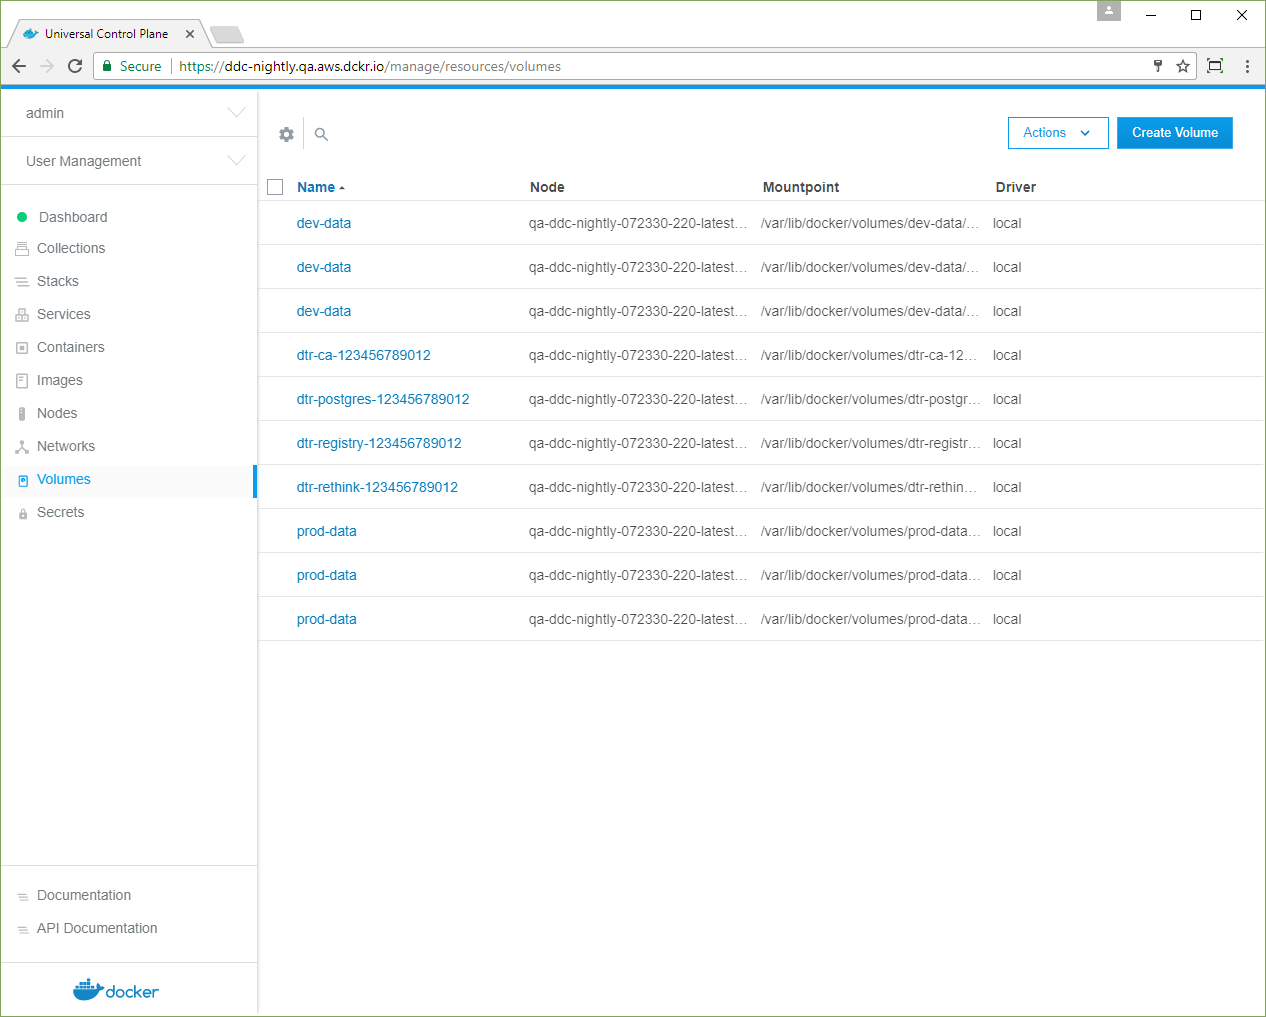
Sign in with a UCP administrator account, and you see all of the volumes created by the Dev and Prod users.