Garbage collection
Estimated reading time: 4 minutesYou can configure the Docker Trusted Registry (DTR) to automatically delete unused image layers, thus saving you disk space. This process is also known as garbage collection.
How DTR deletes unused layers
First you configure DTR to run a garbage collection job on a fixed schedule. At the scheduled time, DTR:
- Identifies and marks unused image layers.
- Deletes the marked image layers.
Starting in DTR 2.5, we introduced an experimental feature which lets you run garbage collection jobs without putting DTR in read-only mode. As of v2.6, online garbage collection is no longer in experimental mode. This means that the registry no longer has to be in read-only mode (or offline) during garbage collection.
Schedule garbage collection
In your browser, navigate to https://<dtr-url> and log in with your credentials. Select System on the left navigation pane, and then click
the Garbage collection tab to schedule garbage collection.
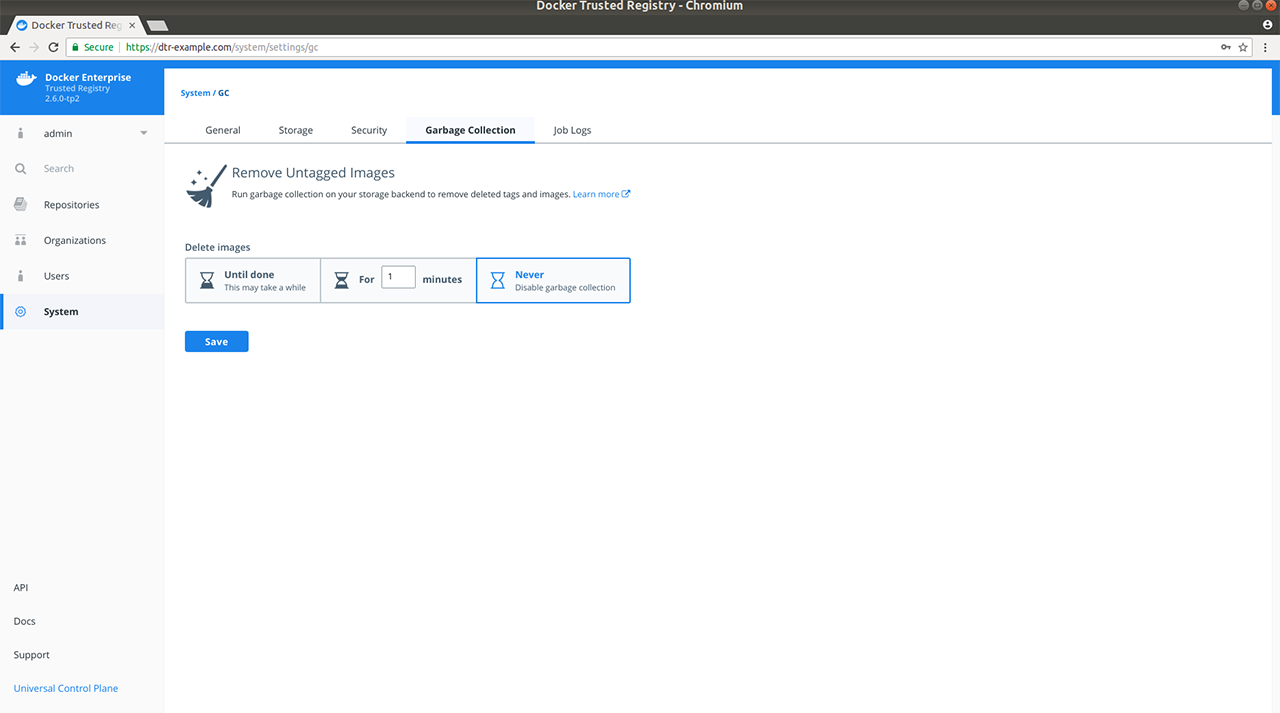
Select for how long the garbage collection job should run:
- Until done: Run the job until all unused image layers are deleted.
- For x minutes: Only run the garbage collection job for a maximum of x minutes at a time.
- Never: Never delete unused image layers.
If you select Until done or For x minutes, you can specify a recurring schedule in UTC (Coordinated Universal Time) with the following options:
- Custom cron schedule - (Hour, Day of Month, Month, Weekday)
- Daily at midnight UTC
- Every Saturday at 1am UTC
- Every Sunday at 1am UTC
- Do not repeat

Once everything is configured you can choose to Save & Start to run the garbage collection job immediately, or just Save to run the job on the next scheduled interval.
Review the garbage collection job log
In v2.5, you were notified with a banner under main navigation that no one can push images while a garbage collection job is running. With v2.6, this is no longer the case since garbage collection now happens while DTR is online and writable.
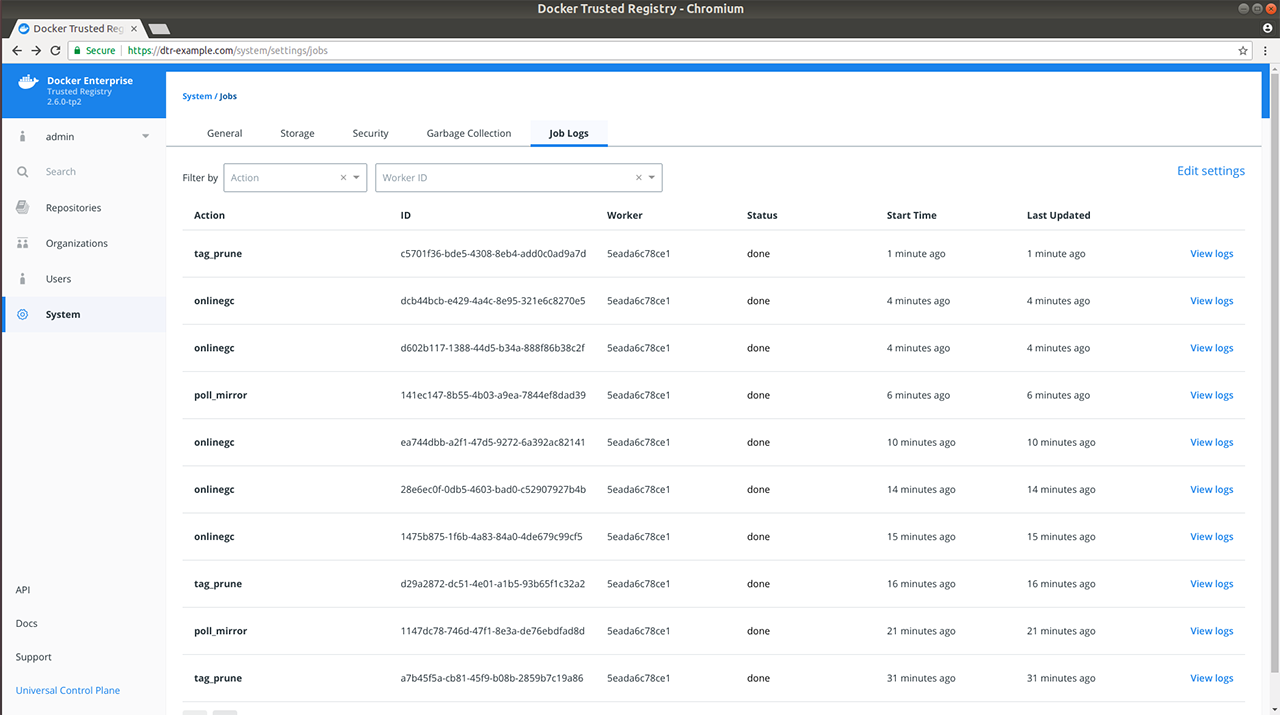
If you clicked Save & Start previously, verify that the garbage collection routine started by navigating to Job Logs.
Under the hood
Each image stored in DTR is made up of multiple files:
- A list of image layers that are unioned which represents the image filesystem
- A configuration file that contains the architecture of the image and other metadata
- A manifest file containing the list of all layers and configuration file for an image
All these files are tracked in DTR’s metadata store in RethinkDB. These files are tracked in a content-addressable way such that a file corresponds to a cryptographic hash of the file’s content. This means that if two image tags hold exactly the same content, DTR only stores the image content once while making hash collisions nearly impossible, even if the tag name is different.
As an example, if wordpress:4.8 and wordpress:latest have the same content,
the content will only be stored once. If you delete one of these tags, the other won’t
be deleted.
This means that when you delete an image tag, DTR cannot delete the underlying files of that image tag since other tags may also use the same files.
To facilitate online garbage collection, DTR makes a couple of changes to how it uses the storage backend:
-
Layer links – the references within repository directories to their associated blobs – are no longer in the storage backend. That is because DTR stores these references in RethinkDB instead to enumerate through them during the marking phase of garbage collection.
-
Any layers created after an upgrade to 2.6 are no longer content-addressed in the storage backend. Many cloud provider backends do not give the sequential consistency guarantees required to deal with the simultaneous deleting and re-pushing of a layer in a predictable manner. To account for this, DTR assigns each newly pushed layer a unique ID and performs the translation from content hash to ID in RethinkDB.
To delete unused files, DTR does the following:
- Establish a cutoff time
- Mark each referenced manifest file with a timestamp. When manifest files are pushed to DTR, they are also marked with a timestamp
- Sweep each manifest file that does not have a timestamp after the cutoff time
- If a file is never referenced – which means no image tag uses it – delete the file
- Repeat the process for blob links and blob descriptors.