Deploy an app from the UI
Estimated reading time: 1 minuteWith Docker Universal Control Plane you can deploy applications from the
UI using docker-compose.yml files. In this example, we’re going to deploy a
WordPress application.
Deploy WordPress
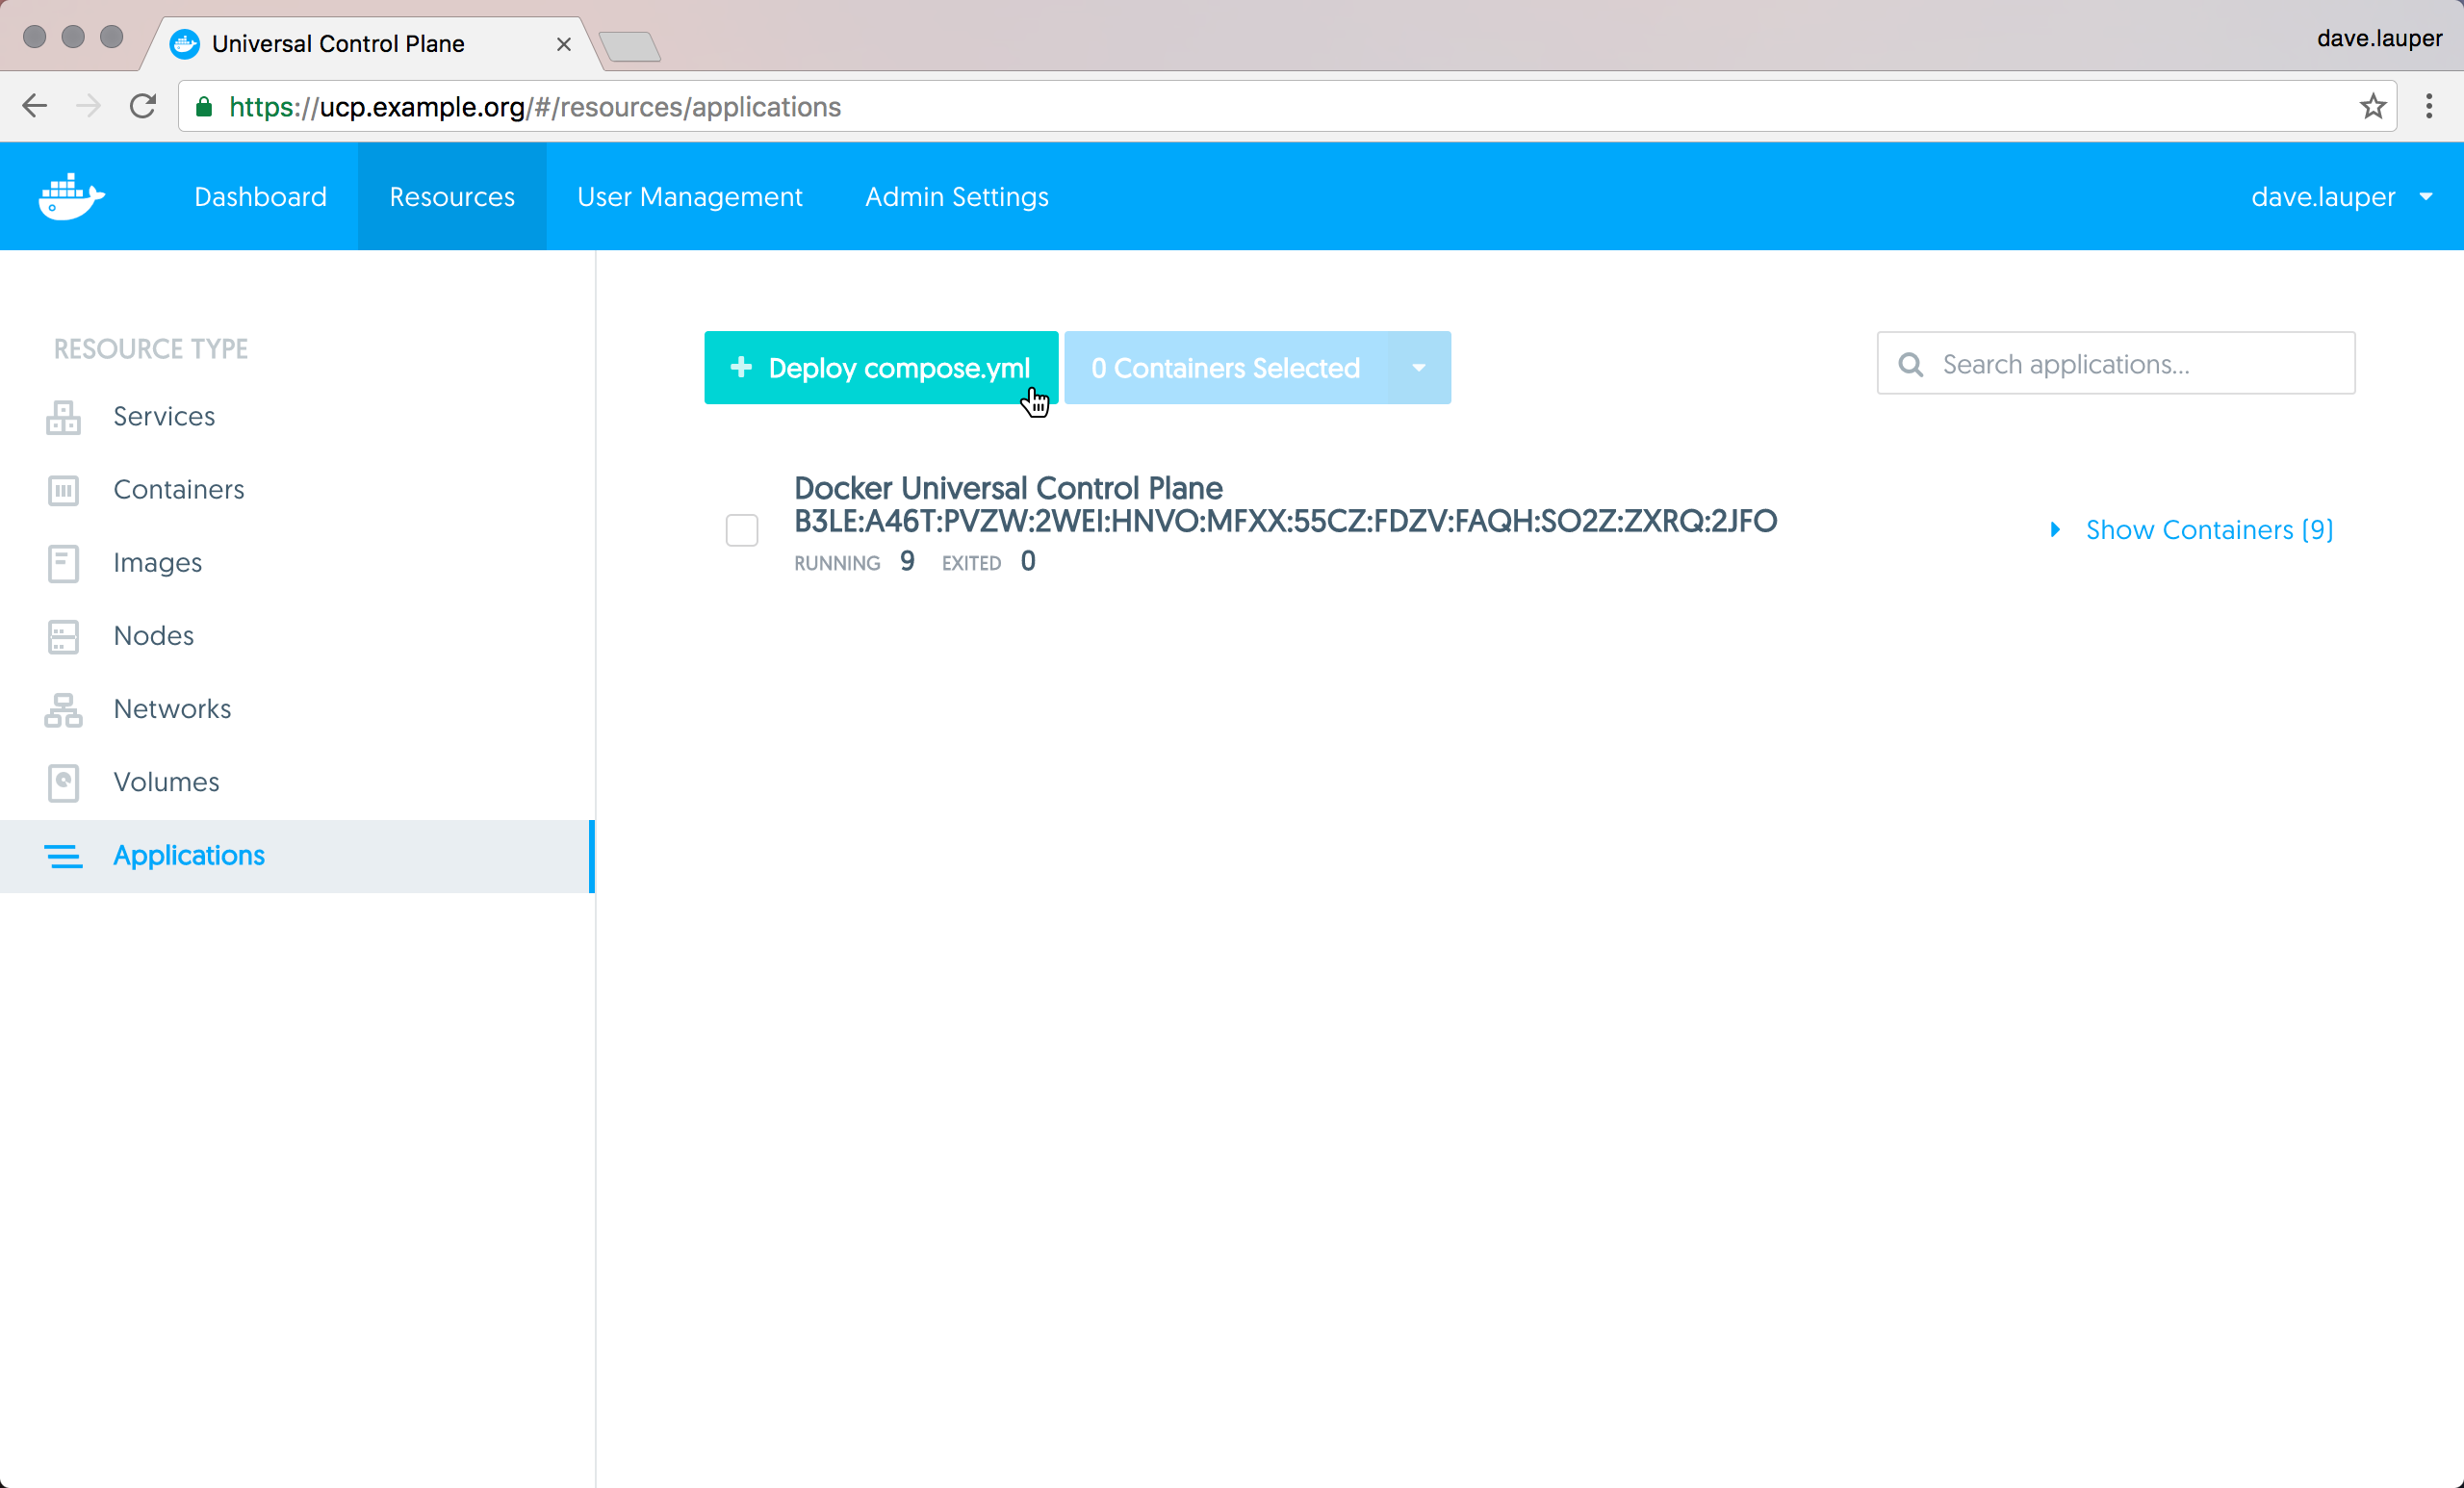
In your browser, log in to UCP, and navigate to the Applications page. There, click the Deploy compose.yml button, to deploy a new application.
The WordPress application we’re going to deploy is composed of two services:
- wordpress: The service that runs Apache, PHP, and WordPress.
- db: A MariaDB database used for data persistence.
version: '2'

services:
   db:
     image: mysql:5.7
     volumes:
       - db_data:/var/lib/mysql
     restart: always
     environment:
       MYSQL_ROOT_PASSWORD: wordpress
       MYSQL_DATABASE: wordpress
       MYSQL_USER: wordpress
       MYSQL_PASSWORD: wordpress

   wordpress:
     depends_on:
       - db
     image: wordpress:latest
     ports:
       - "8000:80"
     restart: always
     environment:
       WORDPRESS_DB_HOST: db:3306
       WORDPRESS_DB_PASSWORD: wordpress
volumes:
    db_data:
Name the application ‘wordpress’, and paste the docker-compose.yml definition. You can also upload a docker-compose.yml file from your machine, by clicking on the ‘Upload an existing docker-compose.yml’ link.
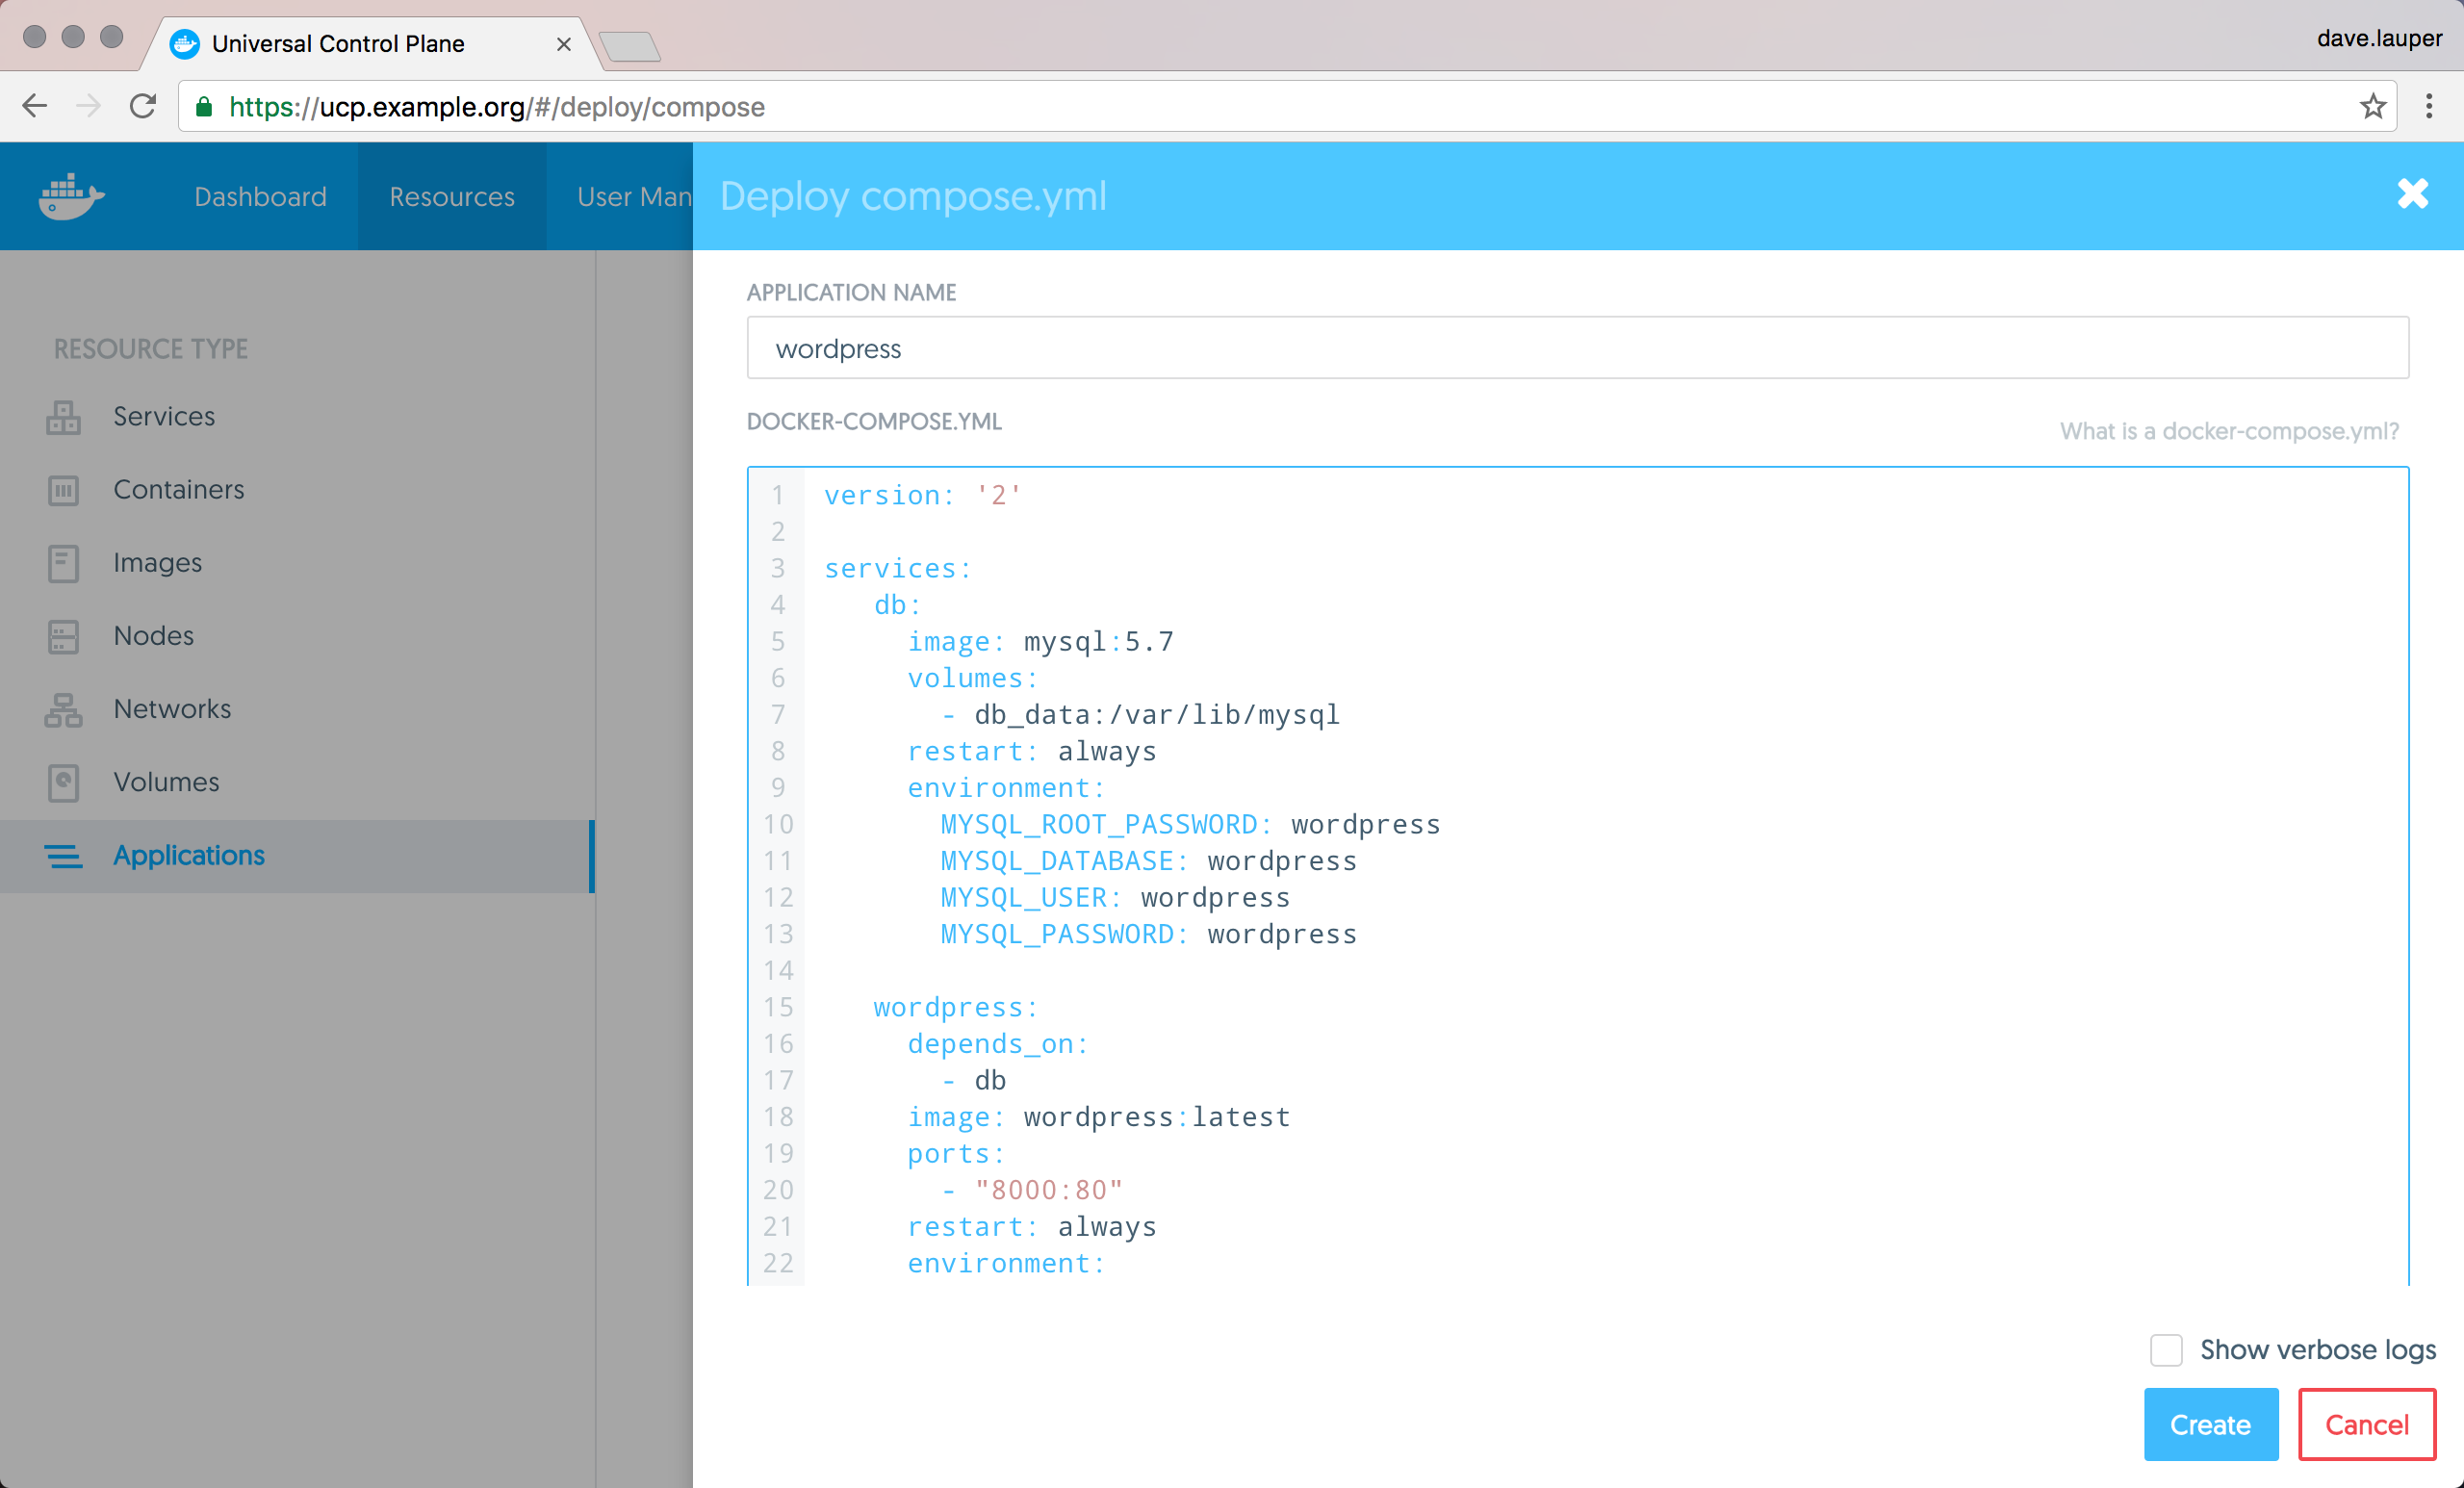
Click the Create button, to create the WordPress application.
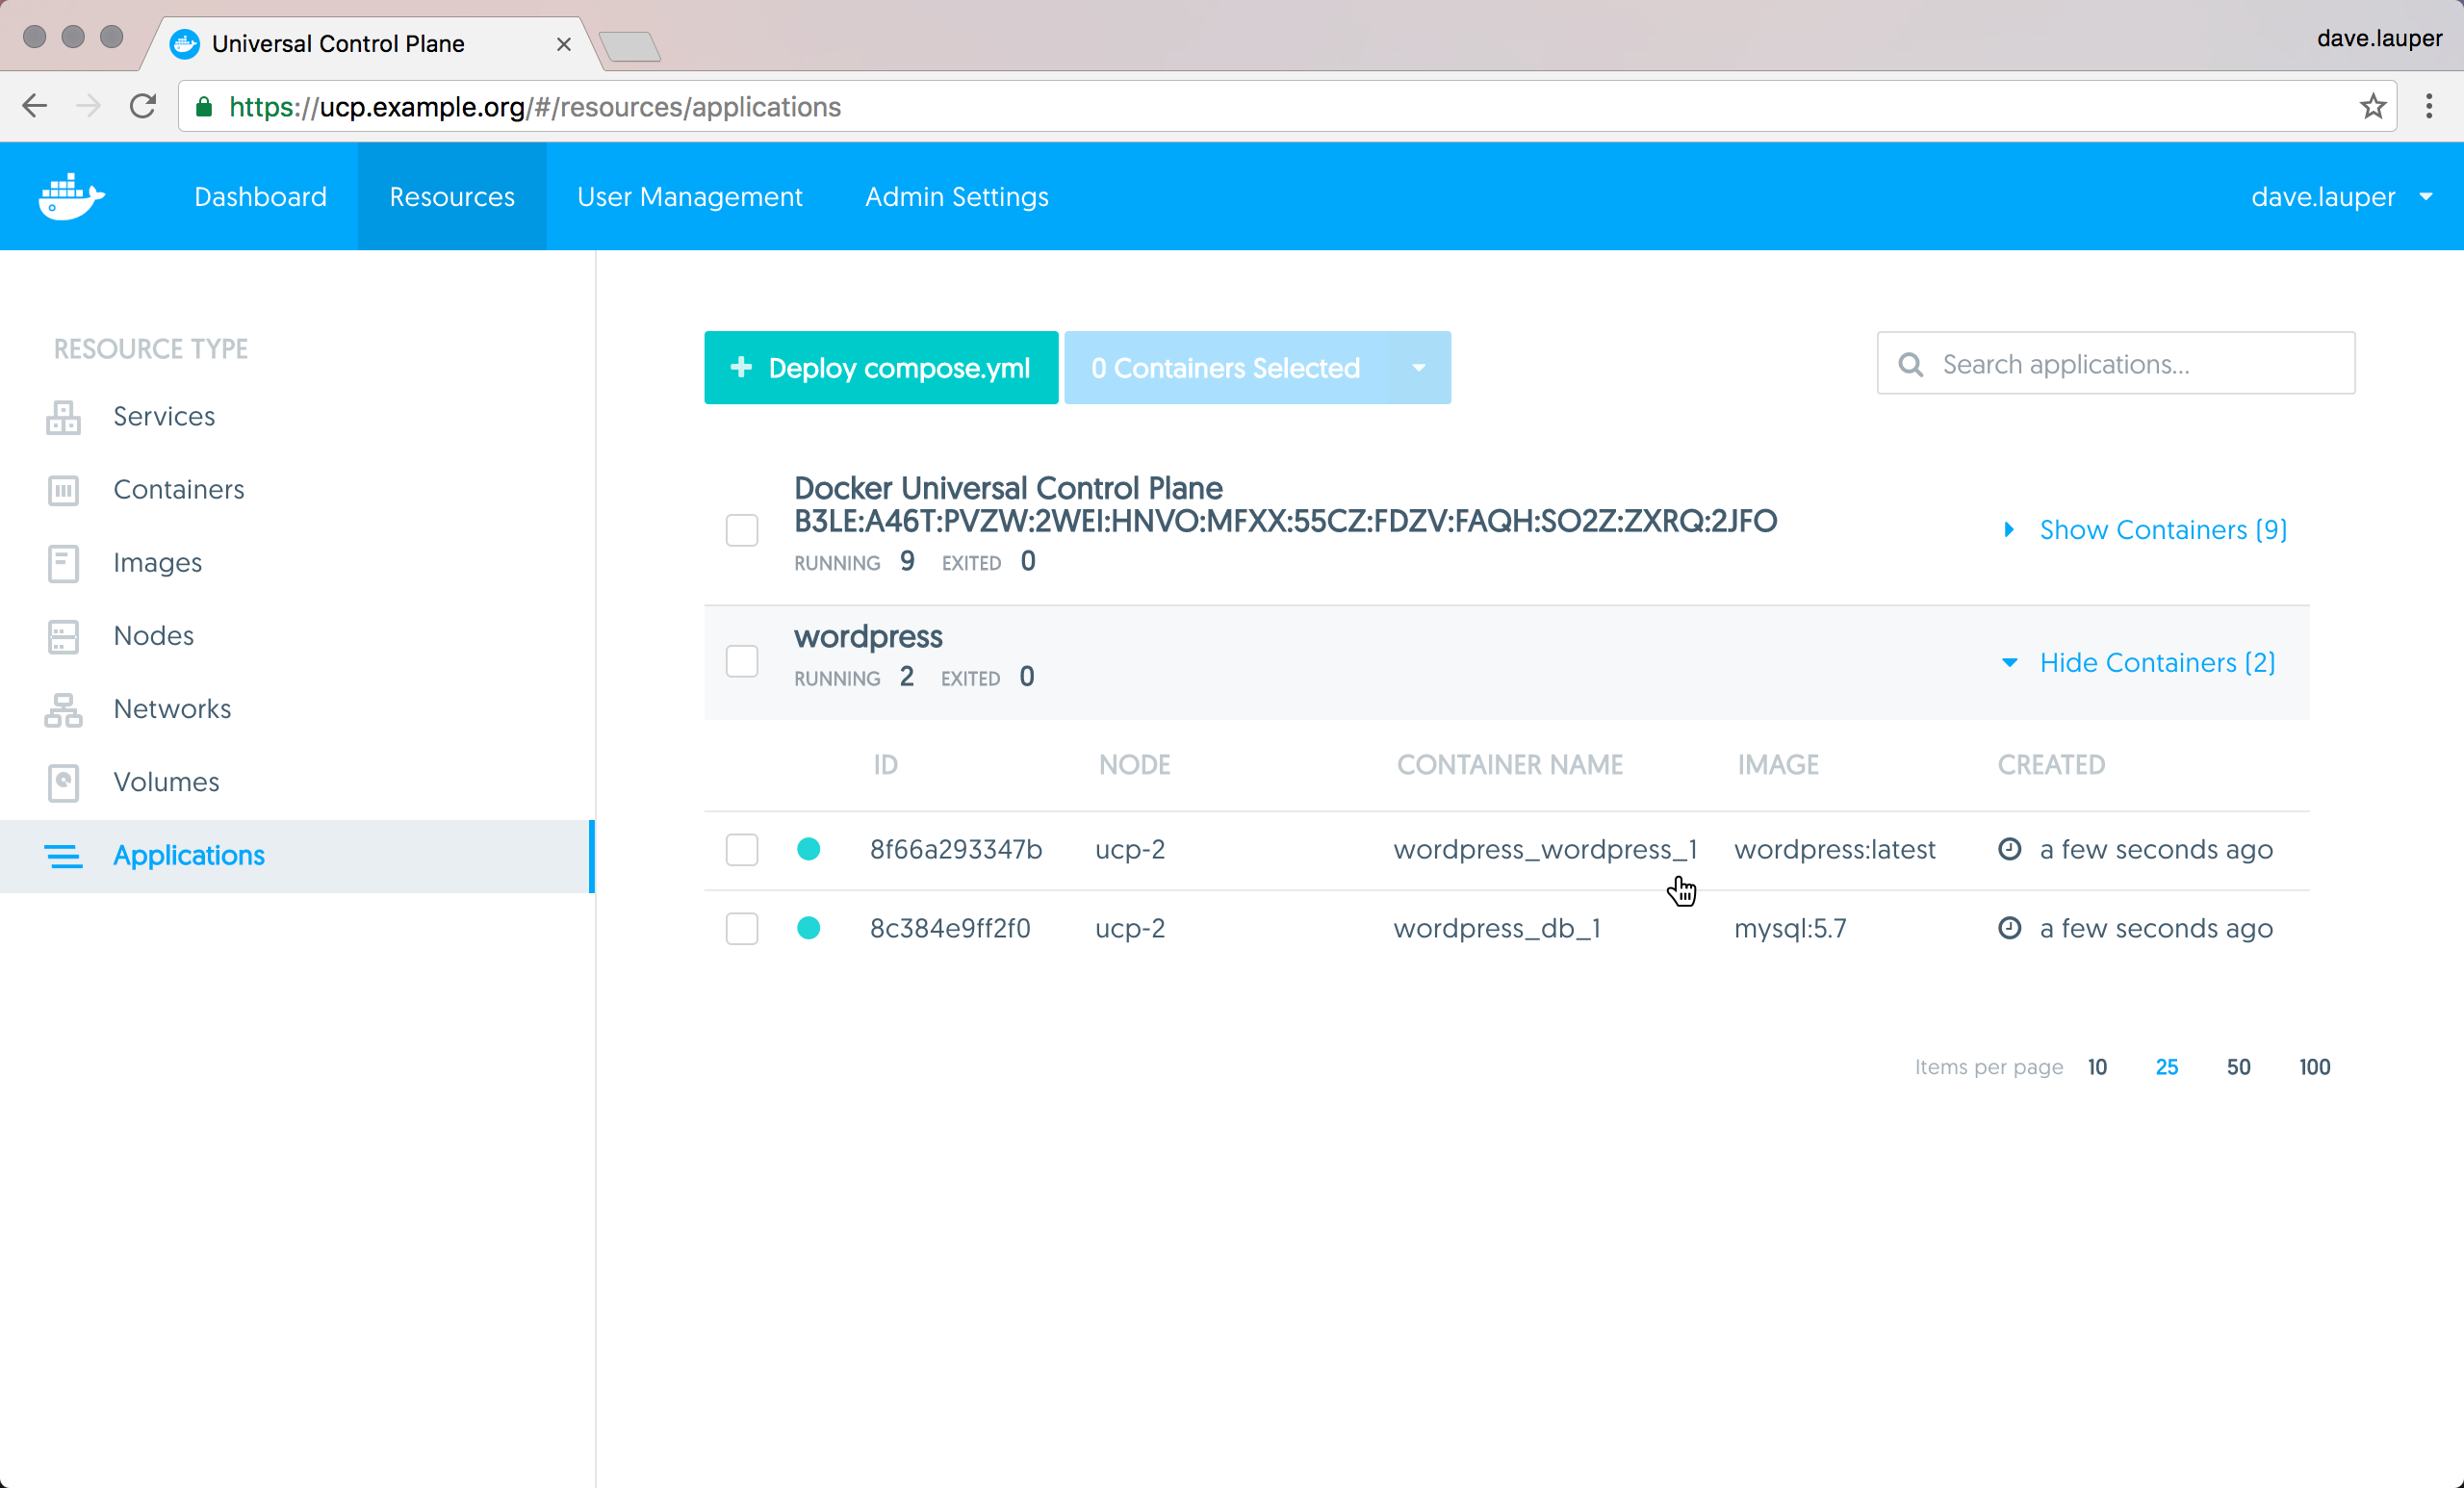
Once UCP deploys the WordPress application, you can click on the wordpress_wordpress_1 container, to see its details.
In the container details page, search for the Ports the container is exposing.
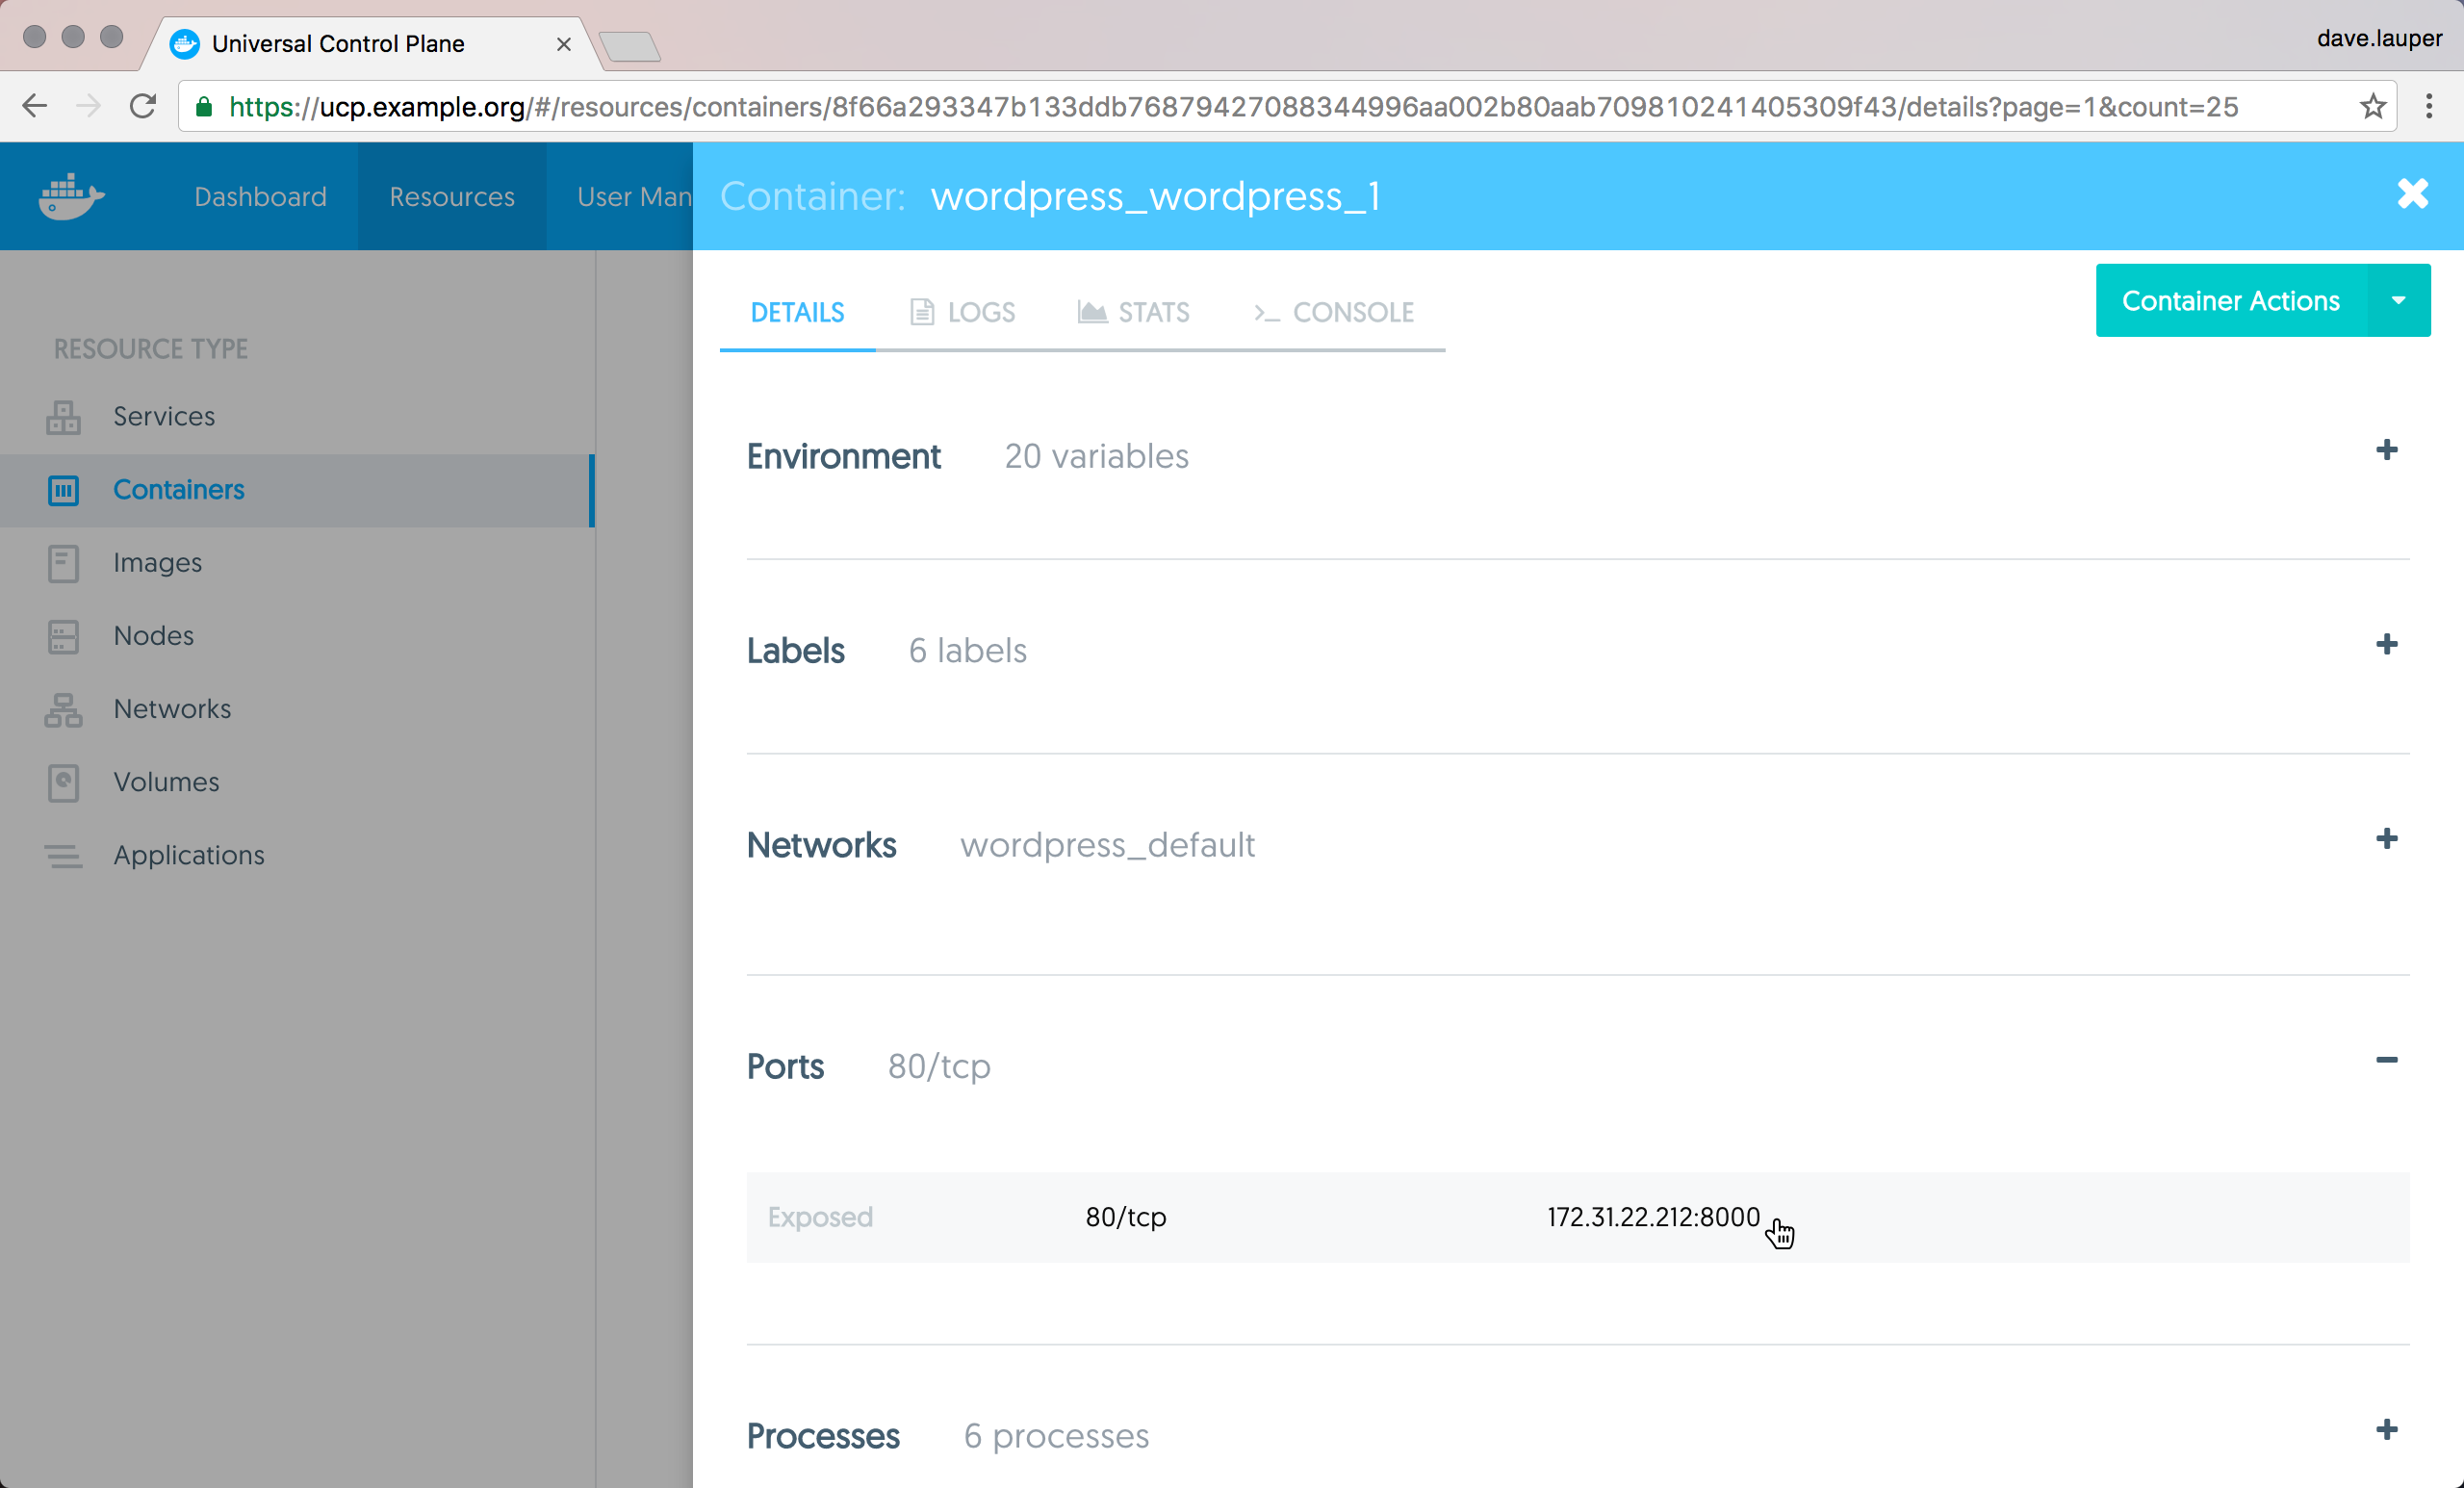
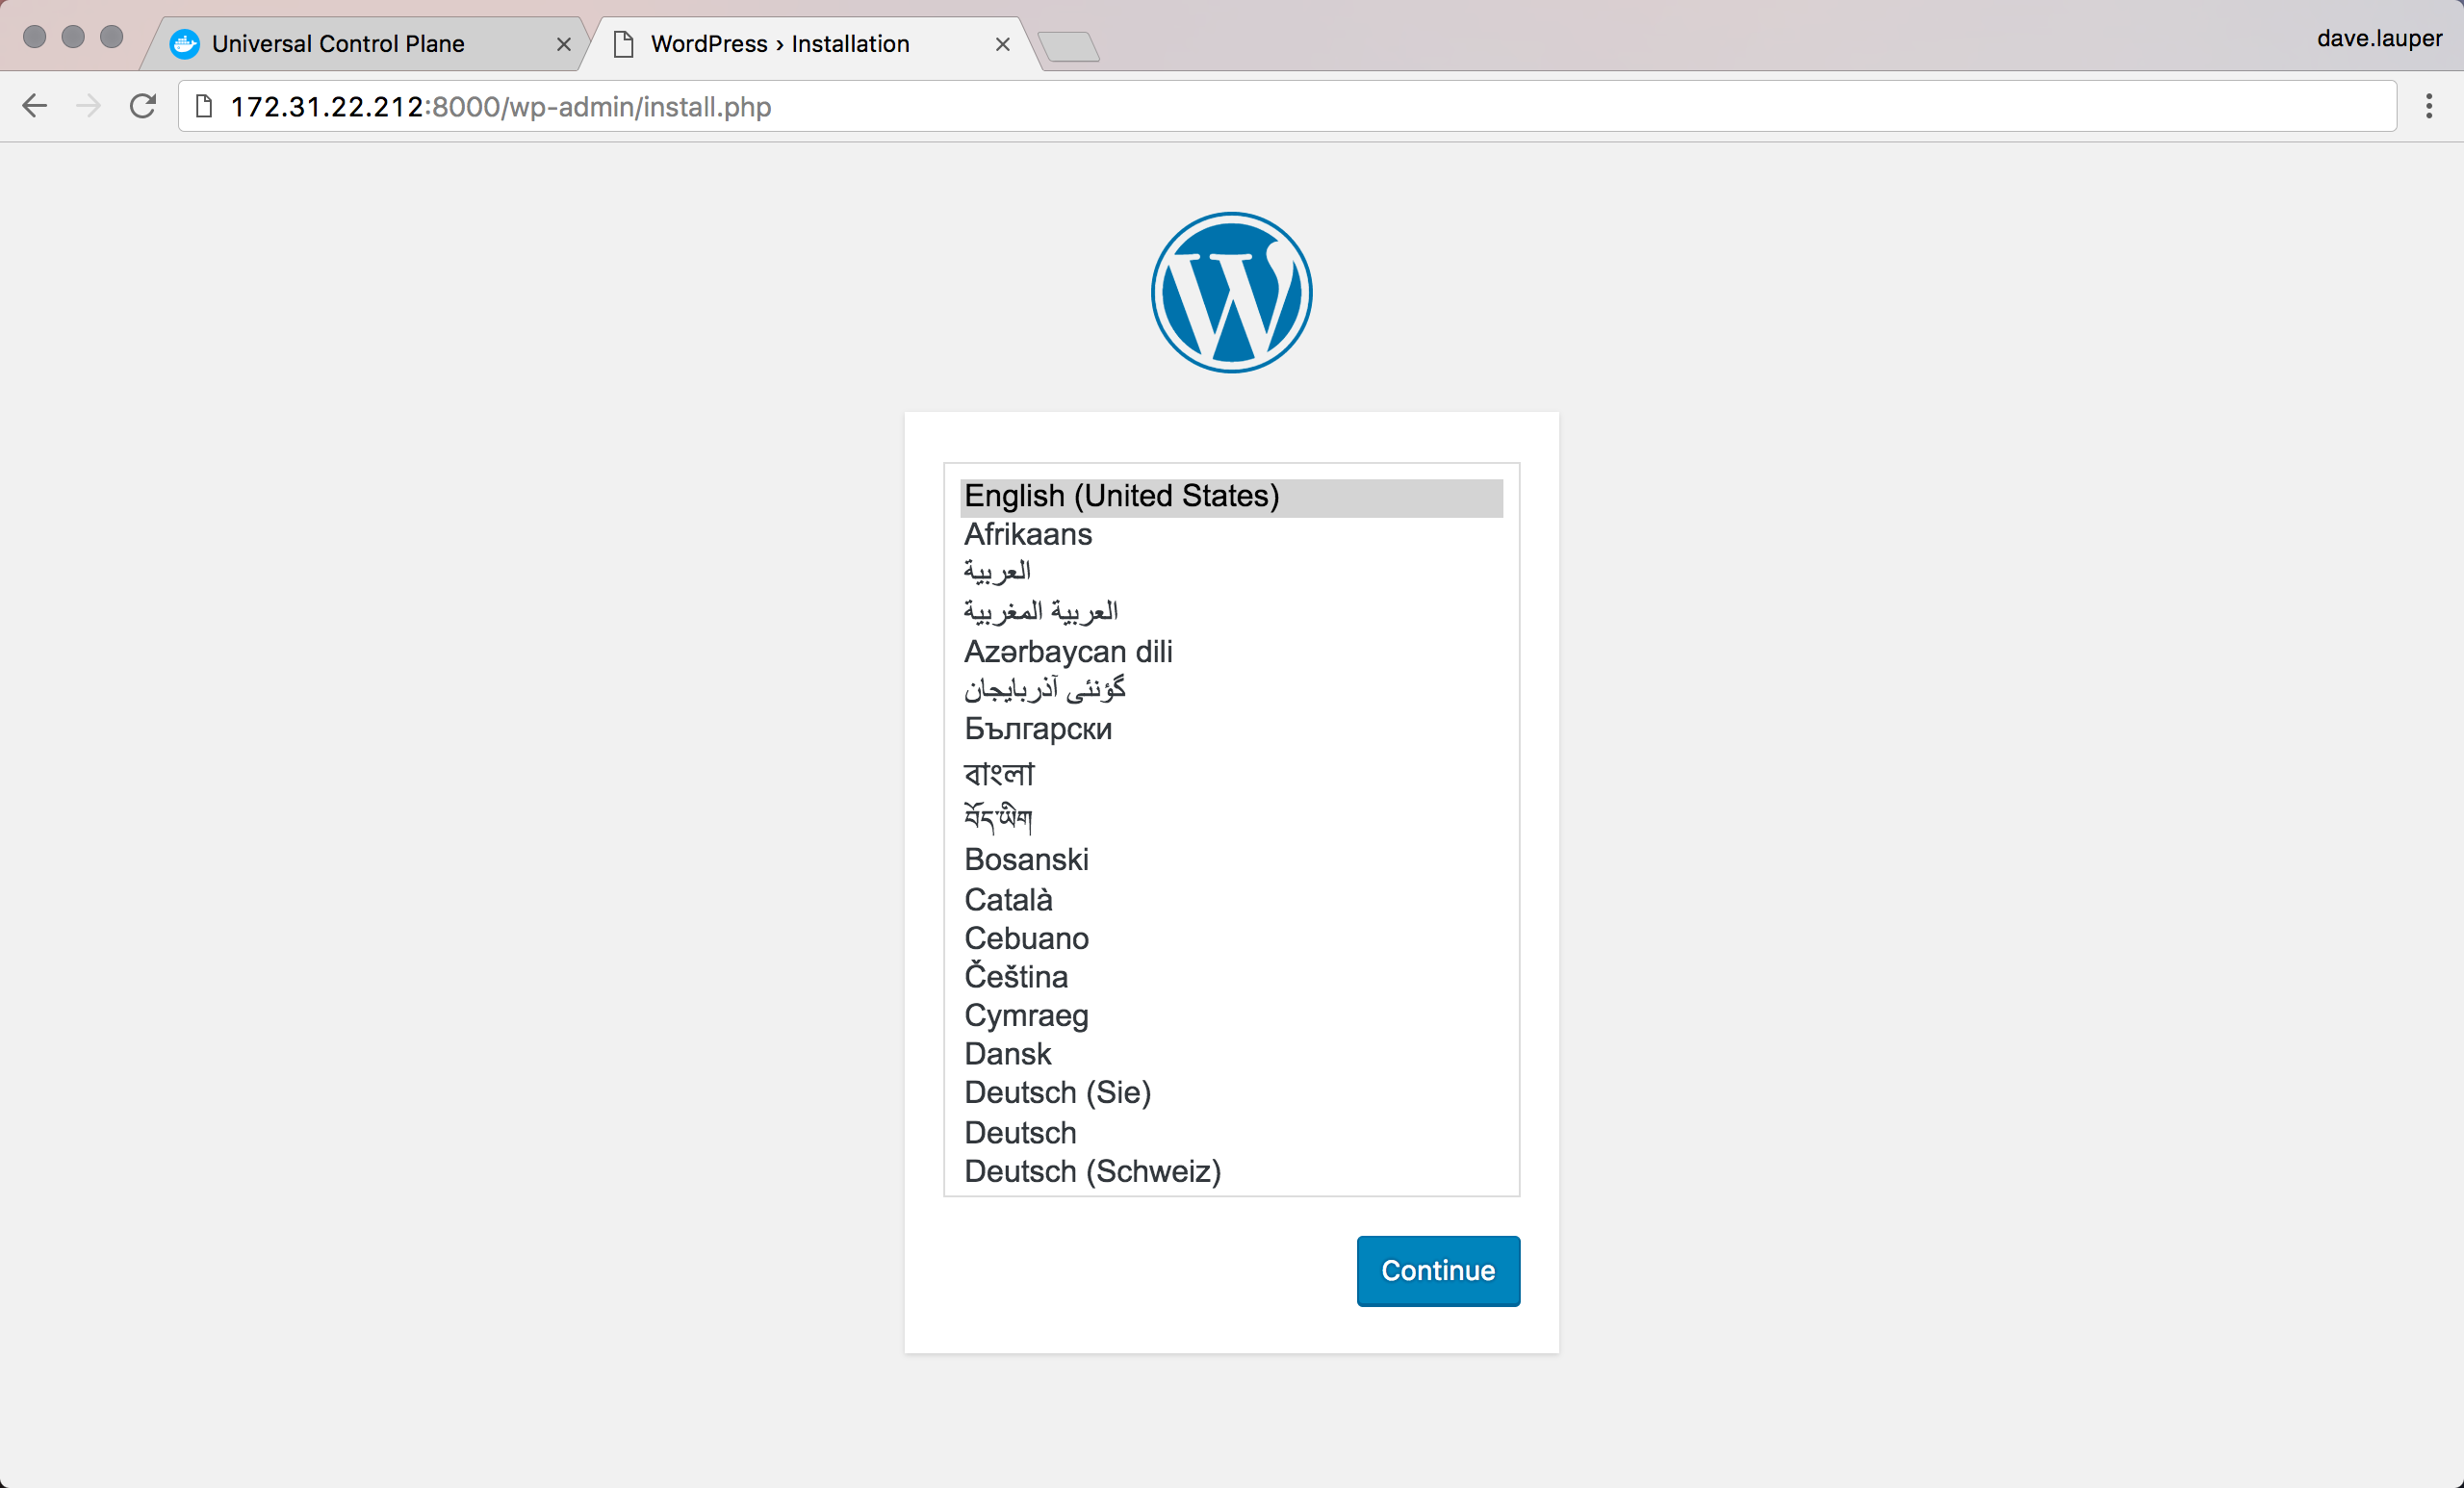
In this example, WordPress can be accessed at 172.31.18.152:8000.
Navigate to this address in your browser, to start using the WordPress app you
just deployed.
Limitations
There are some limitations when deploying docker-compose.yml applications from the UI. You can’t reference any external files, so the following Docker Compose keywords are not supported:
- build
- dockerfile
- env_file

To overcome these limitations, you can deploy your apps from the CLI.
Also, UCP doesn’t store the compose file used to deploy the application. You can use your version control system to persist that file.