Logs and troubleshooting
Estimated reading time: 12 minutesHere is information about how to diagnose and troubleshoot problems, send logs and communicate with the Docker Desktop for Mac team, use our forums and Knowledge Hub, browse and log issues on GitHub, and find workarounds for known problems.
Docker Knowledge Hub
Looking for help with Docker Desktop for Mac? Check out the Docker Knowledge Hub for knowledge base articles, FAQs, and technical support for various subscription levels.
Diagnose problems, send feedback, and create GitHub issues
In-app diagnostics
If you encounter problems for which you do not find solutions in this documentation, on Docker Desktop for Mac issues on GitHub, or the Docker Desktop for Mac forum, we can help you troubleshoot the log data.
Choose  → Diagnose & Feedback
from the menu bar.
→ Diagnose & Feedback
from the menu bar.
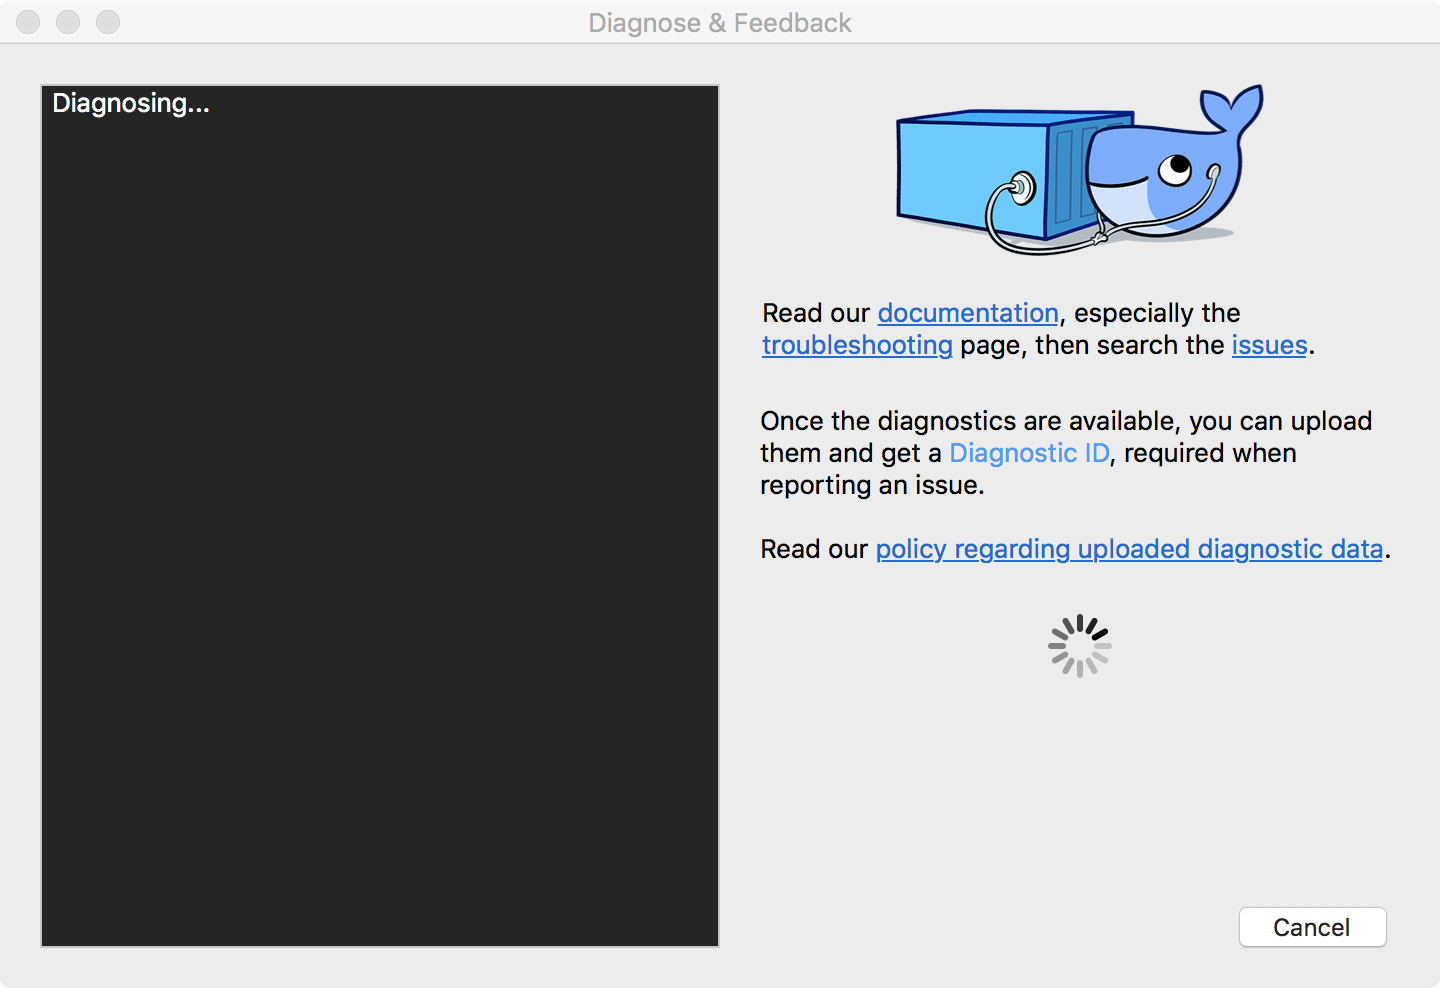
Once the diagnostics are available, you can upload them and obtain a Diagnostic ID, which must be provided when communicating with the Docker team. For more information on our policy regarding personal data you can read how is personal data handled in Docker Desktop.

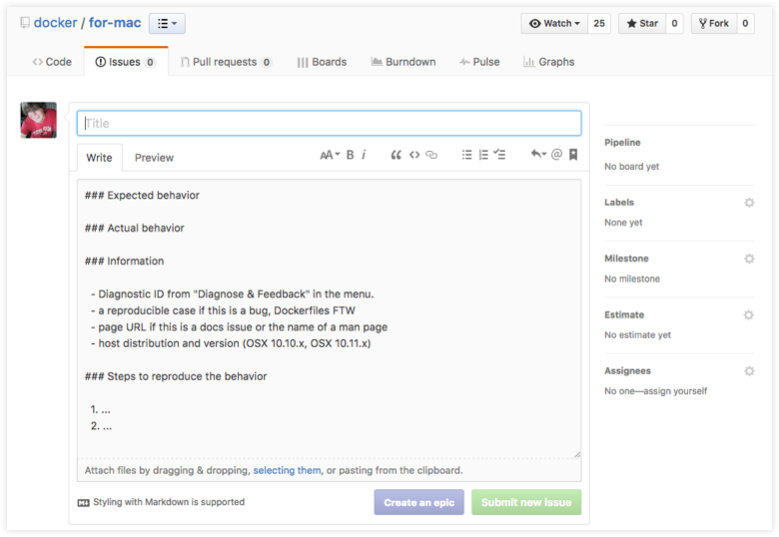
If you click Report an issue, this opens Docker Desktop for Mac issues on GitHub in your web browser in a “create new issue” template, to be completed before submission. Do not forget to copy/paste your diagnostic ID.
Diagnosing from the terminal
On occasions it is useful to run the diagnostics yourself, for instance if Docker Desktop for Mac cannot start.
First locate the com.docker.diagnose tool. If you installed Docker Desktop for Mac in
the Applications directory, then it is
/Applications/Docker.app/Contents/MacOS/com.docker.diagnose.
Then to create and upload diagnostics, run:
$ /Applications/Docker.app/Contents/MacOS/com.docker.diagnose gather -upload
After the diagnostics have finished, you should have the following output, containing your diagnostics ID:
Diagnostics Bundle: /tmp/B8CF8400-47B3-4068-ADA4-3BBDCE3985D9/20180726143610.zip
Diagnostics ID:     B8CF8400-47B3-4068-ADA4-3BBDCE3985D9/20180726143610 (uploaded)
The diagnostics ID (here B8CF8400-47B3-4068-ADA4-3BBDCE3985D9/20180726143610) is composed of your user ID (D1F48686-F045-4708-85E3-0635B729A596) and a timestamp (20180525-145051). Be sure to provide us with the full diagnostics ID, not just the user ID.
Don’t hesitate browsing the content of these diagnostics:
$ open /tmp/D1F48686-F045-4708-85E3-0635B729A596/20180525-145051.zip
Check the logs
In addition to using the diagnose and feedback option to submit logs, you can browse the logs yourself. The following documentation is about macOS 10.12 onwards; for older versions, see older documentation.
In a terminal
To watch the live flow of Docker Desktop for Mac logs at the command line, run this from your favorite shell.
$ pred='process matches ".*(ocker|vpnkit).*"
  || (process in {"taskgated-helper", "launchservicesd", "kernel"} && eventMessage contains[c] "docker")'
$ /usr/bin/log stream --style syslog --level=debug --color=always --predicate "$pred"
Alternatively, to collect the last day of logs (1d) in a file, run:
$ /usr/bin/log show --debug --info --style syslog --last 1d --predicate "$pred" >/tmp/logs.txt
In the Console app
Macs provide a built-in log viewer, named “Console”, which you can use to check Docker logs.
The Console lives in /Applications/Utilities; you can search for it with
Spotlight Search.
To read the Docker app log messages, type docker in the Console window search bar and press Enter. Then select ANY to expand the drop-down list next to your docker search entry, and select Process.
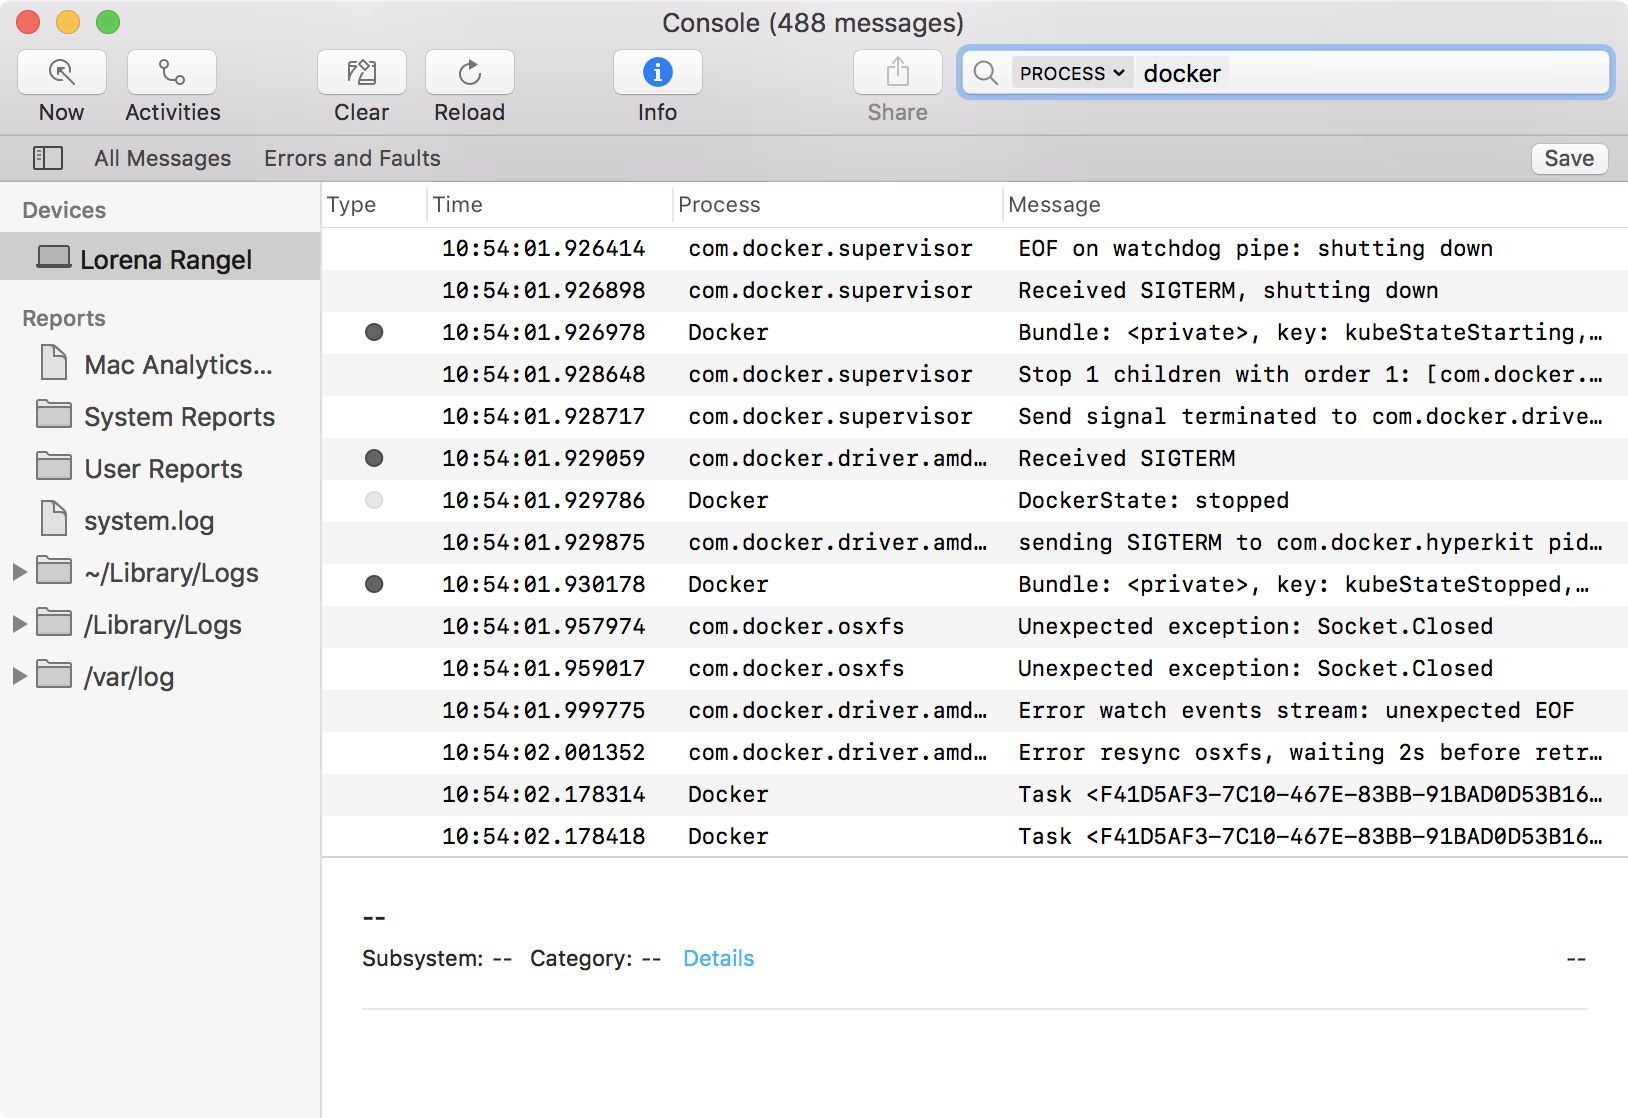
You can use the Console Log Query to search logs, filter the results in various ways, and create reports.
Troubleshooting
Make sure certificates are set up correctly
Docker Desktop for Mac ignores certificates listed under insecure registries, and does
not send client certificates to them. Commands like docker run that attempt to
pull from the registry produces error messages on the command line, like this:
Error response from daemon: Get http://192.168.203.139:5858/v2/: malformed HTTP response "\x15\x03\x01\x00\x02\x02"
As well as on the registry. For example:
2017/06/20 18:15:30 http: TLS handshake error from 192.168.203.139:52882: tls: client didn't provide a certificate
2017/06/20 18:15:30 http: TLS handshake error from 192.168.203.139:52883: tls: first record does not look like a TLS handshake
For more about using client and server side certificates, see Adding TLS certificates in the Getting Started topic.
Docker Desktop for Mac does not start if Mac user account and home folder are renamed after installing the app
See Do I need to reinstall Docker Desktop for Mac if I change the name of my macOS account? in the FAQs.
Volume mounting requires file sharing for any project directories outside of /Users
If you are using mounted volumes and get runtime errors indicating an application file is not found, access to a volume mount is denied, or a service cannot start, such as when using Docker Compose, you might need to enable file sharing.
Volume mounting requires shared drives for projects that live outside of the
/Users directory. Go to →
Preferences → File sharing and share the drive that contains the
Dockerfile and volume.
Incompatible CPU detected
Docker Desktop for Mac requires a processor (CPU) that supports virtualization and, more specifically, the Apple Hypervisor framework. Docker Desktop for Mac is only compatible with Macs that have a CPU that supports the Hypervisor framework. Most Macs built in 2010 and later support it, as described in the Apple Hypervisor Framework documentation about supported hardware:
Generally, machines with an Intel VT-x feature set that includes Extended Page Tables (EPT) and Unrestricted Mode are supported.
To check if your Mac supports the Hypervisor framework, run this command in a terminal window.
sysctl kern.hv_support
If your Mac supports the Hypervisor Framework, the command prints
kern.hv_support: 1.
If not, the command prints kern.hv_support: 0.
See also, Hypervisor Framework Reference in the Apple documentation, and Docker Desktop for Mac system requirements in What to know before you install.
Workarounds for common problems
-
If Docker Desktop for Mac fails to install or start properly:
-
Make sure you quit Docker Desktop for Mac before installing a new version of the application (
→ Quit
Docker). Otherwise, you get an “application in use” error when you try to
copy the new app from the .dmgto/Applications. -
Restart your Mac to stop / discard any vestige of the daemon running from the previously installed version.
-
Run the uninstall commands from the menu.
-
-
If
dockercommands aren’t working properly or as expected, you may need to unset some environment variables, to make sure you are not using the legacy Docker Machine environment in your shell or command window. Unset theDOCKER_HOSTenvironment variable and related variables.-
If you use bash, use the following command:
unset ${!DOCKER_*} -
For other shells, unset each environment variable individually as described in Setting up to run Docker Desktop for Mac in Docker Desktop for Mac vs. Docker Toolbox.
-
-
Network connections fail if the macOS Firewall is set to “Block all incoming connections”. You can enable the firewall, but
bootpdmust be allowed incoming connections so that the VM can get an IP address. -
For the
hello-world-nginxexample, Docker Desktop for Mac must be running to get to the webserver onhttp://localhost/. Make sure that the Docker whale is showing in the menu bar, and that you run the Docker commands in a shell that is connected to the Docker Desktop for Mac Engine (not Engine from Toolbox). Otherwise, you might start the webserver container but get a “web page not available” error when you go tolocalhost. For more on distinguishing between the two environments, see Docker Desktop for Mac vs. Docker Toolbox.
-
If you see errors like
Bind for 0.0.0.0:8080 failed: port is already allocatedorlisten tcp:0.0.0.0:8080: bind: address is already in use:-
These errors are often caused by some other software on the Mac using those ports.
-
Run
lsof -i tcp:8080to discover the name and pid of the other process and decide whether to shut the other process down, or to use a different port in your docker app.
-
Known issues
-
IPv6 is not (yet) supported on Docker Desktop for Mac.
A workaround is provided that auto-filters out the IPv6 addresses in DNS server lists and enables successful network access. For example,
2001:4860:4860::8888would become8.8.8.8. To learn more, see these issues on GitHub and Docker Desktop for Mac forums: -
You might encounter errors when using
docker-compose upwith Docker Desktop for Mac (ValueError: Extra Data). We’ve identified this is likely related to data and/or events being passed all at once rather than one by one, so sometimes the data comes back as 2+ objects concatenated and causes an error. -
Force-ejecting the
.dmgafter runningDocker.appfrom it can cause the whale icon to become unresponsive, Docker tasks to show as not responding in the Activity Monitor, and for some processes to consume a large amount of CPU resources. Reboot and restart Docker to resolve these issues. -
Docker does not auto-start on login even when it is enabled in
→ Preferences. This is related to a
set of issues with Docker helper, registration, and versioning.
-
Docker Desktop for Mac uses the
HyperKithypervisor (https://github.com/docker/hyperkit) in macOS 10.10 Yosemite and higher. If you are developing with tools that have conflicts withHyperKit, such as Intel Hardware Accelerated Execution Manager (HAXM), the current workaround is not to run them at the same time. You can pauseHyperKitby quitting Docker Desktop for Mac temporarily while you work with HAXM. This allows you to continue work with the other tools and preventHyperKitfrom interfering. -
If you are working with applications like Apache Maven that expect settings for
DOCKER_HOSTandDOCKER_CERT_PATHenvironment variables, specify these to connect to Docker instances through Unix sockets. For example:export DOCKER_HOST=unix:///var/run/docker.sock -
docker-compose1.7.1 performs DNS unnecessary lookups forlocalunixsocket.localwhich can take 5s to timeout on some networks. Ifdocker-composecommands seem very slow but seem to speed up when the network is disabled, try appending127.0.0.1 localunixsocket.localto the file/etc/hosts. Alternatively you could create a plain-text TCP proxy on localhost:1234 using:docker run -d -v /var/run/docker.sock:/var/run/docker.sock -p 127.0.0.1:1234:1234 bobrik/socat TCP-LISTEN:1234,fork UNIX-CONNECT:/var/run/docker.sockand then
export DOCKER_HOST=tcp://localhost:1234.
-
There are a number of issues with the performance of directories bind-mounted with
osxfs. In particular, writes of small blocks, and traversals of large directories are currently slow. Additionally, containers that perform large numbers of directory operations, such as repeated scans of large directory trees, may suffer from poor performance. Applications that behave in this way include:rakeember build- Symfony
- Magento
- Zend Framework
- PHP applications that use Composer to install
dependencies in a
vendorfolder
As a work-around for this behavior, you can put vendor or third-party library directories in Docker volumes, perform temporary file system operations outside of
osxfsmounts, and use third-party tools like Unison orrsyncto synchronize between container directories and bind-mounted directories. We are actively working onosxfsperformance using a number of different techniques. To learn more, see the topic on Performance issues, solutions, and roadmap. -
If your system does not have access to an NTP server, then after a hibernate the time seen by Docker Desktop for Mac may be considerably out of sync with the host. Furthermore, the time may slowly drift out of sync during use. To manually reset the time after hibernation, run:
docker run --rm --privileged alpine hwclock -sOr, to resolve both issues, you can add the local clock as a low-priority (high stratum) fallback NTP time source for the host. To do this, edit the host’s
/etc/ntp-restrict.confto add:server 127.127.1.1 # LCL, local clock fudge 127.127.1.1 stratum 12 # increase stratumThen restart the NTP service with:
sudo launchctl unload /System/Library/LaunchDaemons/org.ntp.ntpd.plist
sudo launchctl load /System/Library/LaunchDaemons/org.ntp.ntpd.plist