Install UCP for production
Estimated reading time: 4 minutesDocker Universal Control Plane (UCP) is a containerized application that can be installed on-premise or on a cloud infrastructure.
Step 1: Validate the system requirements
The first step to installing UCP, is ensuring your infrastructure has all the requirements UCP needs to run.
Step 2: Install CS Docker on all nodes
UCP is a containerized application that requires the commercially supported Docker Engine to run.
For each host that you plan to manage with UCP:
- Log in into that host using ssh.
-
Install CS Docker Engine:
curl -SLf https://packages.docker.com/1.12/install.sh | shYou can also install CS Docker Engine using a package manager
Make sure you install the same CS Docker Engine version on all the nodes. Also,
if you’re creating virtual machine templates with CS Docker Engine already
installed, make sure the /etc/docker/key.json file is not included in the
virtual machine image. When provisioning the virtual machine, restart the Docker
daemon to generate a new /etc/docker/key.json file.
Step 3: Customize named volumes
Skip this step if you want to use the defaults provided by UCP.
Docker UCP uses named volumes to persist data. If you want to customize the drivers used to manage these volumes, you can create the volumes before installing UCP. When you install UCP, the installer will notice that the volumes already exist, and will start using them. Learn about the named volumes used by UCP.
If these volumes don’t exist, they’ll be automatically created when installing UCP.
Step 4: Install UCP
To install UCP you use the docker/ucp image, which has commands to install and
manage UCP.
To install UCP:
-
Use ssh to log in into the host where you want to install UCP.
-
Run the following command:
# Pull the latest version of UCP
$ docker pull docker/ucp:latest

# Install UCP
$ docker run --rm -it --name ucp \
  -v /var/run/docker.sock:/var/run/docker.sock \
  docker/ucp install \
  --host-address <node-ip-address> \
  --interactive
This runs the install command in interactive mode, so that you’re prompted for any necessary configuration values. To find what other options are available in the install command, check the reference documentation.
Step 5: License your installation
Now that UCP is installed, you need to license it. In your browser, navigate to the UCP web UI, login with your administrator credentials and upload your license.
If you don’t have a license yet, learn how to get a free trial license.
Step 6: Join manager nodes
Skip this step if you don’t want UCP to be highly available.
To make your Docker swarm and UCP fault-tolerant and highly available, you can join more manager nodes to it. Manager nodes are the nodes in the swarm that perform the orchestration and swarm management tasks, and dispatch tasks for worker nodes to execute. Learn more about high-availability.
To join manager nodes to the swarm, go to the UCP web UI, navigate to the Resources page, and go to the Nodes section.

Click the Add Node button to add a new node.
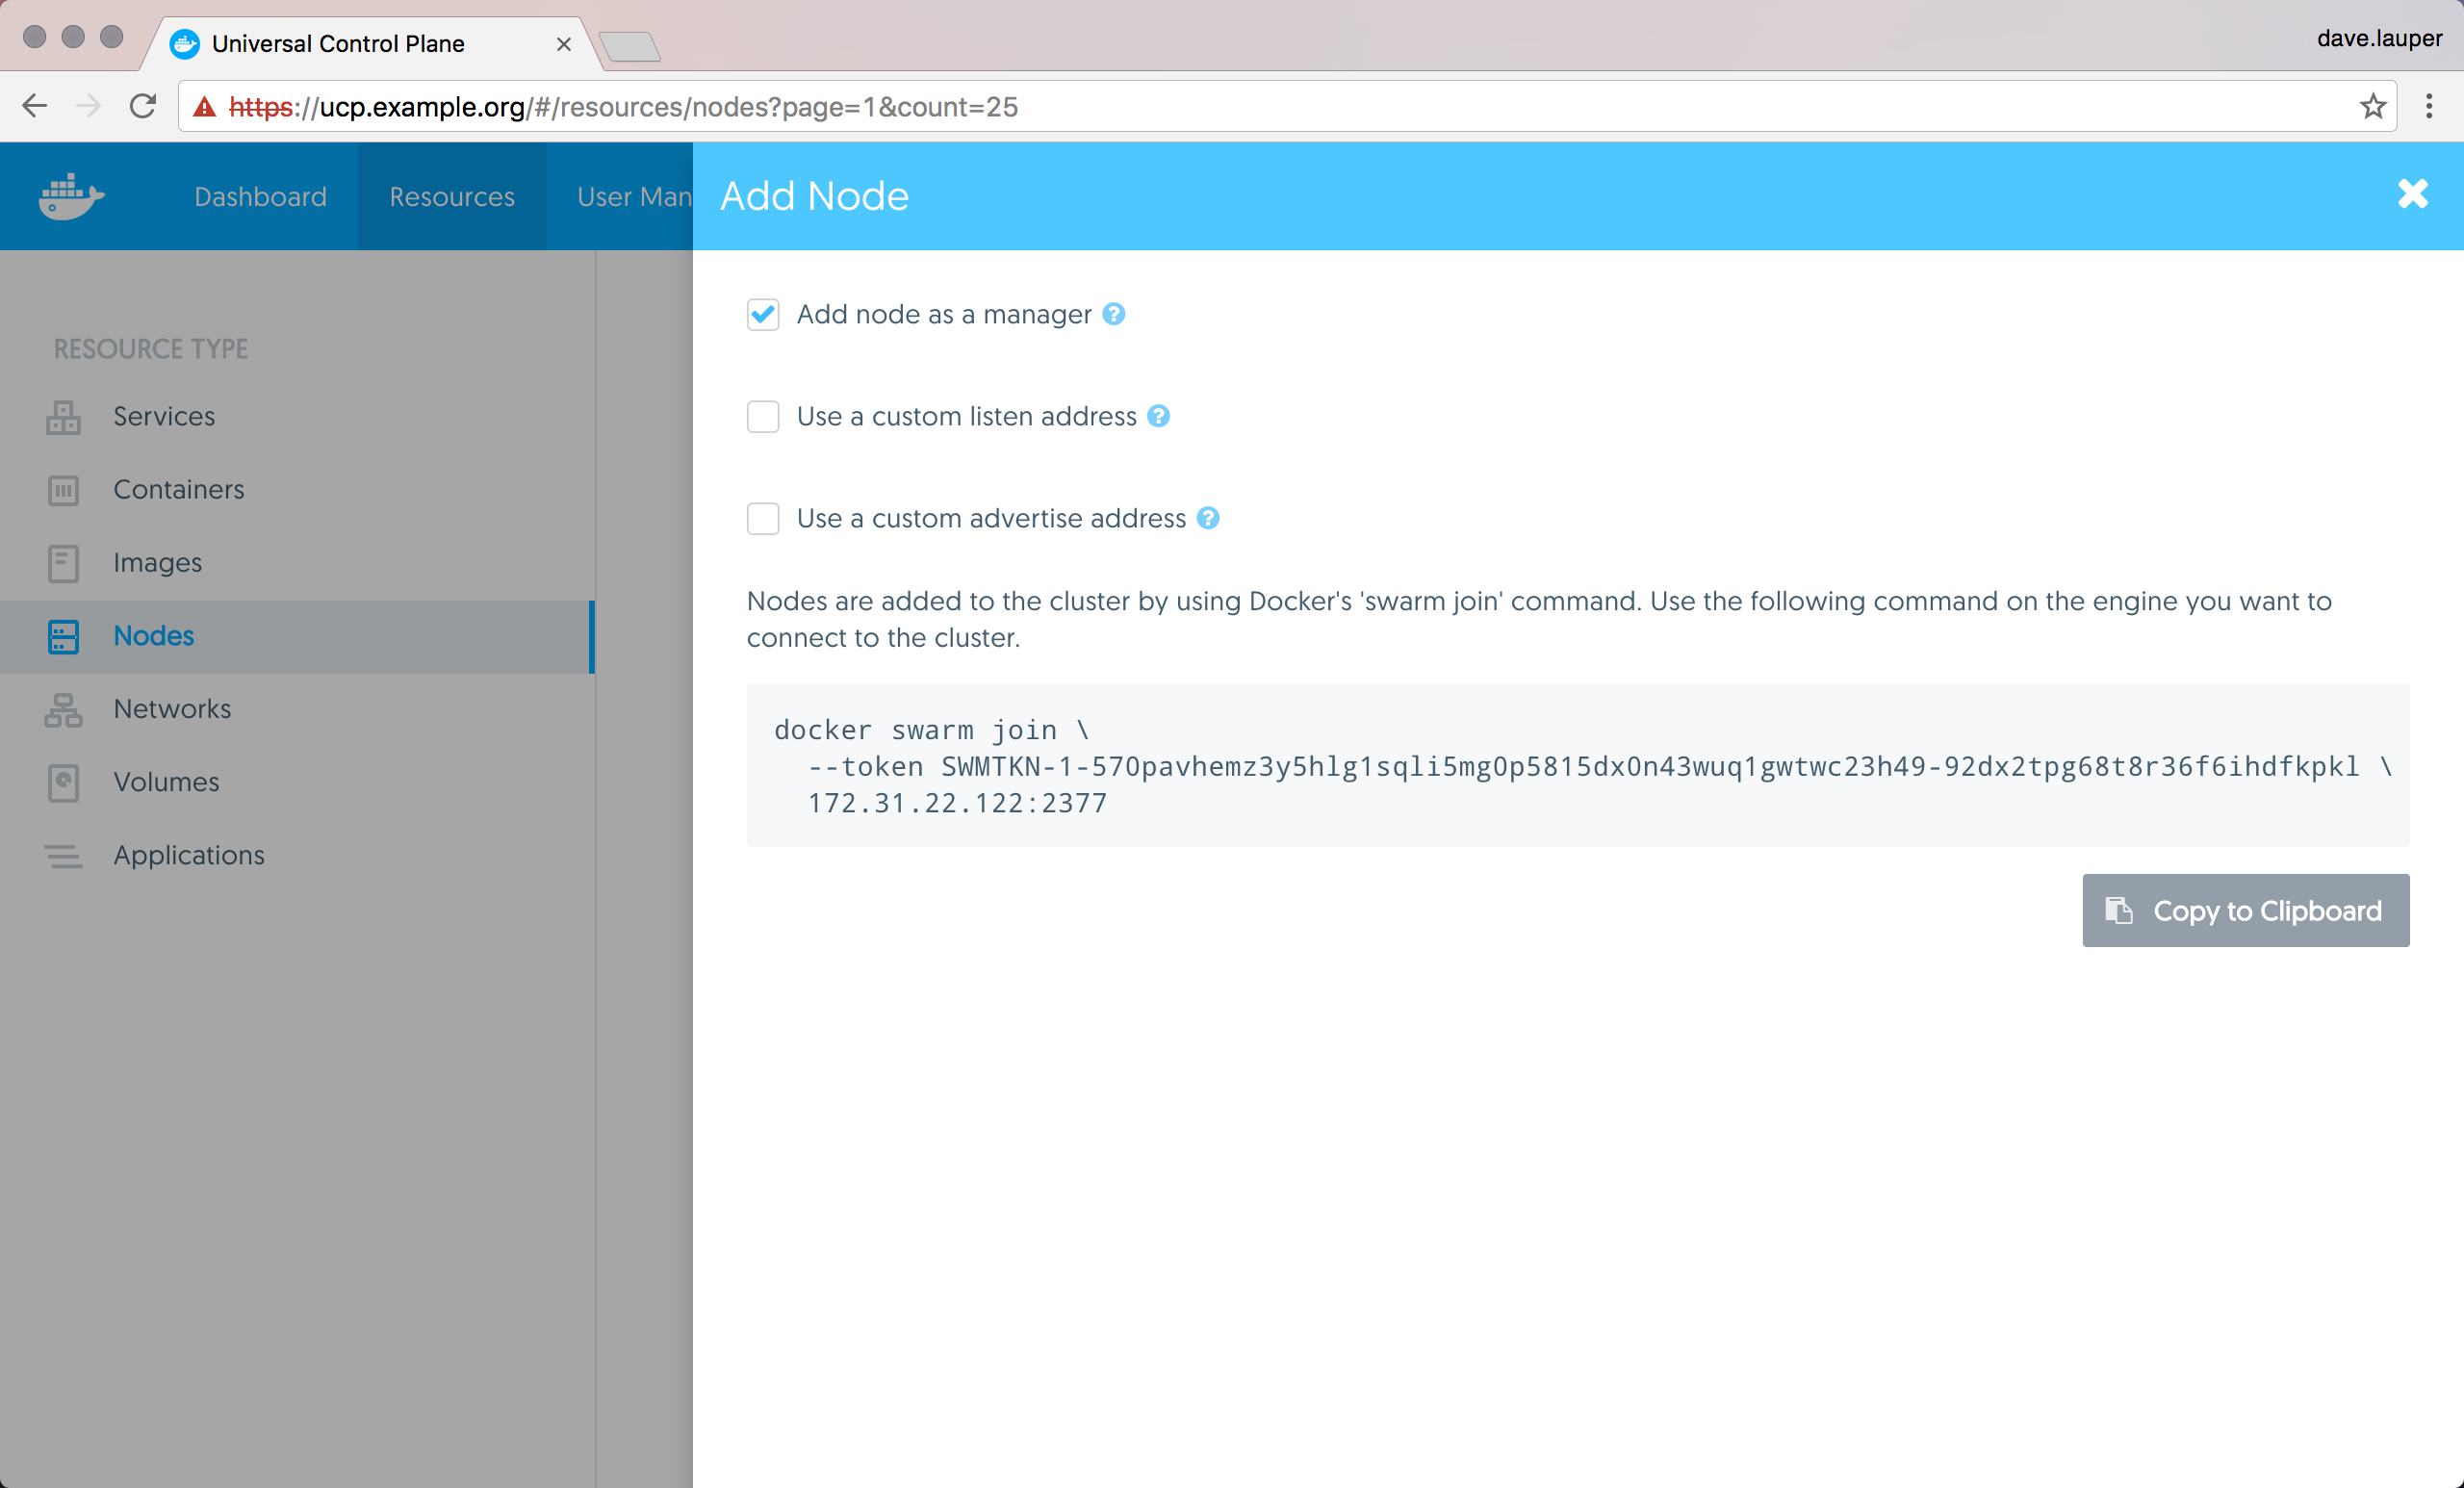
Check the ‘Add node as a manager’ to turn this node into a manager and replicate UCP for high-availability. Set the ‘Use a custom listen address’ option if you want to customize the network and port where this node will listen for swarm management traffic. By default the node listens on port 2377. Set the ‘Use a custom advertise address’ option if you want to customize the network and port this node will advertise to other swarm members so that they can reach it.
For each manager node that you want to join to UCP, login into that node using ssh, and run the join command that is displayed on UCP.

After you run the join command in the node, the node starts being displayed in UCP.
Step 7: Join worker nodes
Skip this step if you don’t want to add more nodes to run and scale your apps.
To add more computational resources to your swarm, you can join worker nodes. These nodes execute tasks assigned to them by the manager nodes. For this, use the same steps as before, but don’t check the ‘Add node as a manager’ option.