Deploy a multi-service app
Estimated reading time: 3 minutesDocker Universal Control Plane allows you to use the tools you already know,
like docker stack deploy to deploy multi-service applications. You can
also deploy your applications from the UCP web UI.
In this example we’ll deploy a multi-service application that allows users to vote on whether they prefer cats or dogs.
version: "3"
services:

  # A Redis key-value store to serve as message queue
  redis:
    image: redis:alpine
    ports:
      - "6379"
    networks:
      - frontend

  # A PostgreSQL database for persistent storage
  db:
    image: postgres:9.4
    volumes:
      - db-data:/var/lib/postgresql/data
    networks:
      - backend

  # Web UI for voting
  vote:
    image: dockersamples/examplevotingapp_vote:before
    ports:
      - 5000:80
    networks:
      - frontend
    depends_on:
      - redis

  # Web UI to count voting results
  result:
    image: dockersamples/examplevotingapp_result:before
    ports:
      - 5001:80
    networks:
      - backend
    depends_on:
      - db

  # Worker service to read from message queue
  worker:
    image: dockersamples/examplevotingapp_worker
    networks:
      - frontend
      - backend

networks:
  frontend:
  backend:

volumes:
  db-data:
From the web UI
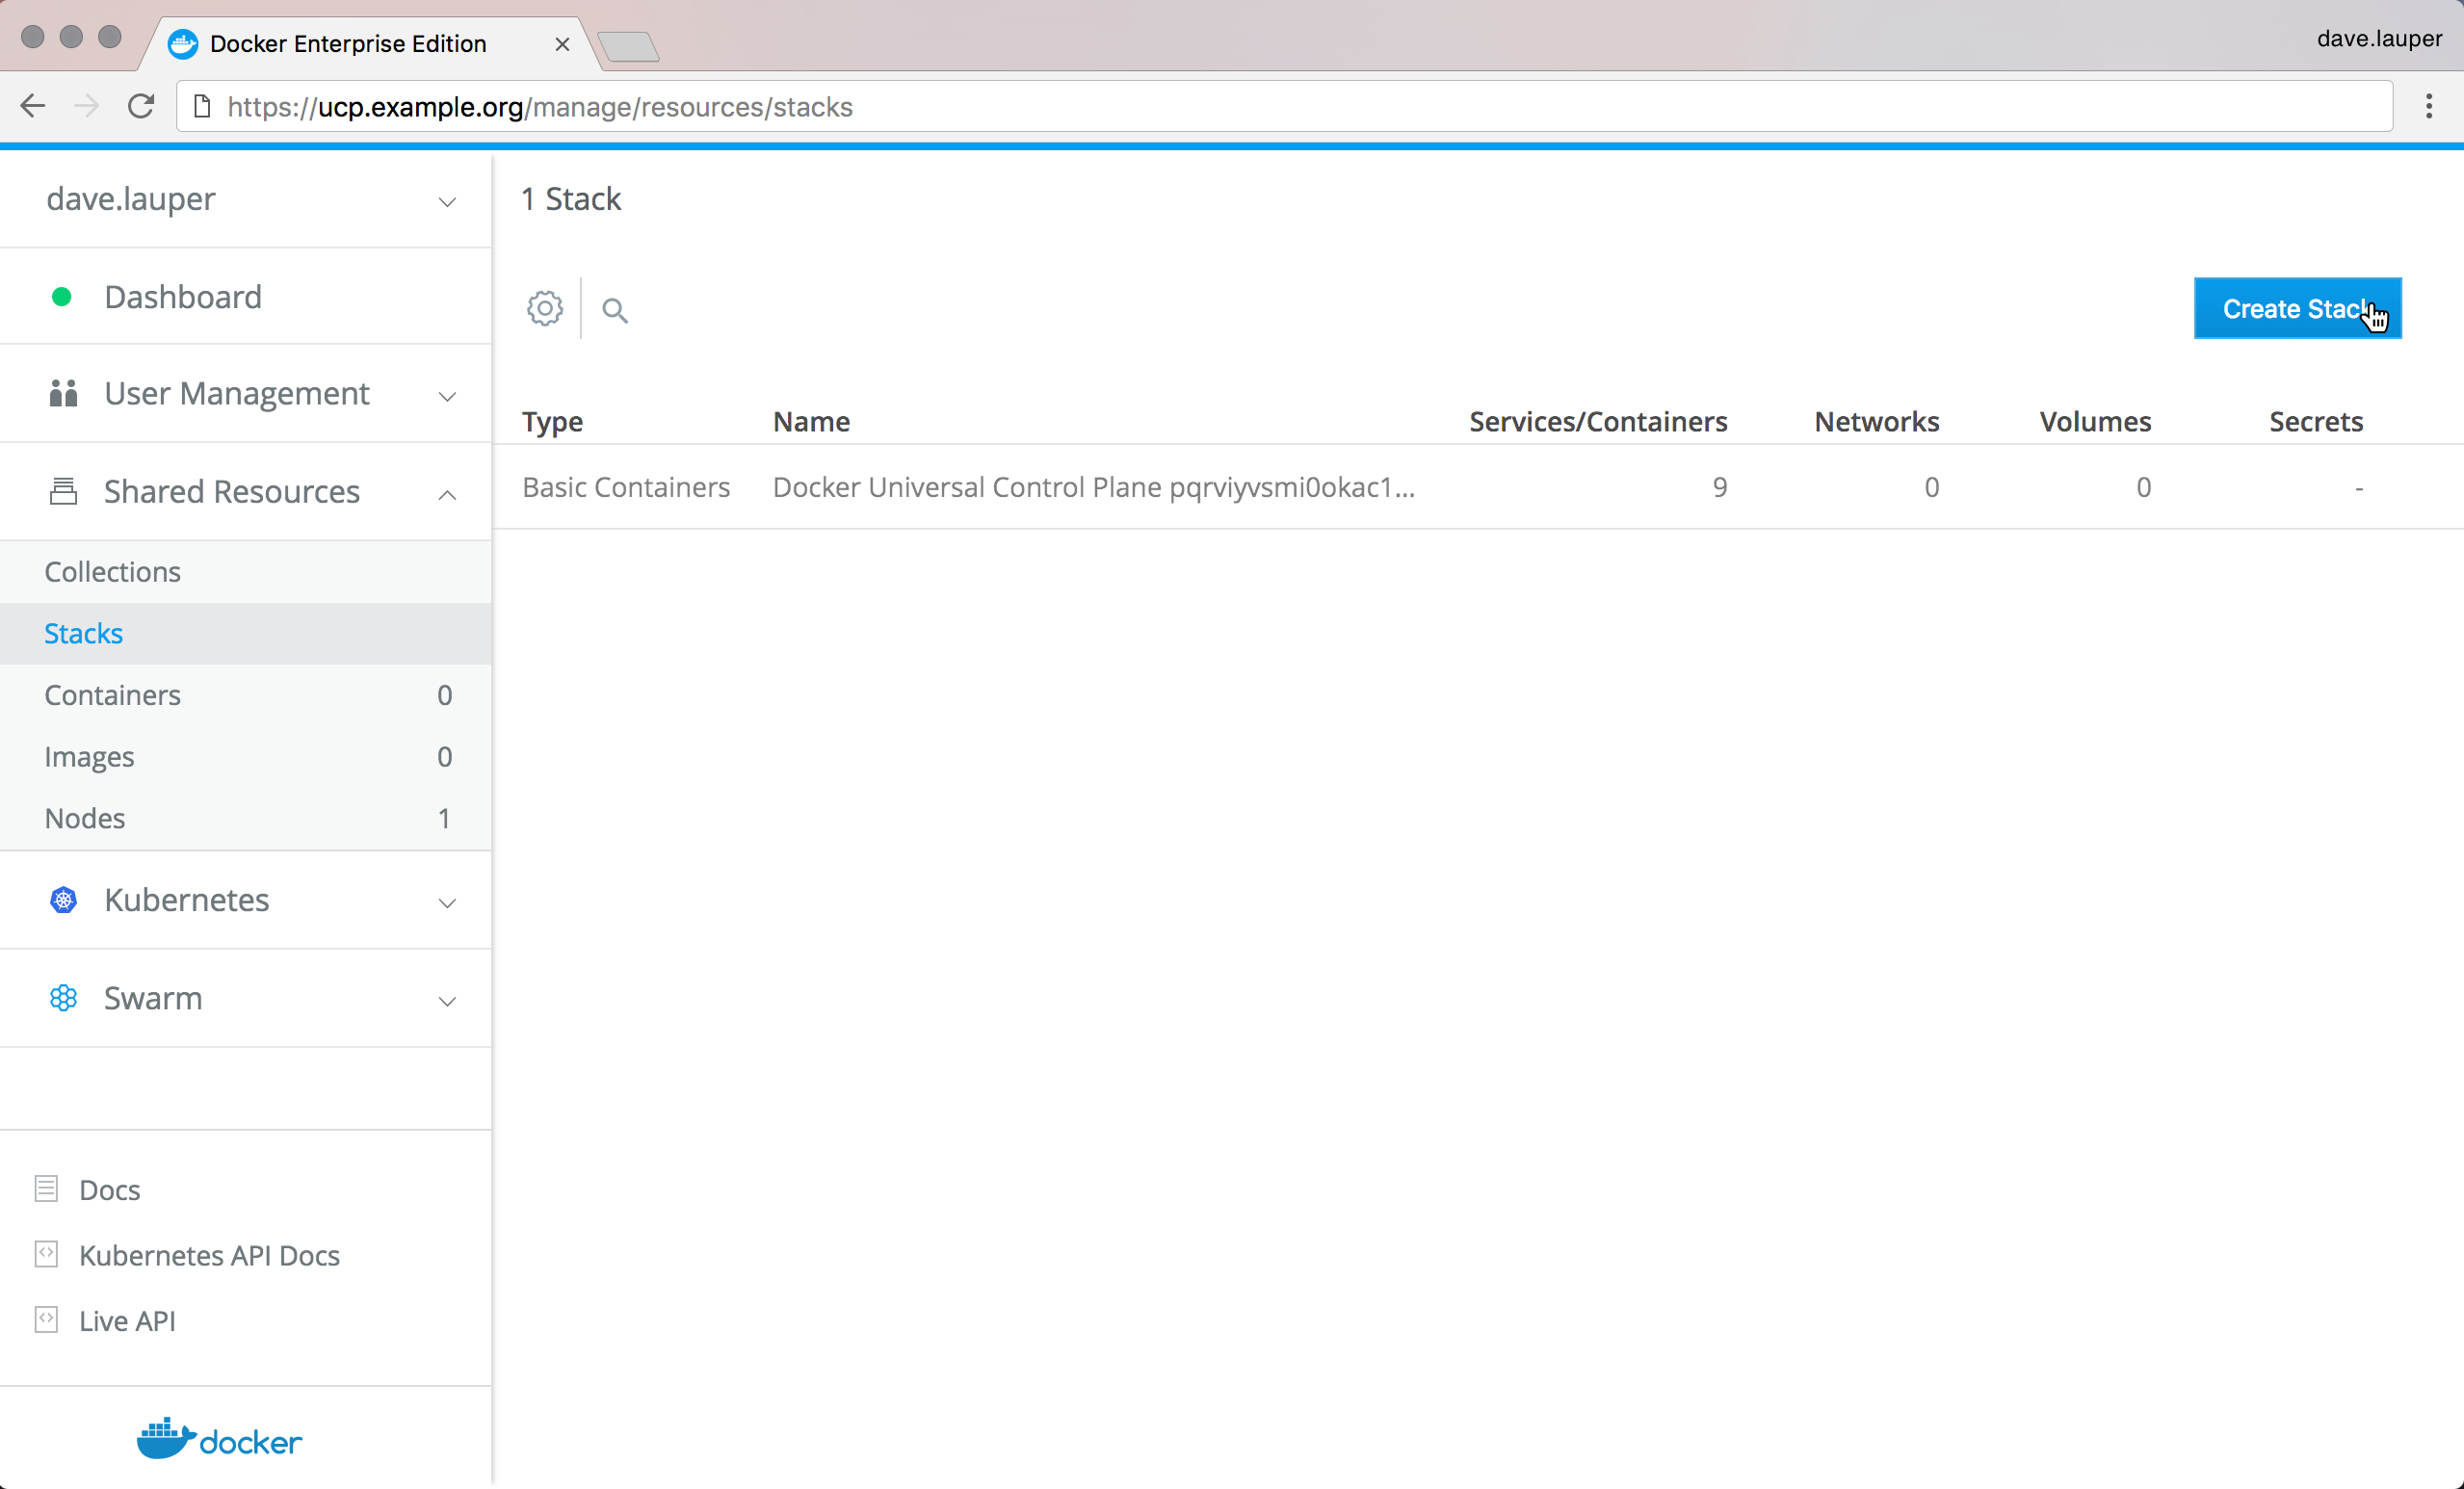
To deploy your applications from the UCP web UI, on the left navigation bar expand Shared resources, choose Stacks, and click Create stack.
Choose the name you want for your stack, and choose Swarm services as the deployment mode.
When you choose this option, UCP deploys your app using the Docker swarm built-in orchestrator. If you choose ‘Basic containers’ as the deployment mode, UCP deploys your app using the classic Swarm orchestrator.
Then copy-paste the application definition in docker-compose.yml format.
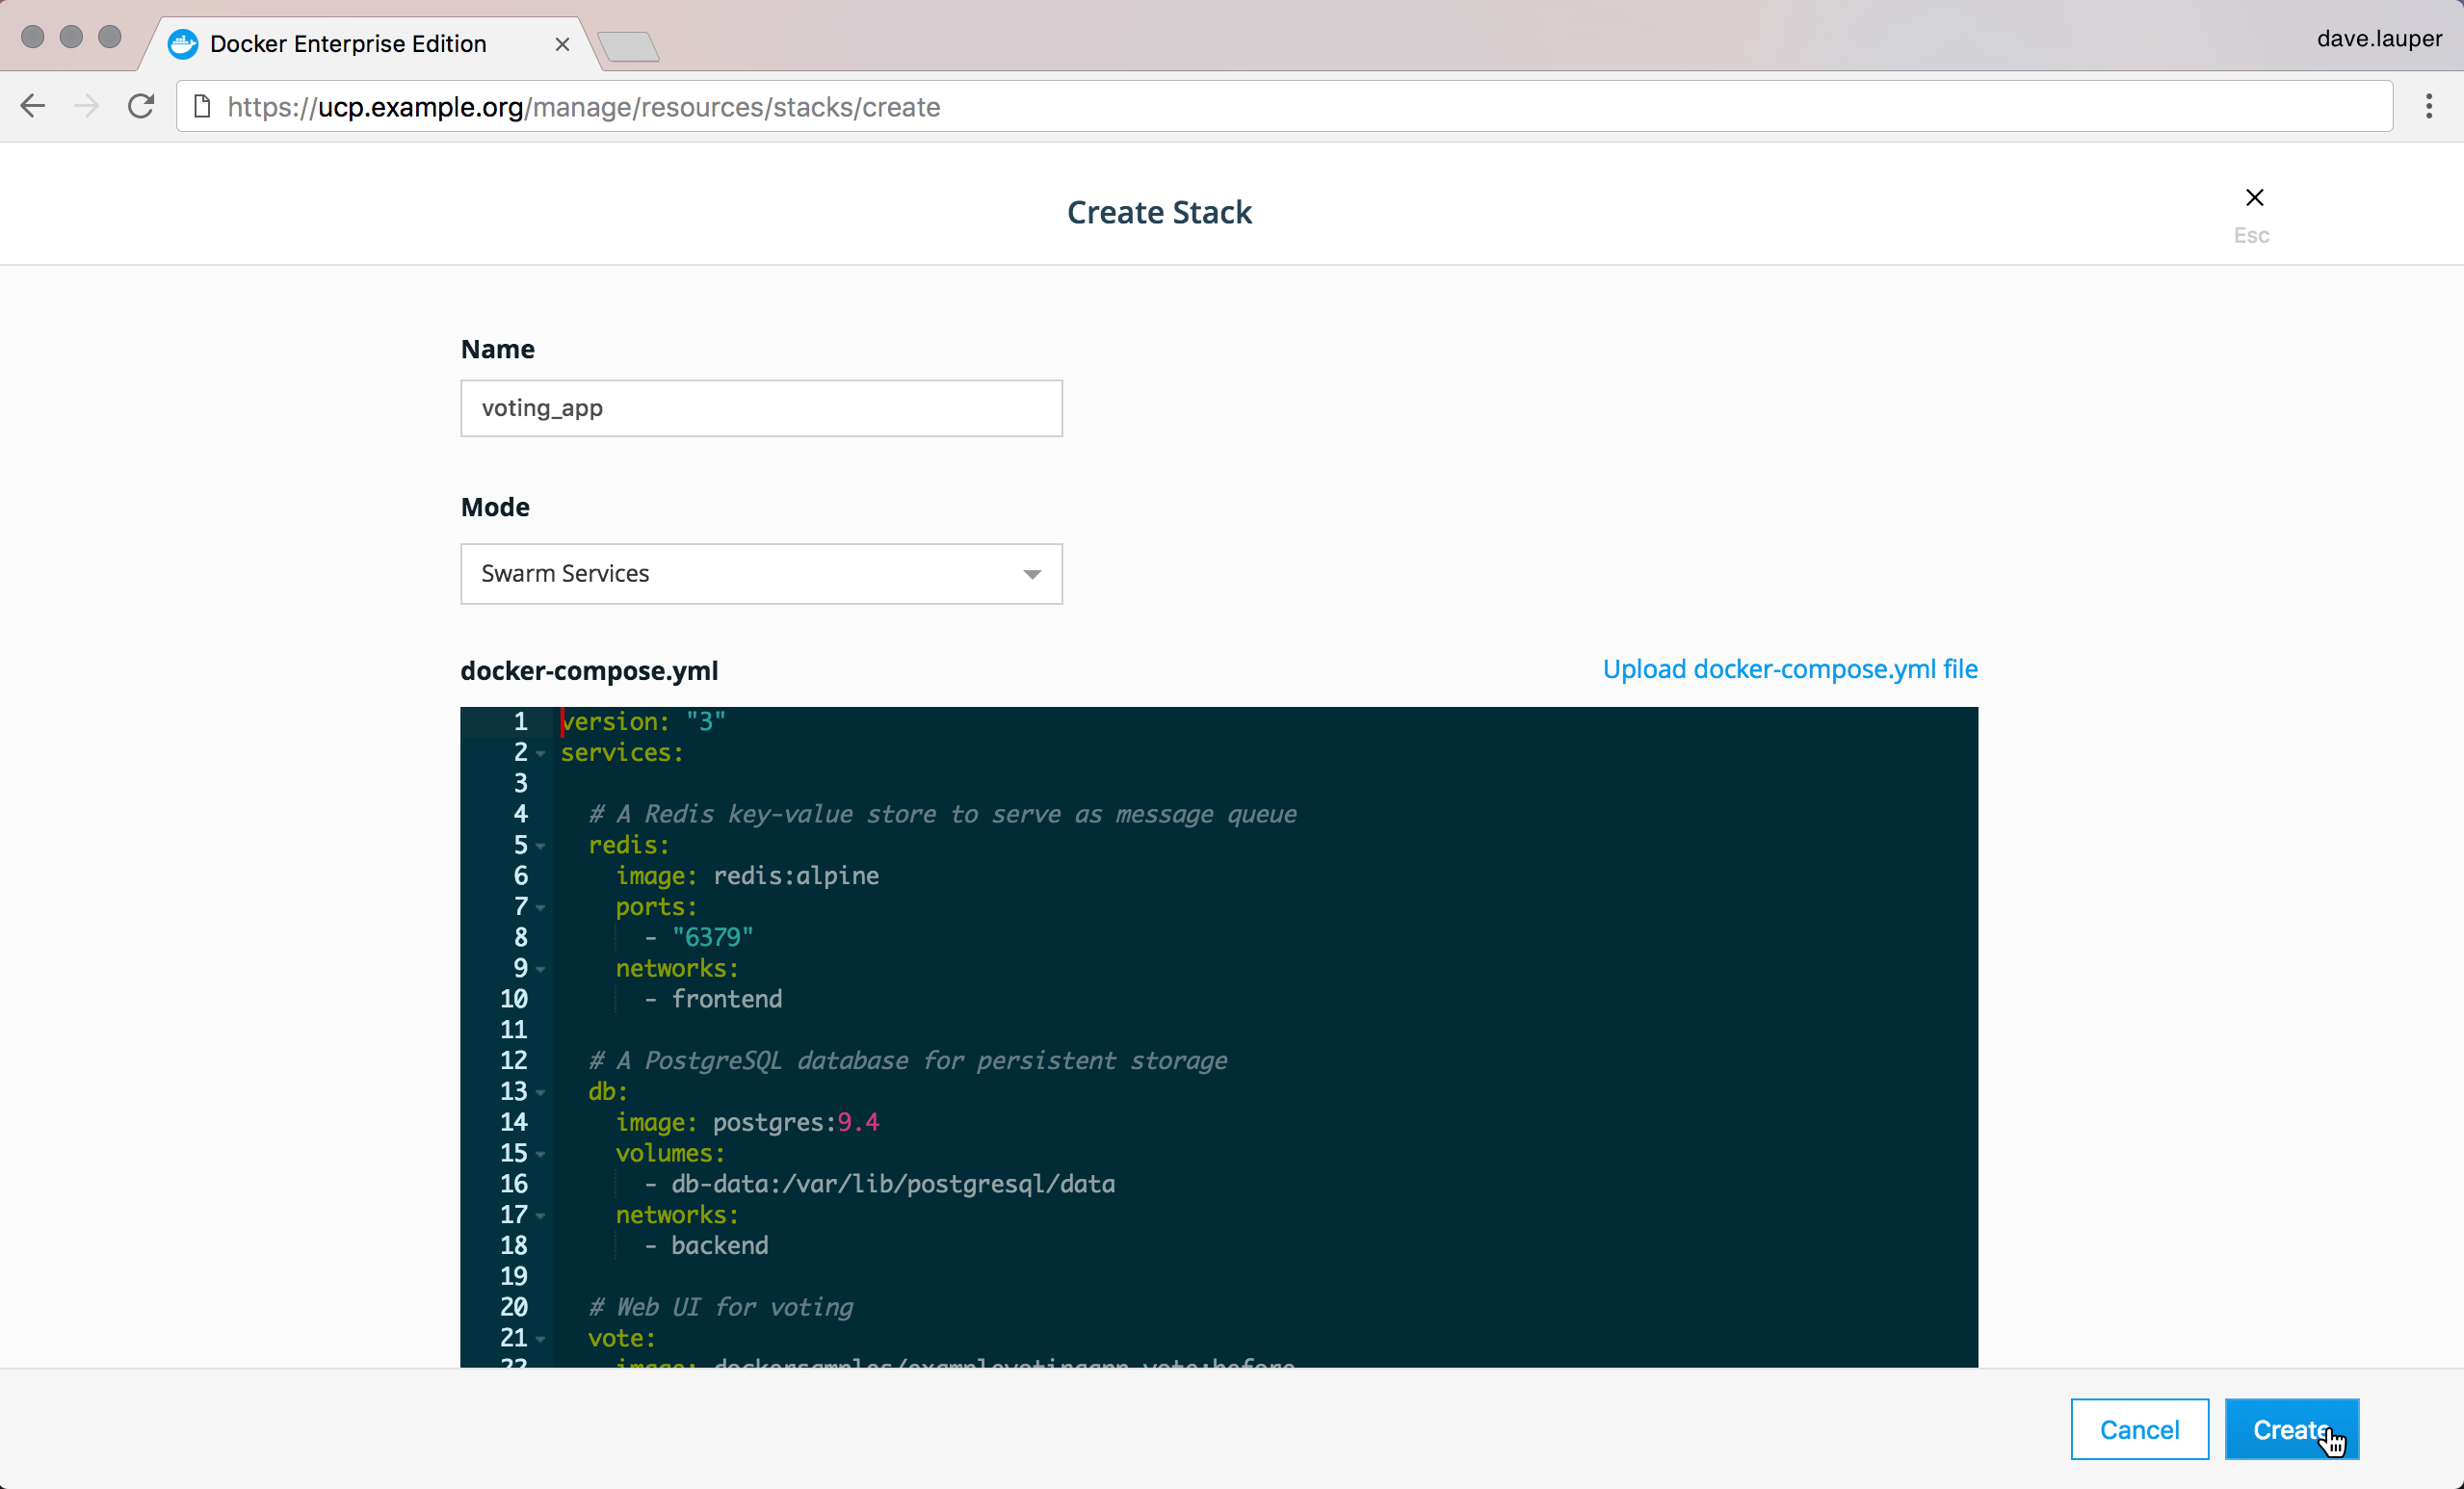
Once you’re done click Create to deploy the stack.
From the CLI
To deploy the application from the CLI, start by configuring your Docker CLI using a UCP client bundle.
Then, create a file named docker-stack.yml with the content of the yaml above,
and run:
docker stack deploy --compose-file voting_app
docker-compose --file docker-compose.yml --project-name voting_app up -d
Check your app
Once the multi-service application is deployed, it shows up in the UCP web UI. The ‘Stacks’ page shows that you’ve deployed the voting app.
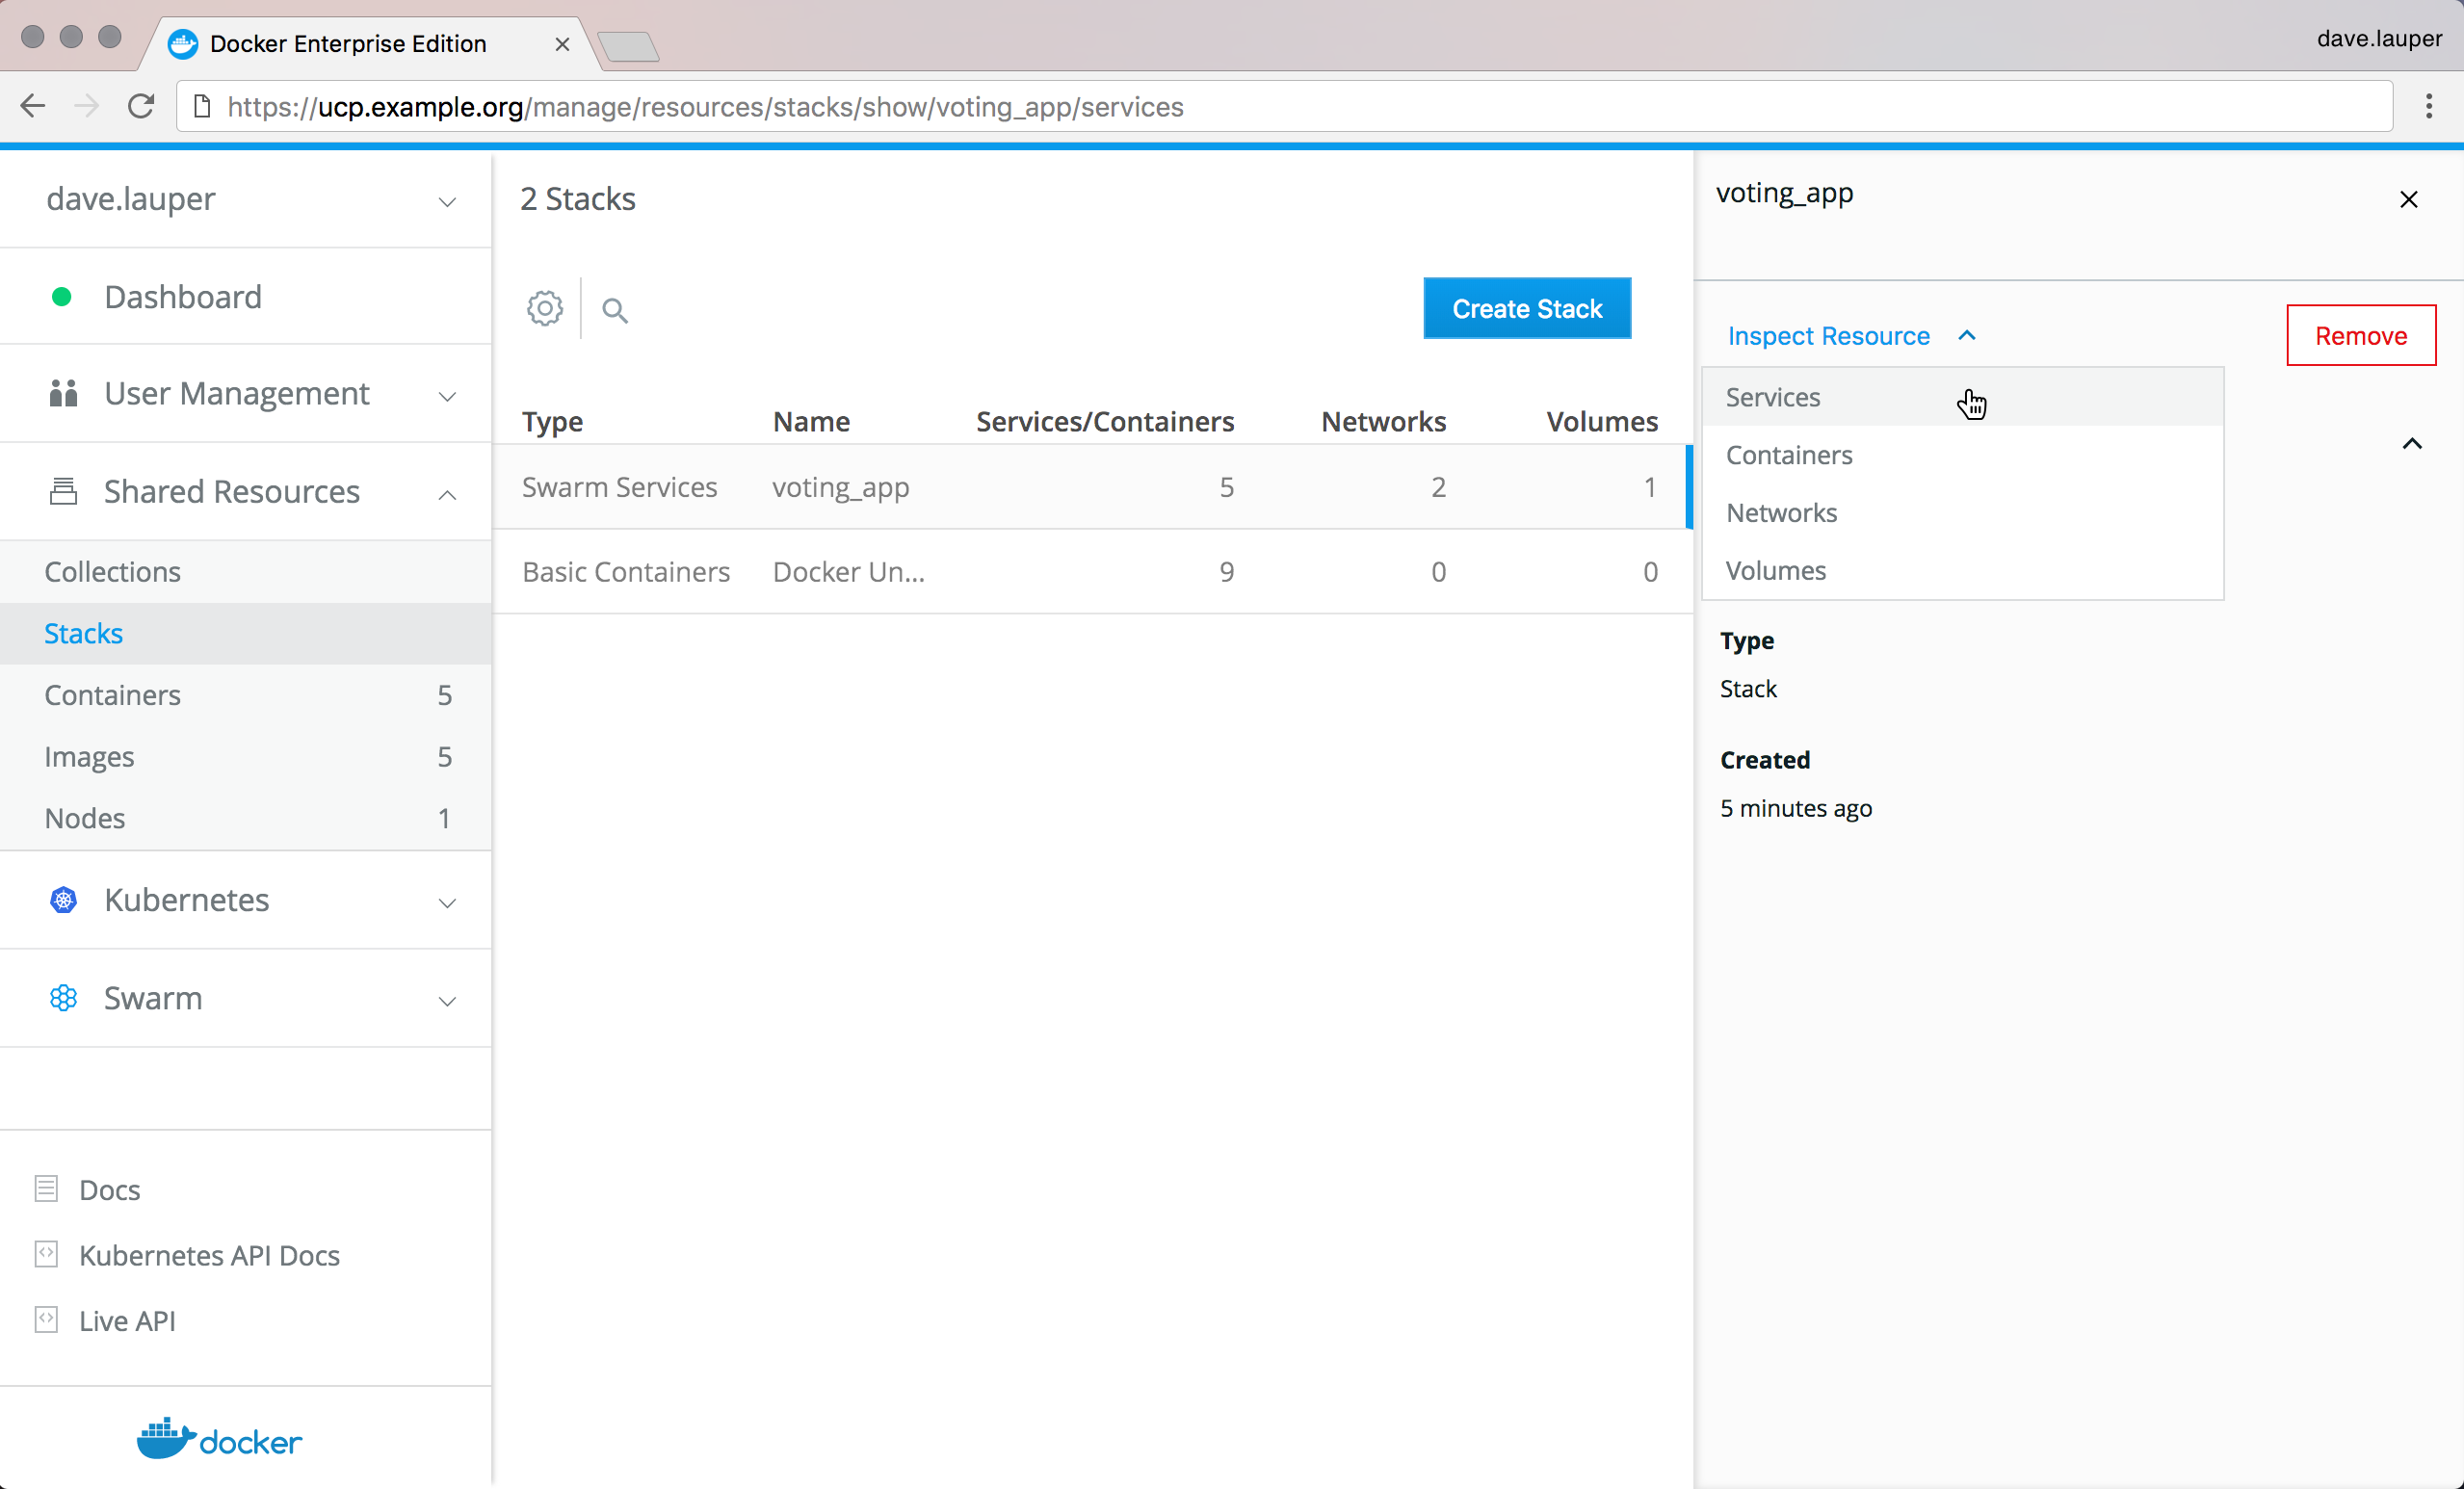
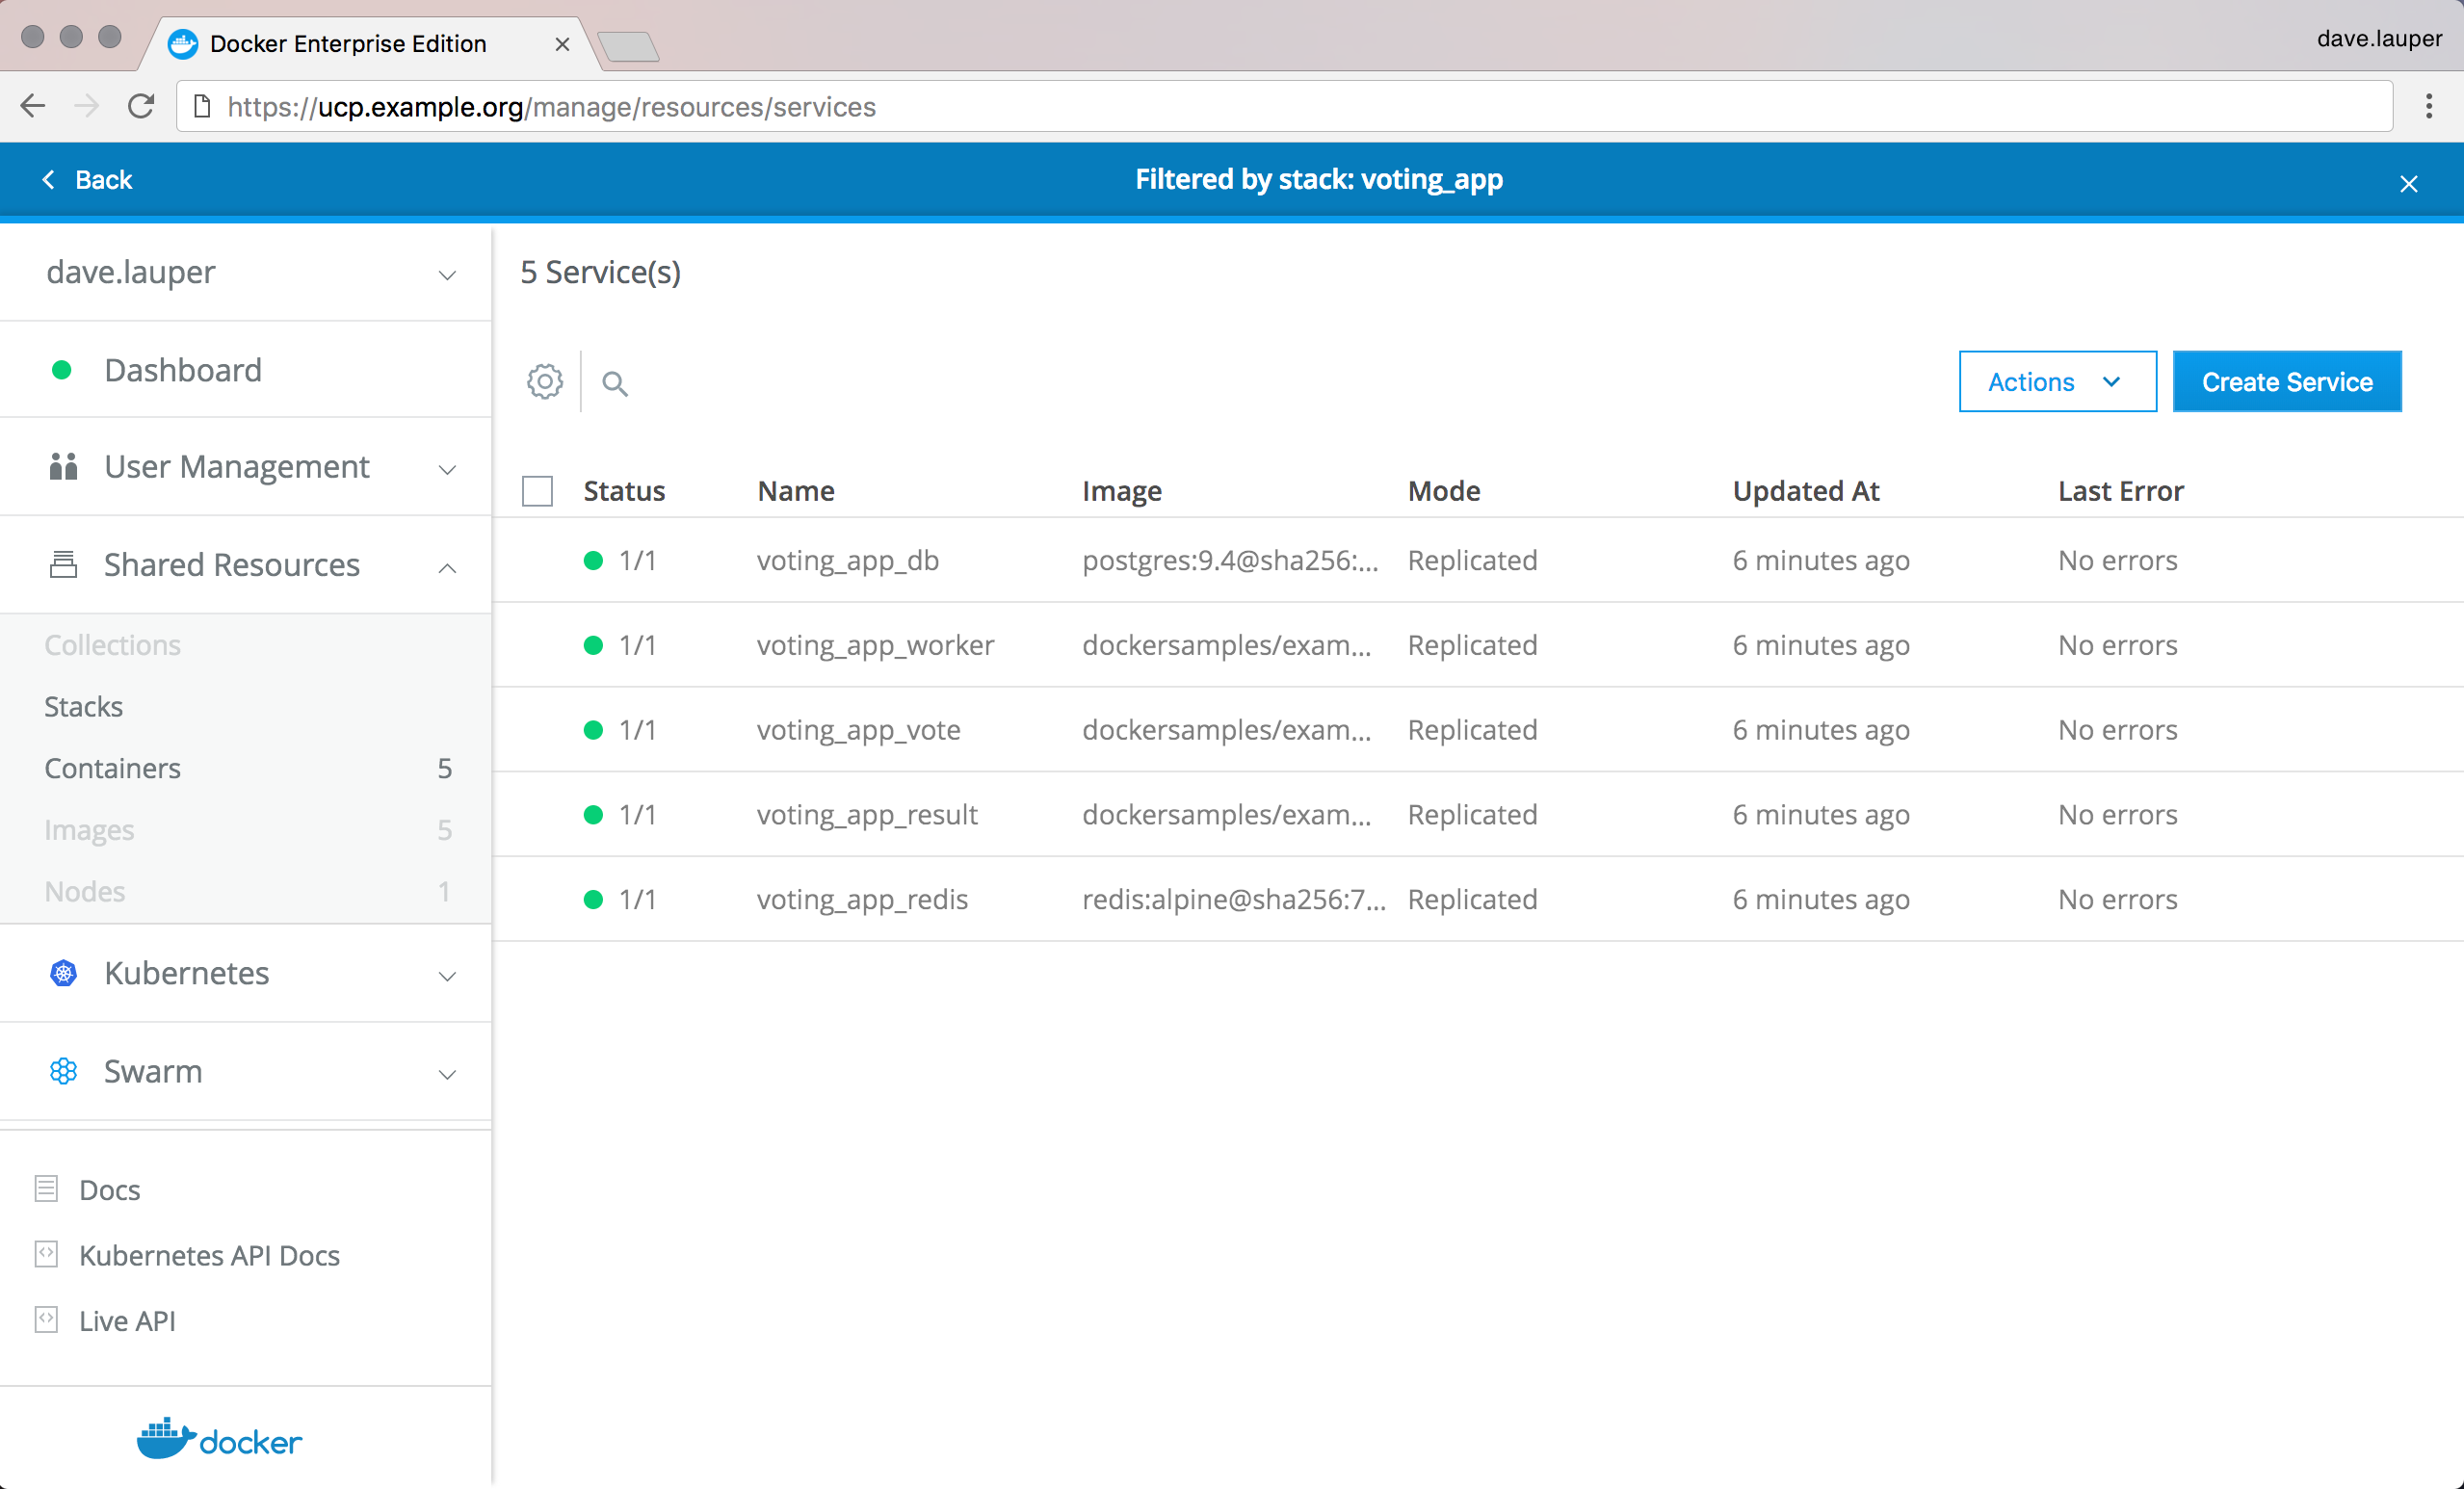
You can also inspect the individual services of the app you deployed. For that, click the voting_app to open the details pane, open Inspect resources and choose Services, since this app was deployed with the built-in Docker swarm orchestrator.
You can also use the Docker CLI to check the status of your app:
docker stack ps voting_app
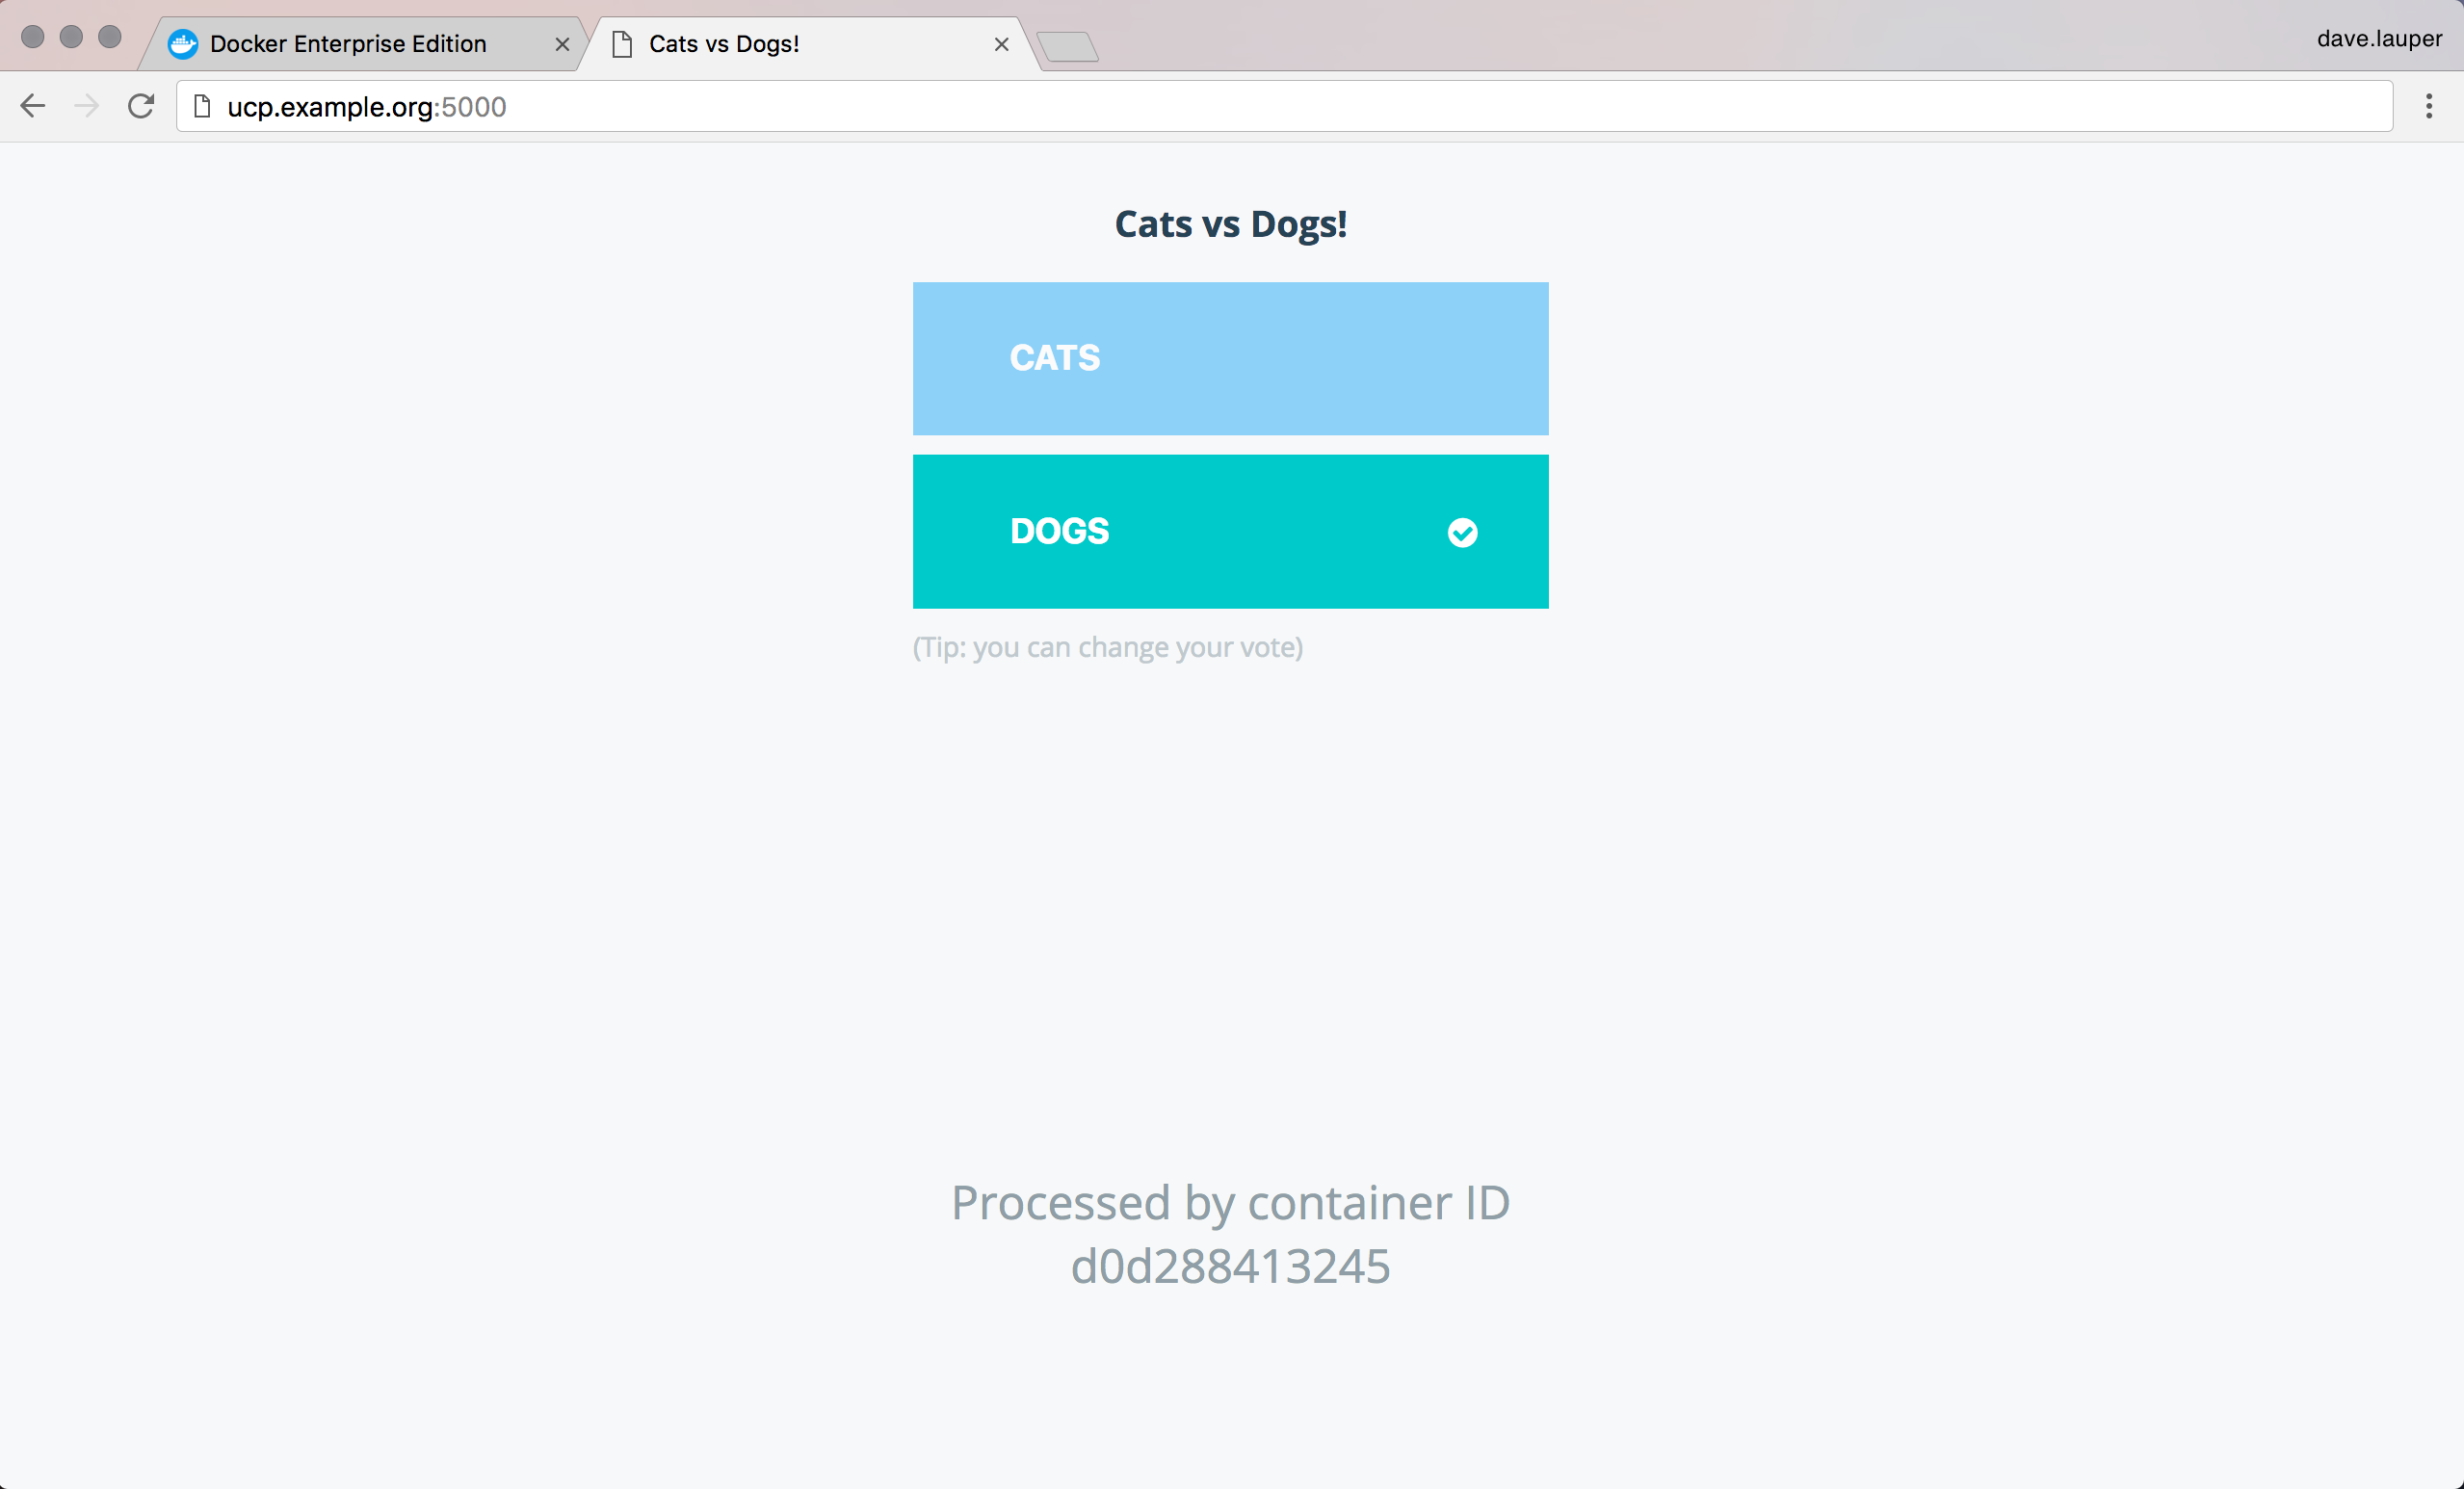
Great! The app is deployed so we can cast votes by accessing the service that’s listening on port 5000. You don’t need to know the ports a service listens to. You can click the voting_app_vote service and click on the Published endpoints link.
Limitations
When deploying applications from the web UI, you can’t reference any external files, no matter if you’re using the built-in swarm orchestrator or classic Swarm. For that reason, the following keywords are not supported:
- build
- dockerfile
- env_file
Also, UCP doesn’t store the stack definition you’ve used to deploy the stack. You can use a version control system for this.