Add SANs to cluster certificates
Estimated reading time: 1 minuteUCP always runs with HTTPS enabled. When you connect to UCP, you need to make sure that the hostname that you use to connect is recognized by UCP’s certificates. If, for instance, you put UCP behind a load balancer that forwards its traffic to your UCP instance, your requests will be for the load balancer’s hostname or IP address, not UCP’s. UCP will reject these requests unless you include the load balancer’s address as a Subject Alternative Name (or SAN) in UCP’s certificates.
If you use your own TLS certificates, you need to make sure that they have the correct SAN values. You can learn more at the above link.
If you want to use the self-signed certificate that UCP has out of the box, you
can set up the SANs when you install UCP with the --san argument. You can
also add them after installation.
Add new SANs to UCP after installation
Log in with administrator credentials in the UCP web UI, navigate to the Nodes page, and choose a node.
Click the Add SAN button, and add one or more SANs to the node.
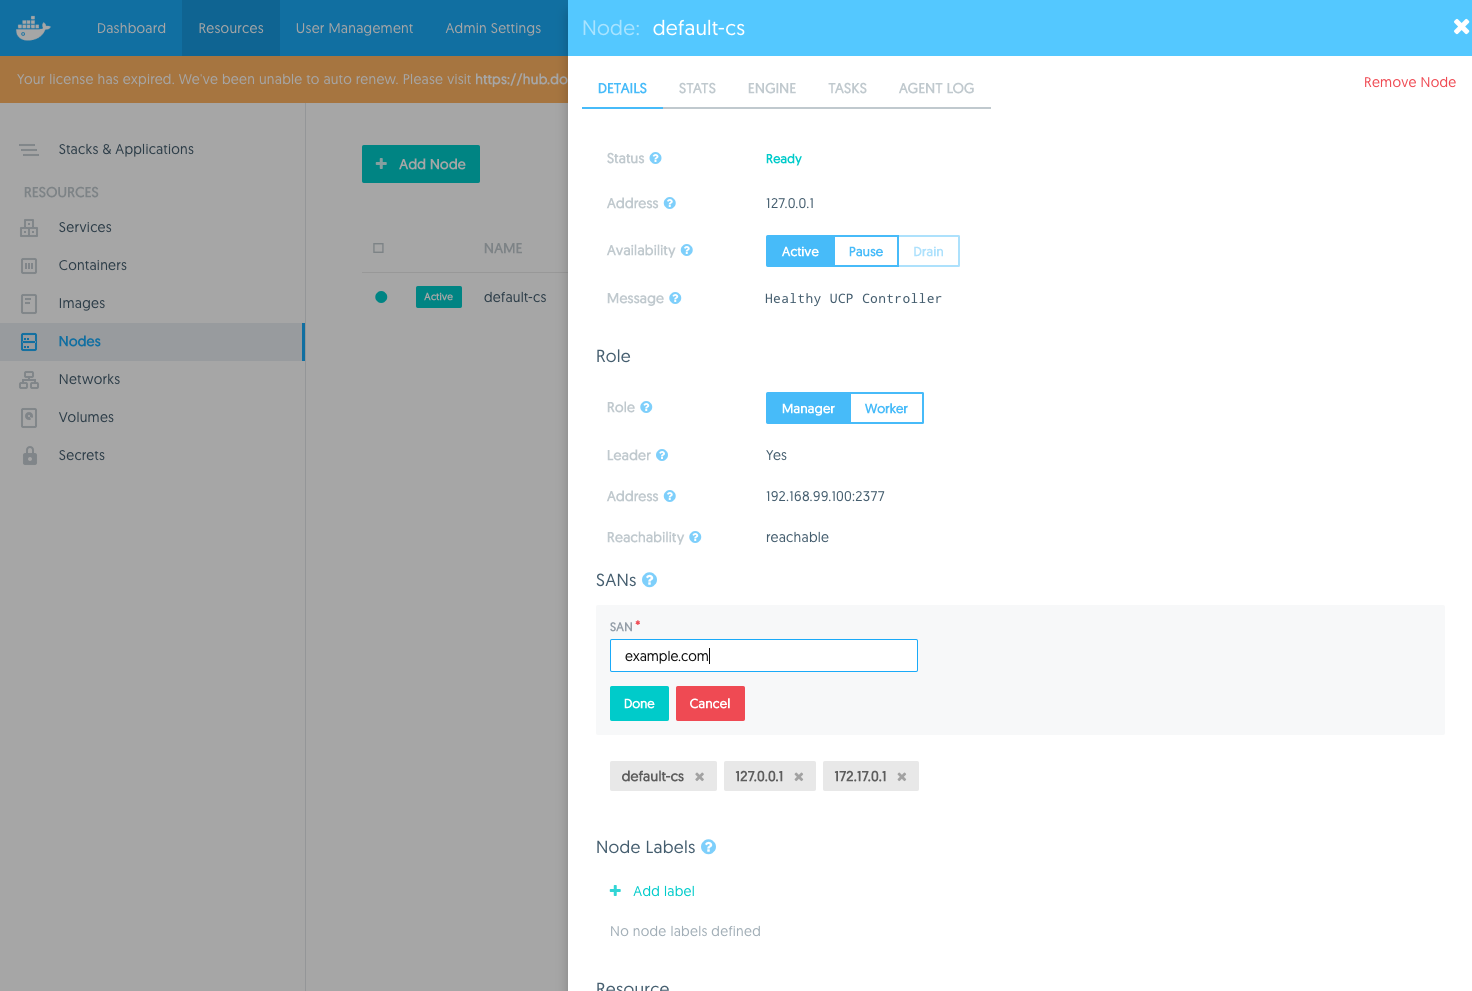
Once you’re done, click Save Changes.
You need to do this on every manager node in the cluster, but once you have done so, the SANs will be automatically applied to any new manager nodes that join the cluster.
You can also do this from the CLI by first running:
$ docker node inspect --format '{{ index .Spec.Labels "com.docker.ucp.SANs" }}' <node-id>
default-cs,127.0.0.1,172.17.0.1
This gets the current set of SANs for the given manager node. Append your
desired SAN to this list. For example, default-cs,127.0.0.1,172.17.0.1,example.com.
The run:
$ docker node update --label-add com.docker.ucp.SANs=<SANs-list> <node-id>
<SANs-list> is the list of SANs with your new SAN appended at the end. As in
the web UI, you must do this for every manager node.